Tonight is week fifty, the very last week of our Art With Heart 2022-23 Colour Creations blog hop! I
Next week we start afresh on Wednesday, 3rd May, featuring the five new In colours every Wednesday in May, followed by the four new core colours in June and then the the rest of the core colours throughout the year.
This week we are featuring Soft Suede, one of the retiring Neutral Colours. I will really miss this colour for animals, trees, wood and nature scenes in particular.
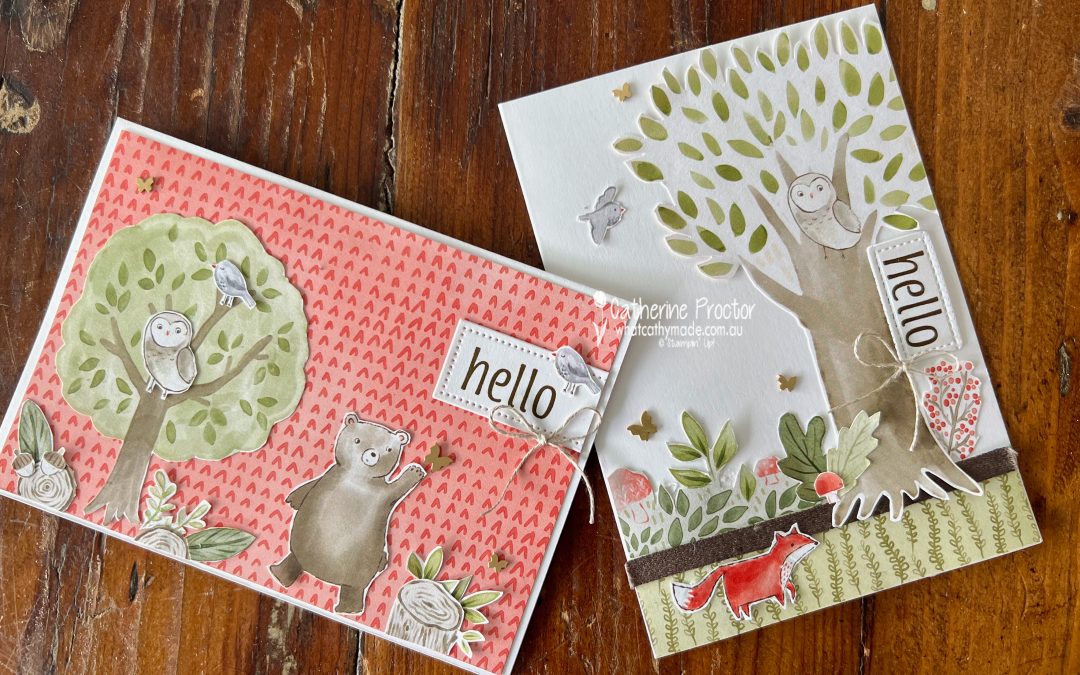
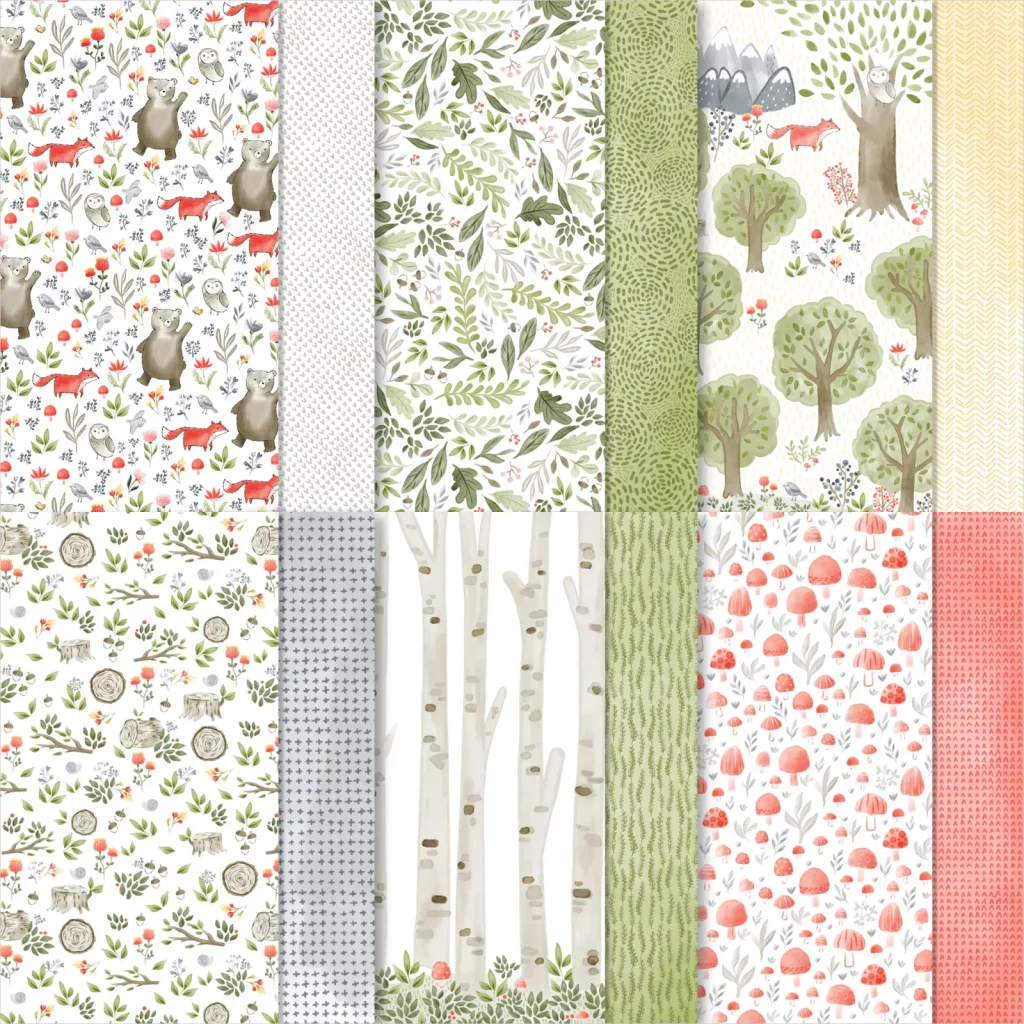
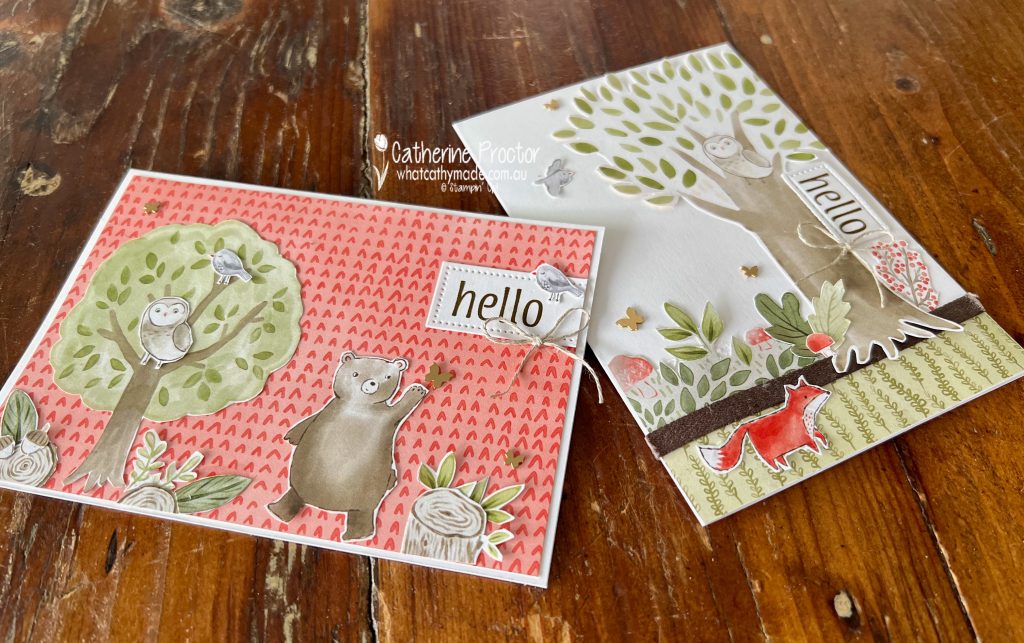
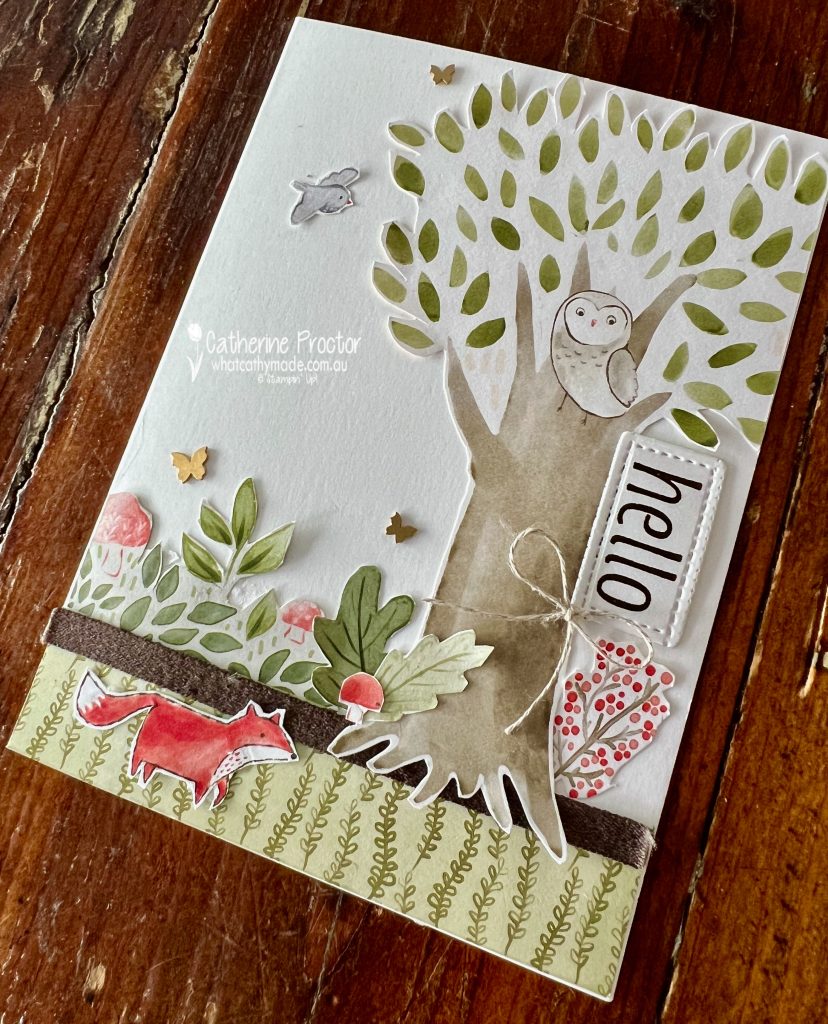
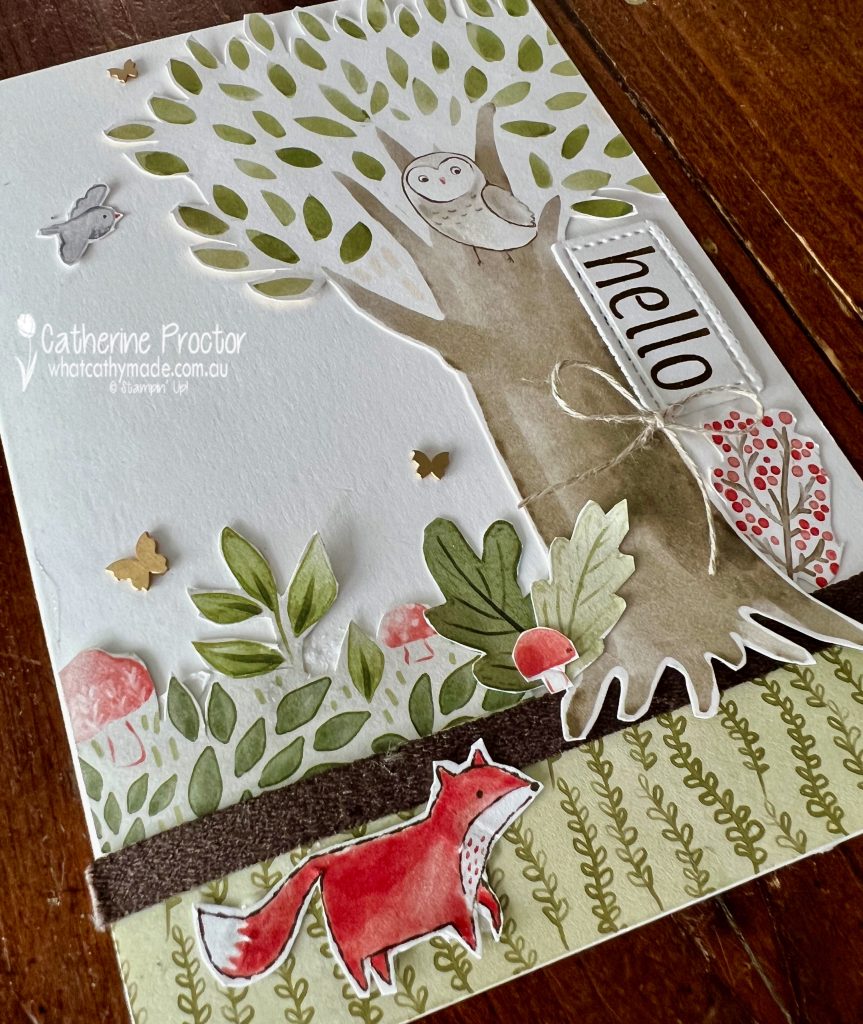
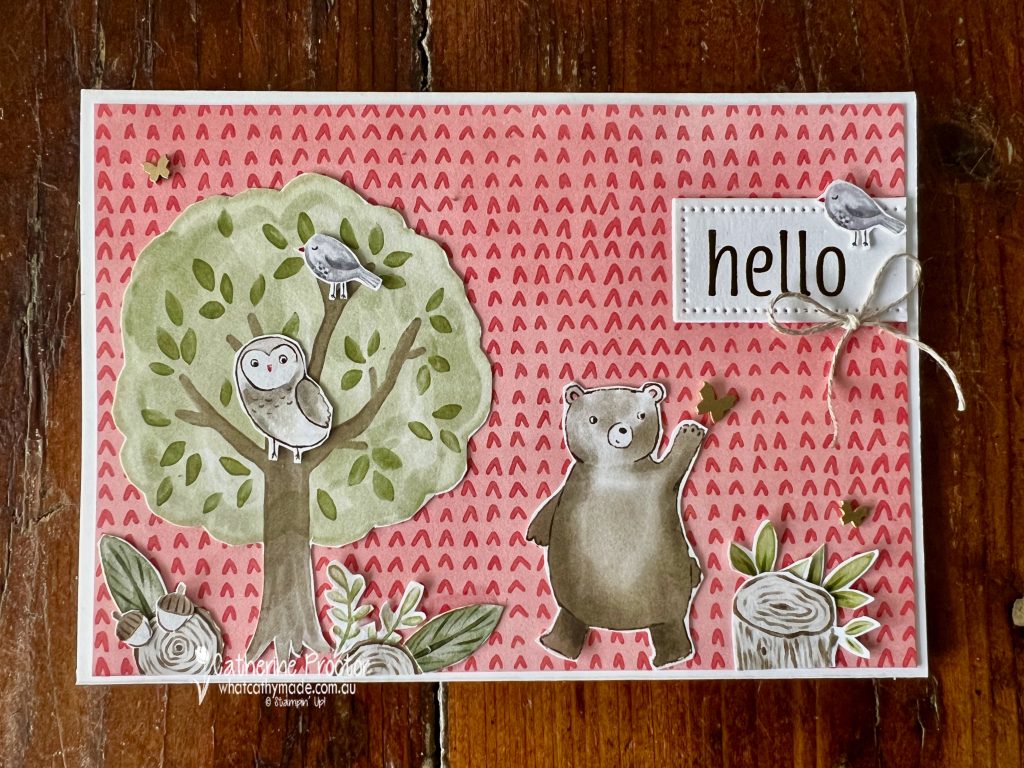
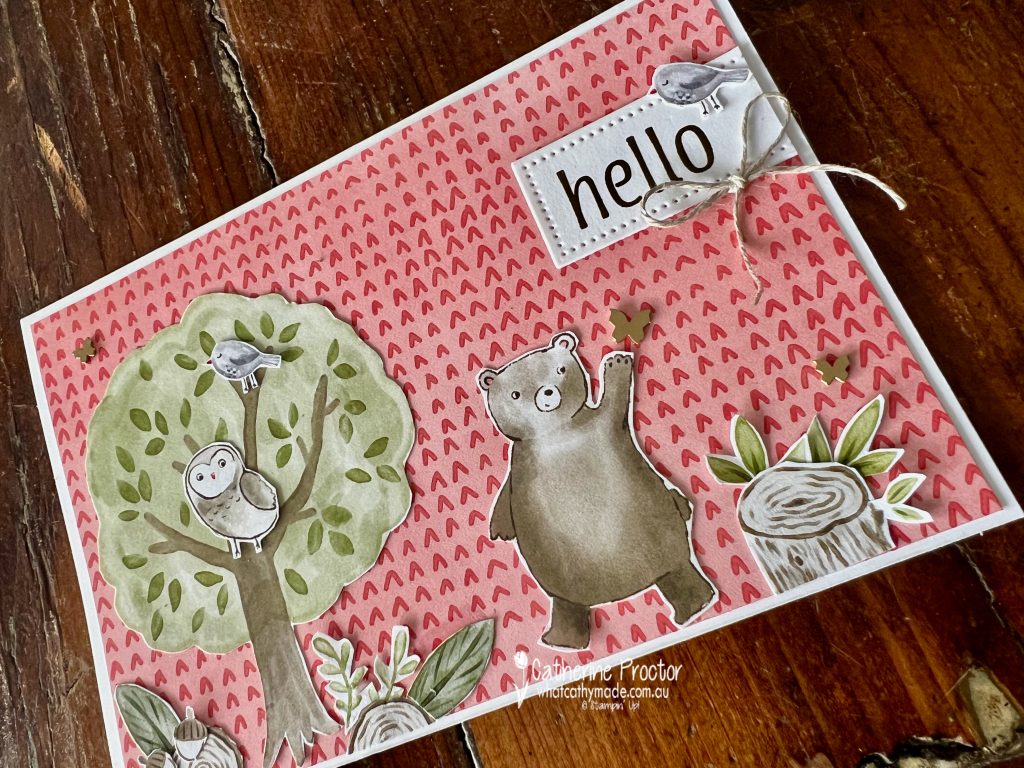
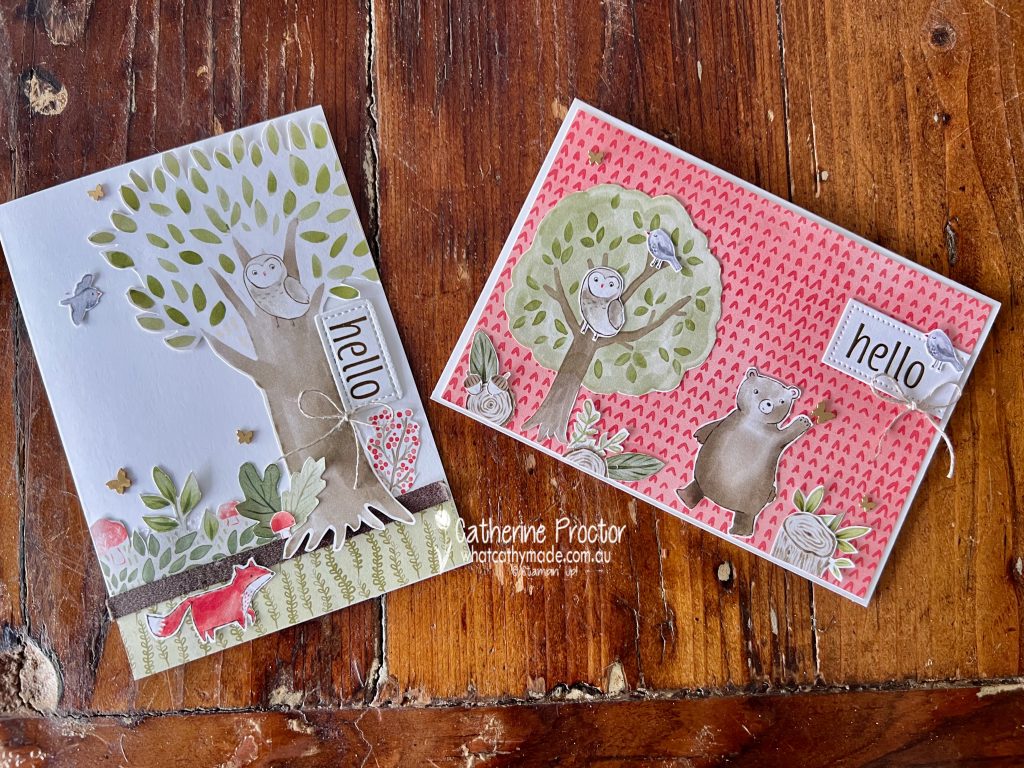
My card this week is basically just DSP and fussy cutting, apart from the sentiments on both my cards. I’ve used the retiring (and currently on sale) Happy Forest Friends DSP, one of my favourite DSPs ever!
For both my cards I simply fussy cut images from the Happy Forest Friends DSP and then started layering.
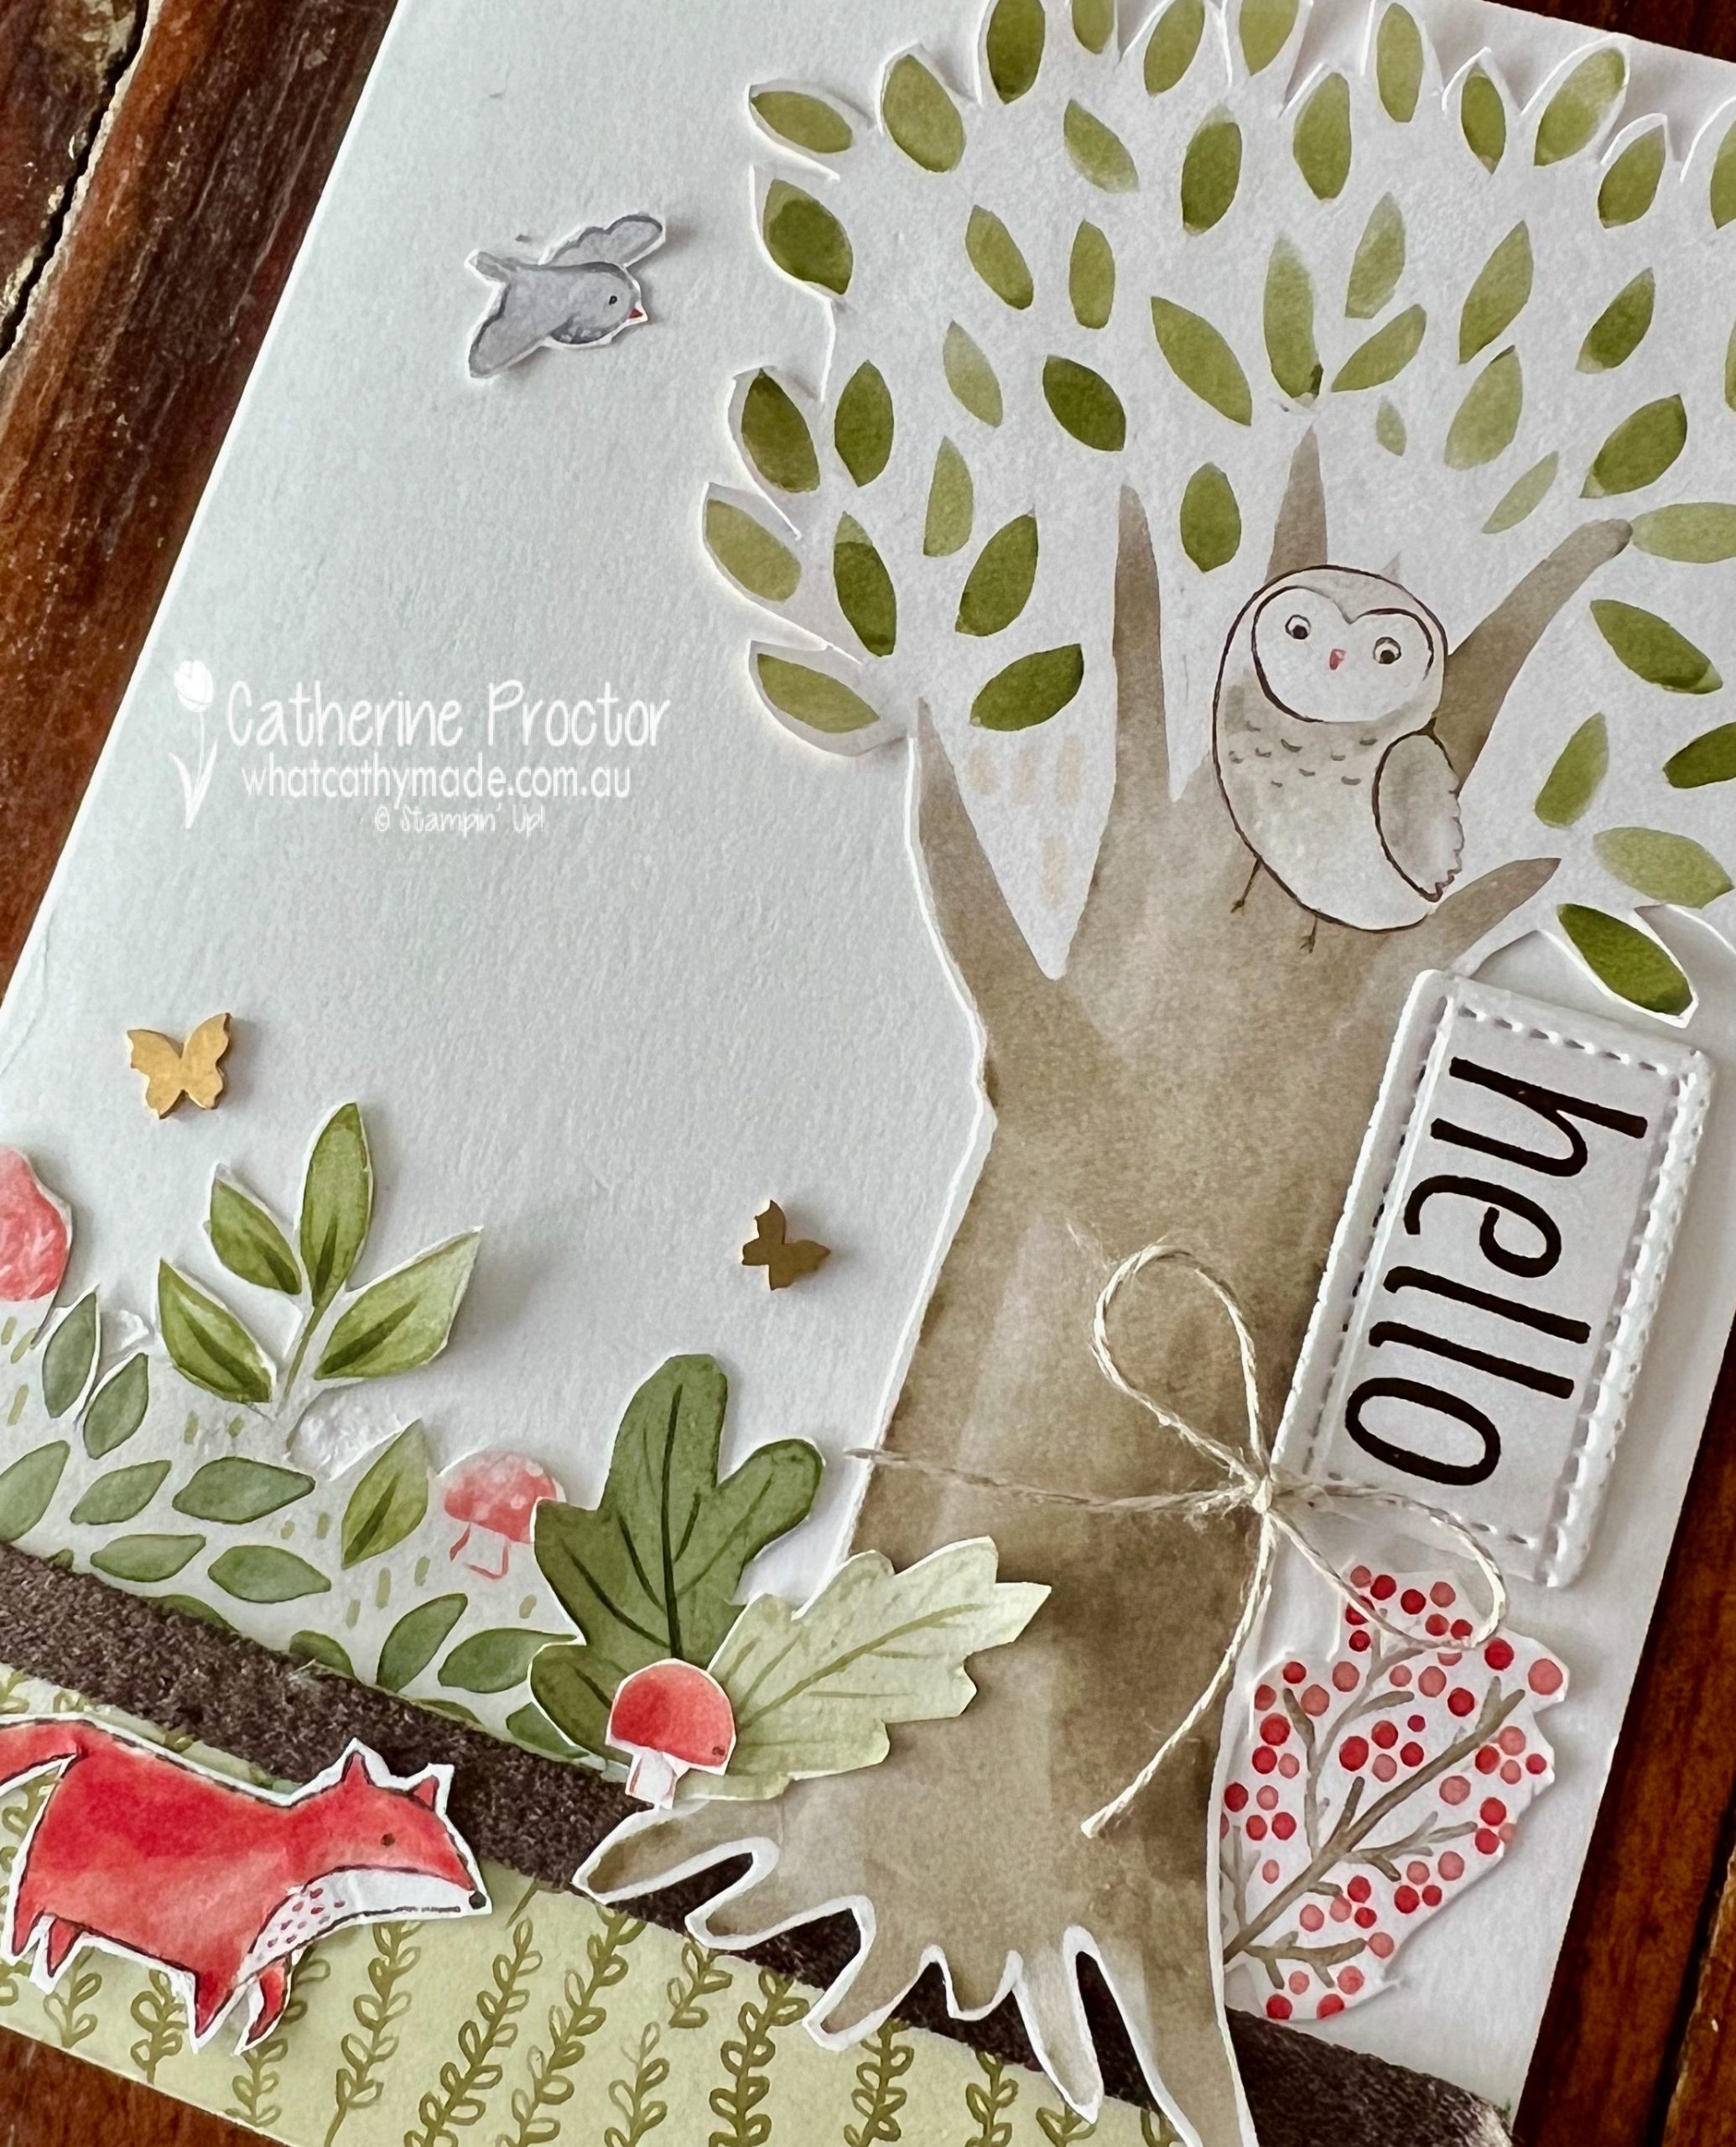
Card one has a lot of white space and features the largest tree from the Happy Forest Friends DSP.
I also added a strip of the Early Espresso Faux Suede Trim, some Brushed Brass Butterflies and a bow of Linen Thread.
Card Two has a DSP layer behind the forest scene that features the gorgeous Soft Suede bear.
This card also features Brushed Brass Butterflies and a bow of Linen Thread.
The “Hello” sentiment on both cards is from the Artistically Inked Stamp Set, stamped in Soft Suede and die cut using a die from the Tailor Made Tags Dies.
I’ve altered these die shapes after die cutting by either cutting of the tag end (card two) or turning the square end of the tag die around and die cutting it again to square off the tag and make it into a rectangle instead (card one).
Now it’s time to hop on over to our next participant, the lovely Di Furniss – I can’t wait to see what Di has made this week!
If at any time you find a broken link, you can find the complete list of all participants below.
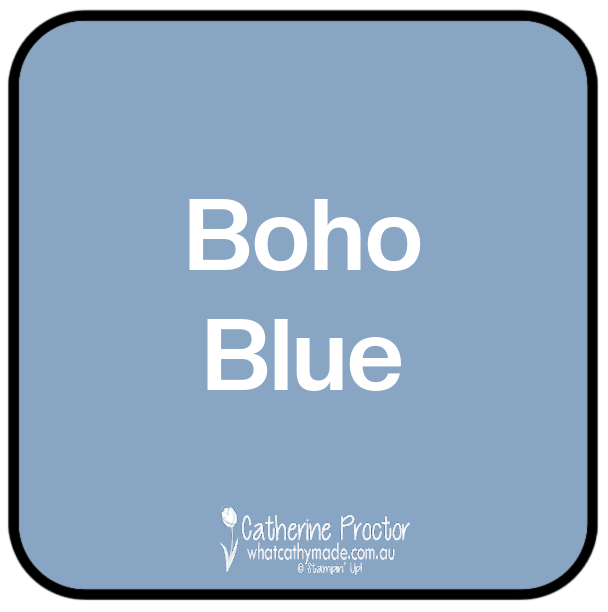
We’ll be back next Wednesday, May 3, with our brand new Colour Creations blog hop for the 2023-24 Stampin’ Up! Annual Catalogue, showcasing a gorgeous new 2023-24 In Colour, Boho Blue!
Welcome to week forty nine of our Art With Heart 2022-23 Colour Creations blog hop. Next week is our last week for the 2022-23 Annual Catalogue before we start again on Wednesday, 3rd May, with five new In colours, four new core colours and seven returning colours!
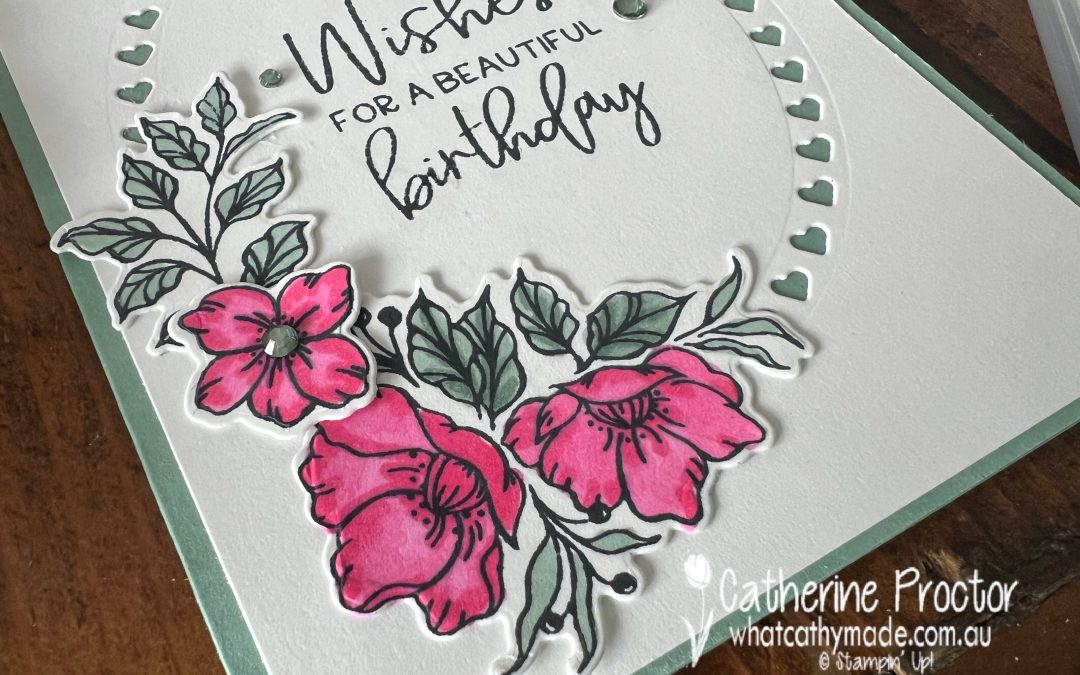
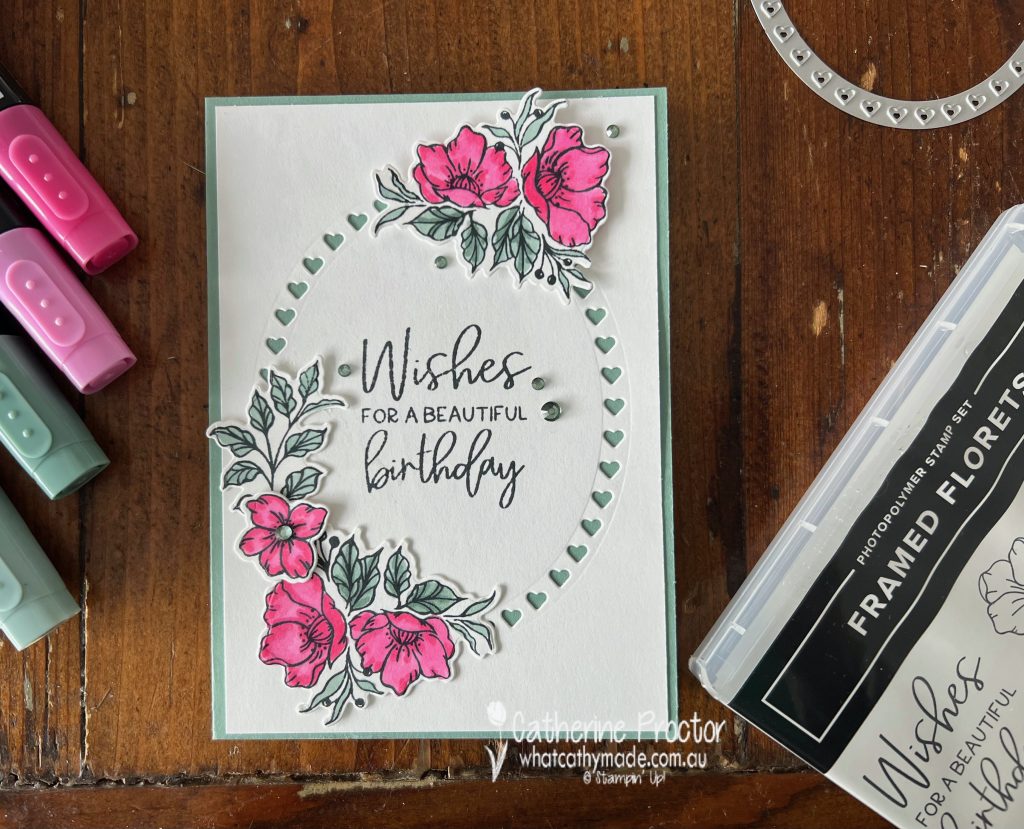
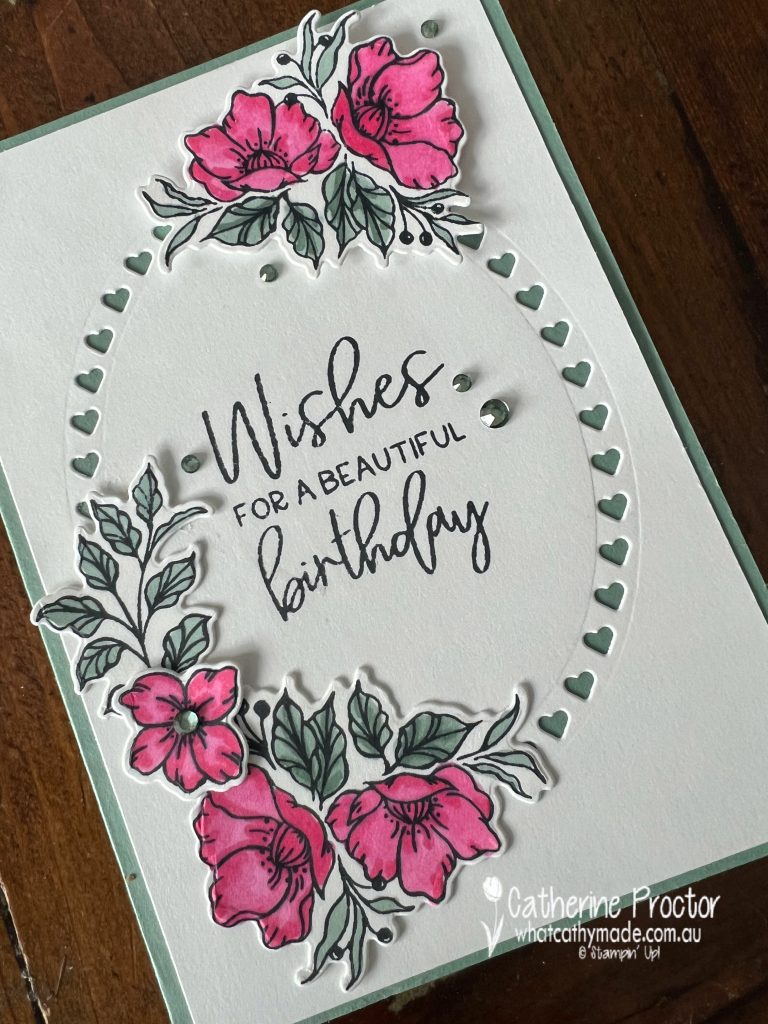
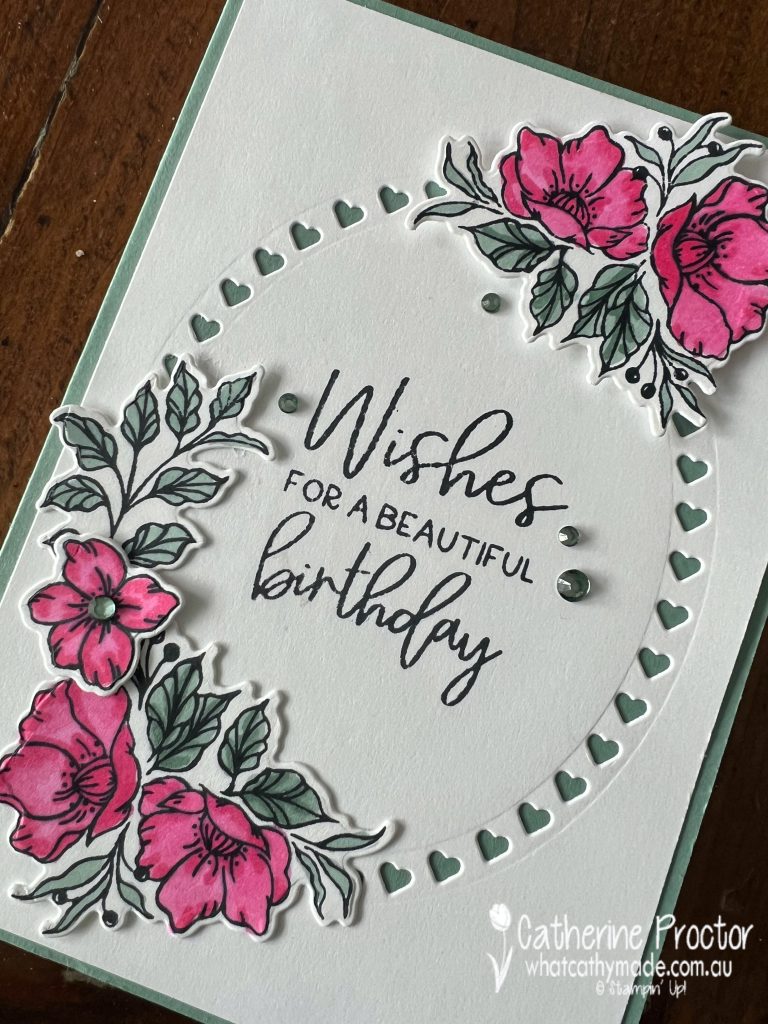
This week we are featuring Soft Succulent, one of the retiring 2021-23 In Colours. I’ve also featured Polished Pink, another retiring 2021-23 In Colour on my card, as well as the retiring Framed Florets stamp set and Framed Florets dies (reduced from $65 to $26).
Unfortunately the beautiful Soft Succulent and Polished Pink Stampin’ Blends! that I used to colour in my stamped images have already sold out!
The ‘Wishes for a beautiful birthday’ sentiment is from the Framed Florets stamp set, stamped in Tuxedo Memento Black Ink.
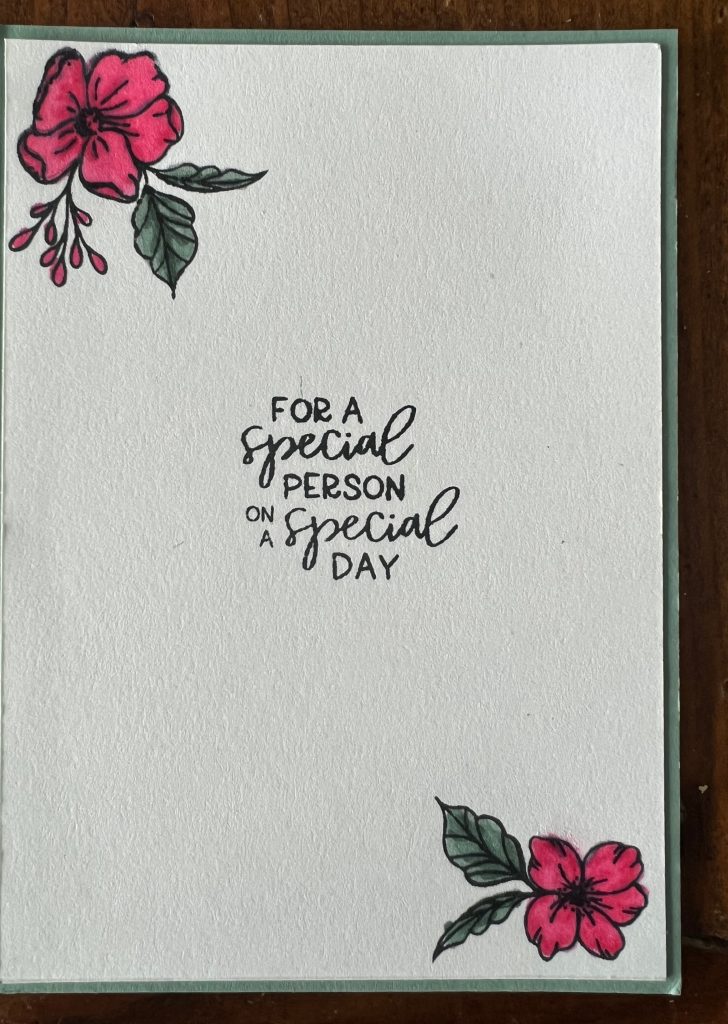
Inside the card I stamped and coloured more floral images and added another sentiment, all from the Framed Florets stamp set.
The sparkly embellishments on the front of the card are Rhinestone Jewels, coloured using my Soft Succulent Stampin;’ Blends.
Now it’s time to hop on over to our next participant, the lovely Rachel Palmieri – I can’t wait to see what Rachel has made this week!
If at any time you find a broken link, you can find the complete list of all participants below.
We’ll be back next Wednesday, April 26, with our last Colour Creations blog hop for the 202-23 Annual catalogue, showcasing a retiring core colour from the neutrals family, Soft Suede.
Welcome to week forty eight of our Art With Heart 2022-23 Colour Creations blog hop – only two more weeks to go!
This is a weekly blog hop where we showcase the stunning range of Stampin’ Up! colours in alphabetical order over 12 months and this week we are featuring Soft Sea Foam, one of the core colours in the Subtles family.
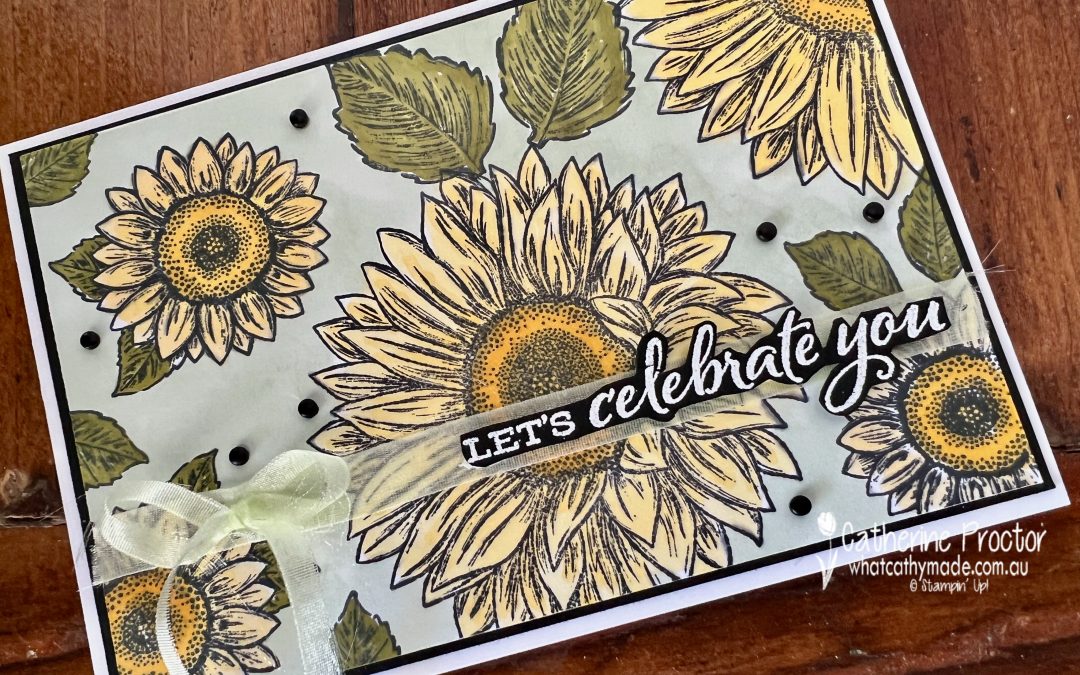
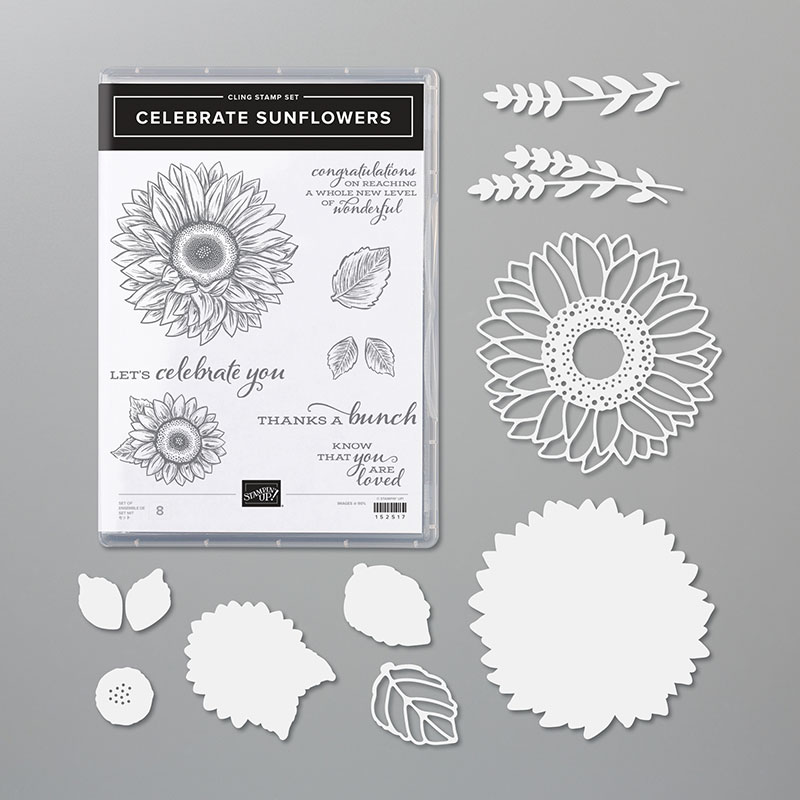
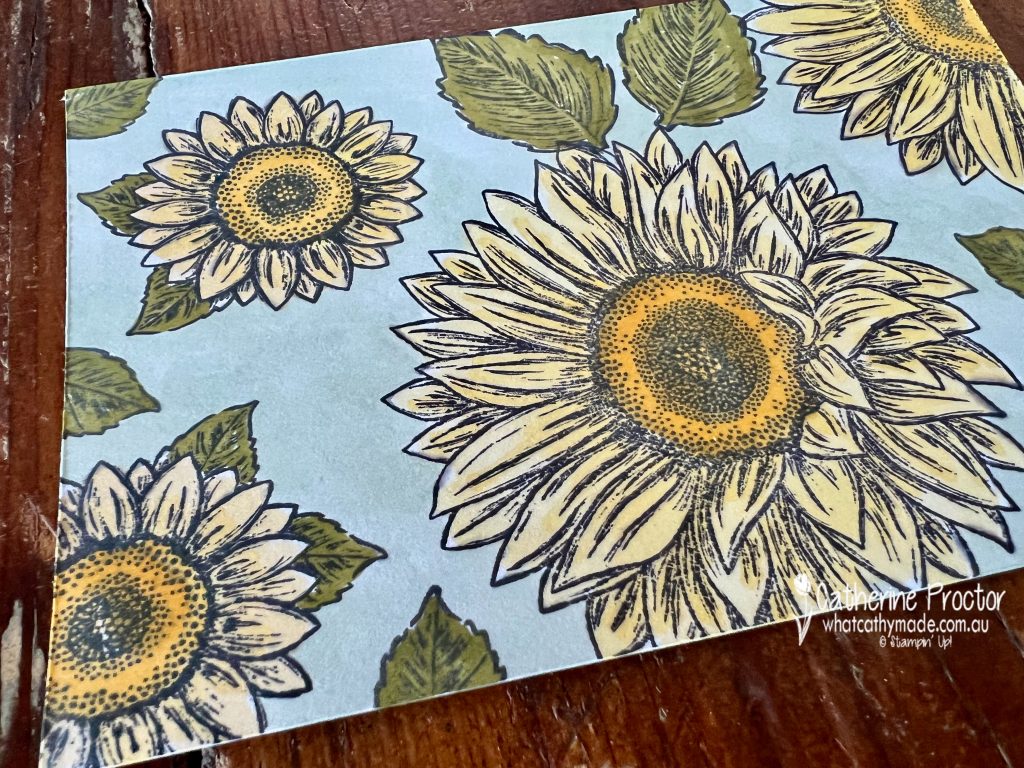
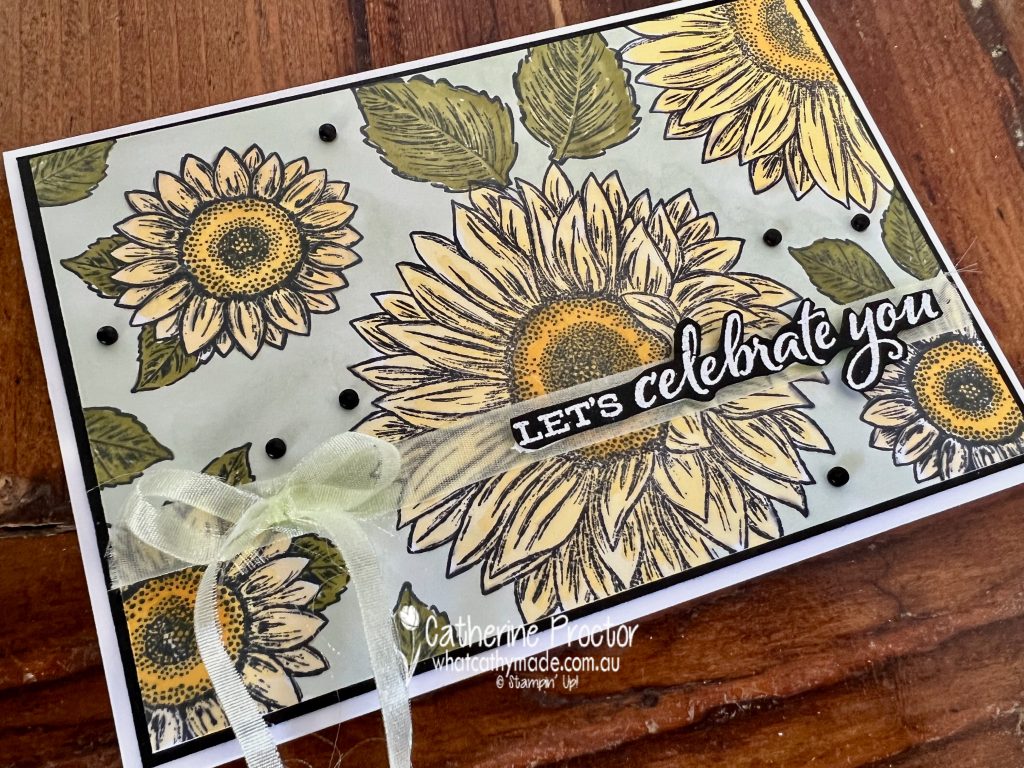
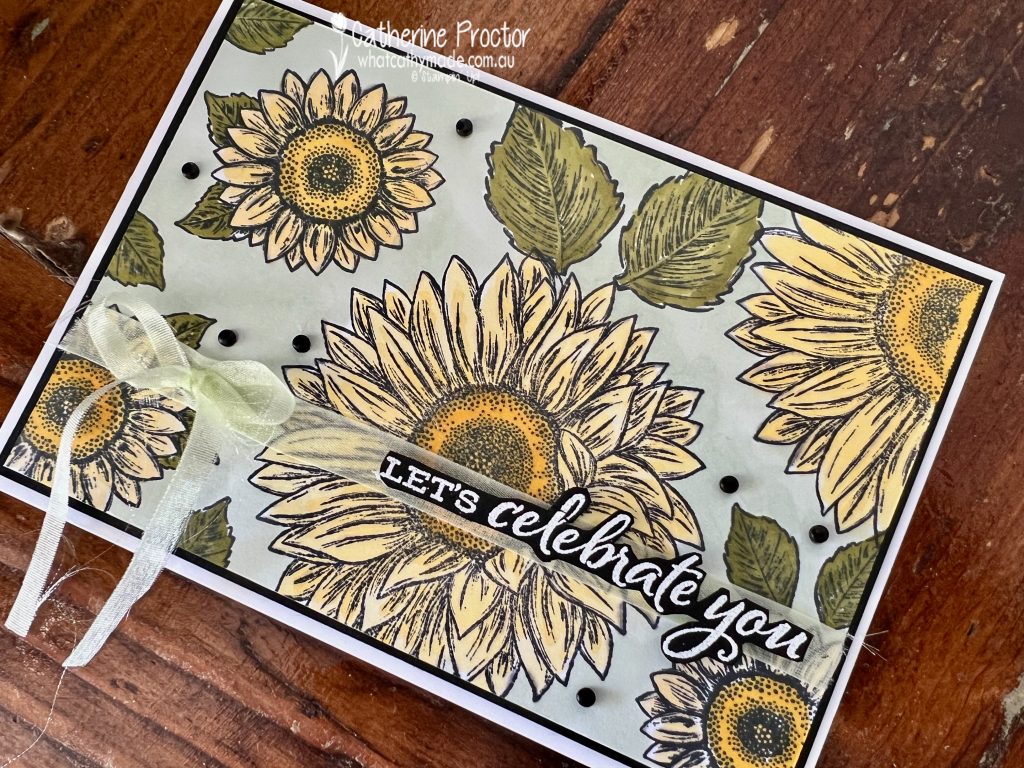
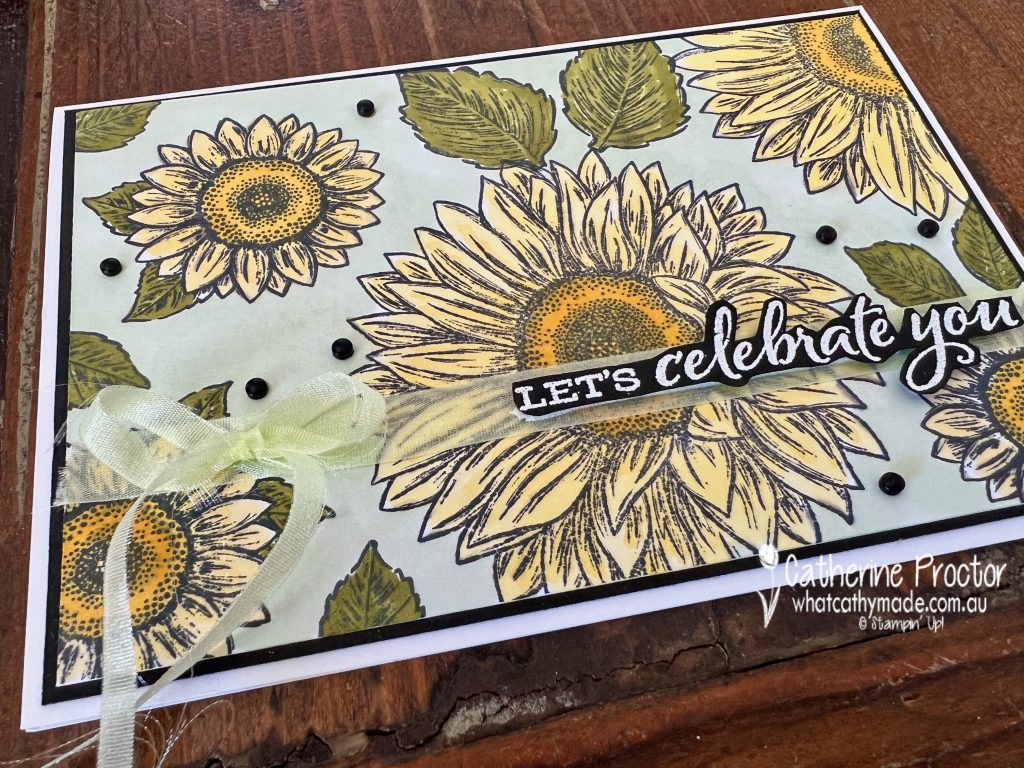
The Celebrate Sunflowers stamp set and it’s matching Sunflower dies are one of my all time favourite stamps and dies and as they are both retiring soon and on special I thought I’d give them a send off by using the Celebrate Sunflowers stamp set in my Soft Sea Foam card this week.
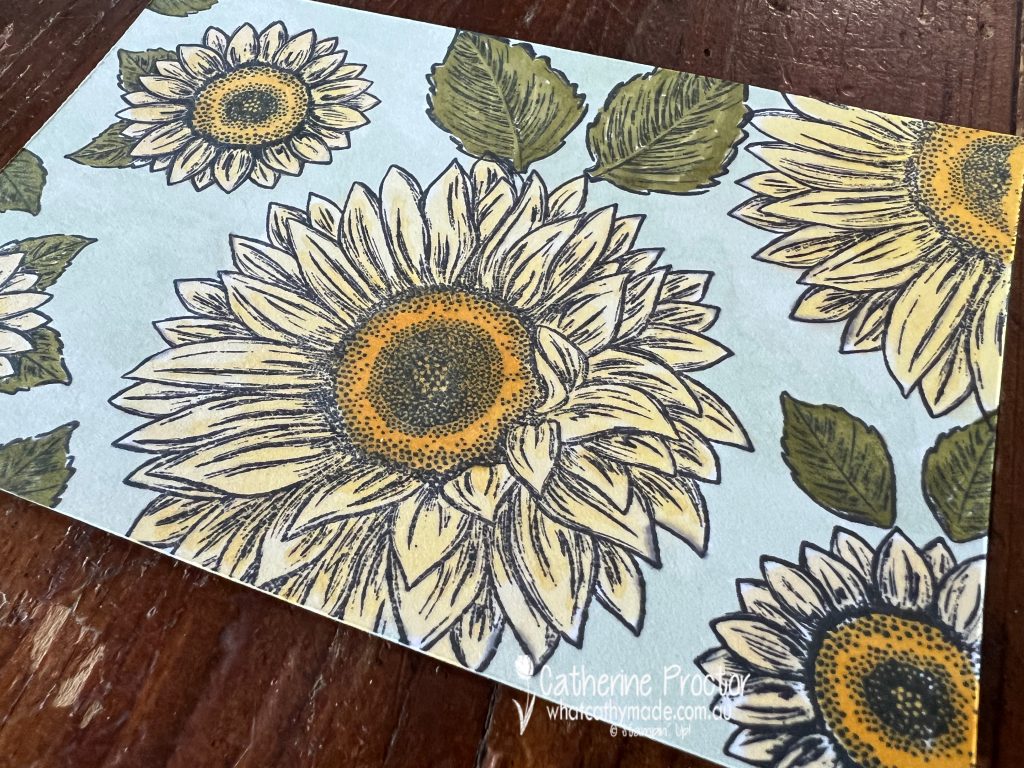
I’m not sure what the name of this technique is, but it’s super easy to do with just about any floral stamp set and your Stampin’ Blends. You simply stamp the images in Tuxedo Black Memento ink onto white cardstock and then colour in with your blends.
The space between the images is coloured using the light Soft Sea Foam Stampin’ Blend but it looks like Pool Party in these photos!
The sunflowers are coloured in Daffodil Delight and so Saffron, with Old Olive for the leaves.
I always make sure to stamp images off the sides of the cardstock – it looks a bit funny if you don’t do this.
Once it was all coloured in I attached a strip of Soft Sea Foam sheer ribbon using Tear’n’Tape and adhered a bow of the ribbon (cut in half) using a glue dot.
I stamped and heat embossed in white a sentiment onto Basic black cardstock, fussy cut it using paper snips, and adhered it with Stampin’ Dimensionals.
A few Matte Black Dots (also on special and retiring soon) were the final touch.
Now it’s time to hop on over to our next participant, the lovely Kate Morgan – I can’t wait to see what Kate has made this week!
If at any time you find a broken link, you can find the complete list of all participants below.
Welcome to week forty seven of our Art With Heart 2022-23 Colour Creations blog hop – only three more weeks to go!
This is a weekly blog hop where we showcase the stunning range of Stampin’ Up! colours in alphabetical order over 12 months and this week we are featuring So Saffron, which will soon be retiring from the Subtles family.
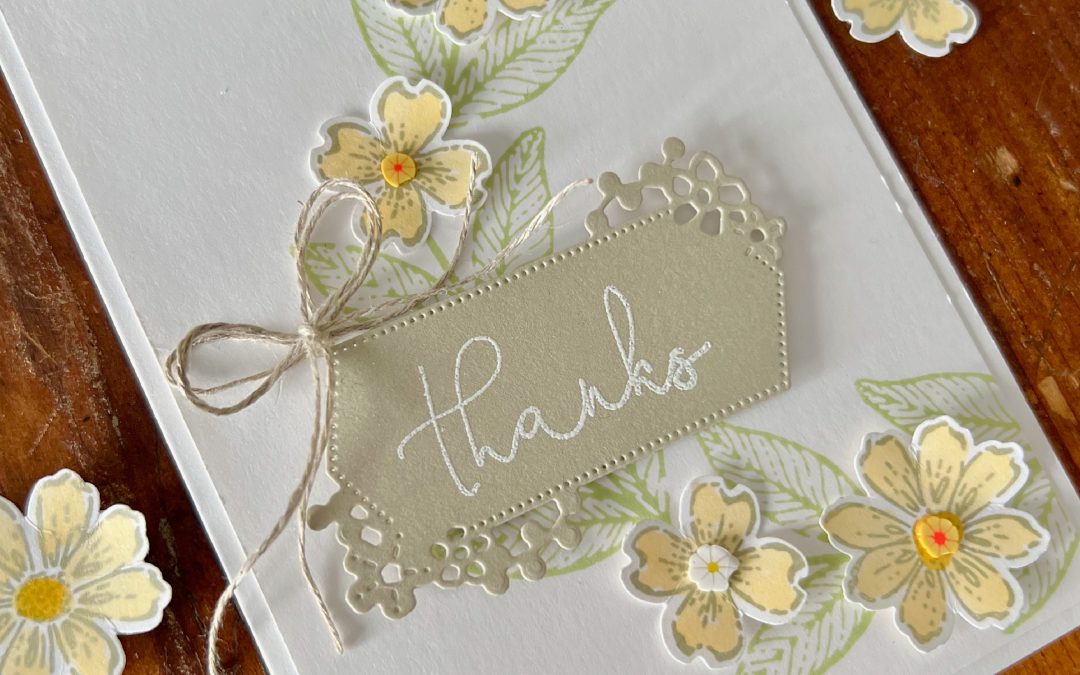
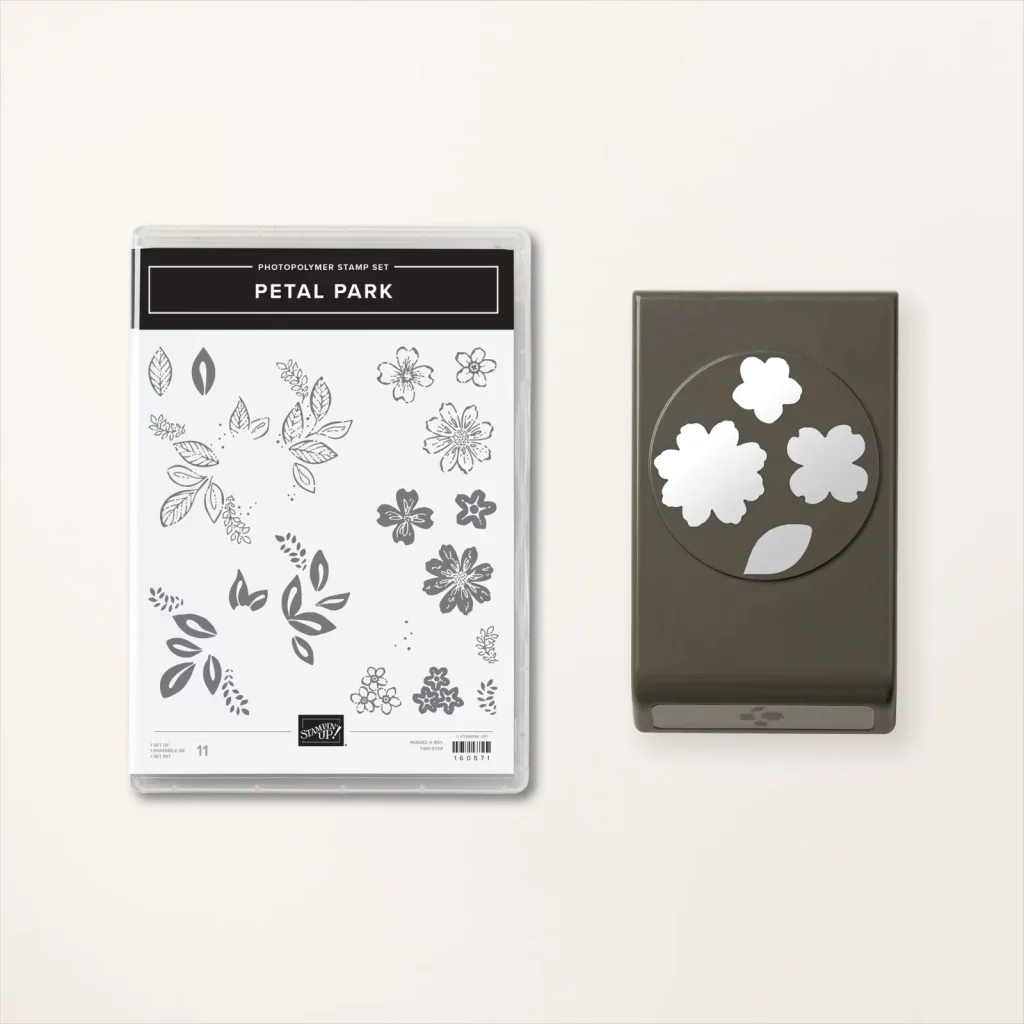
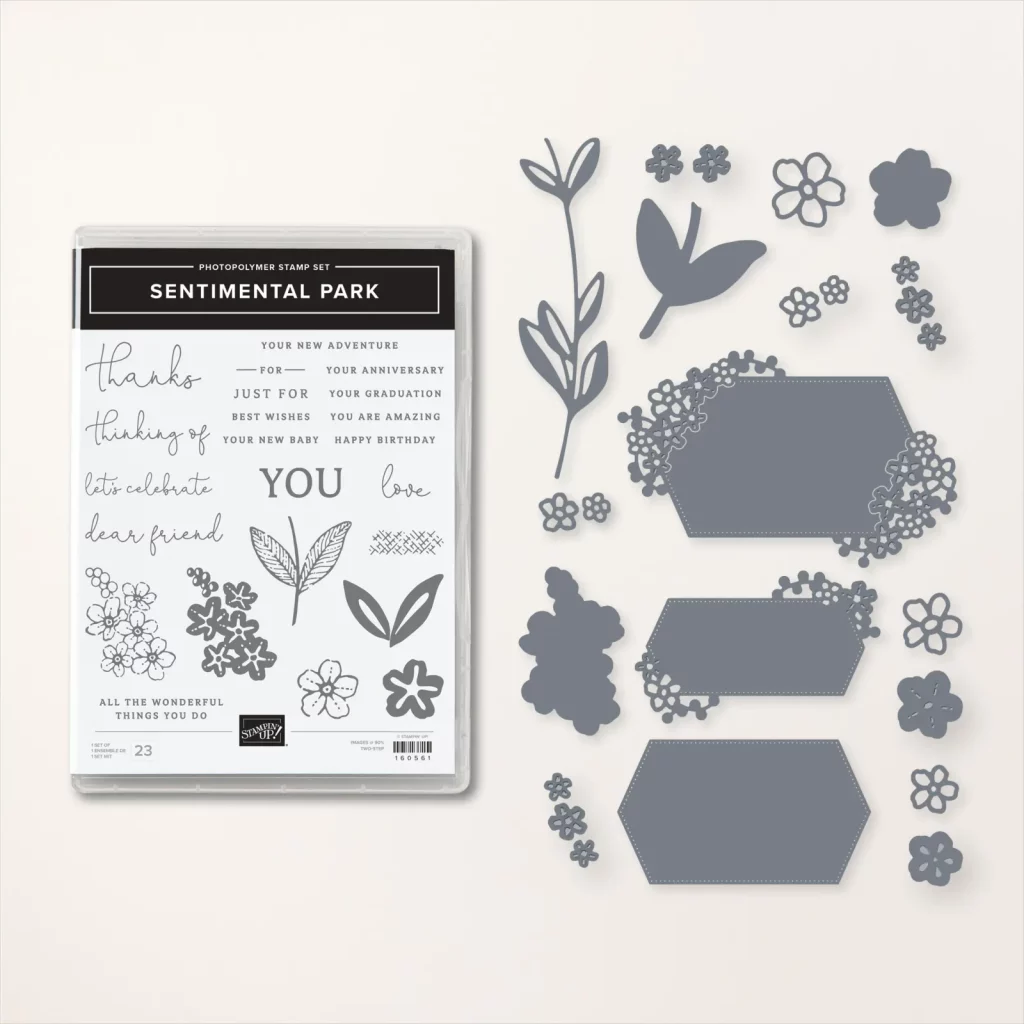
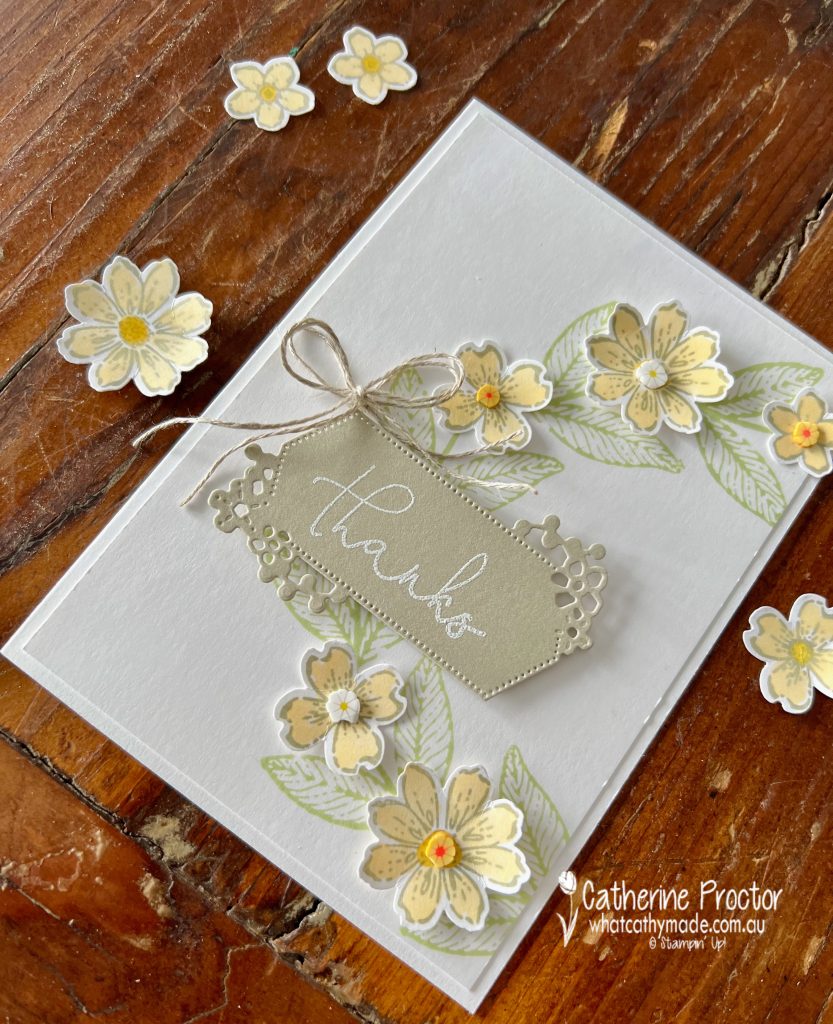
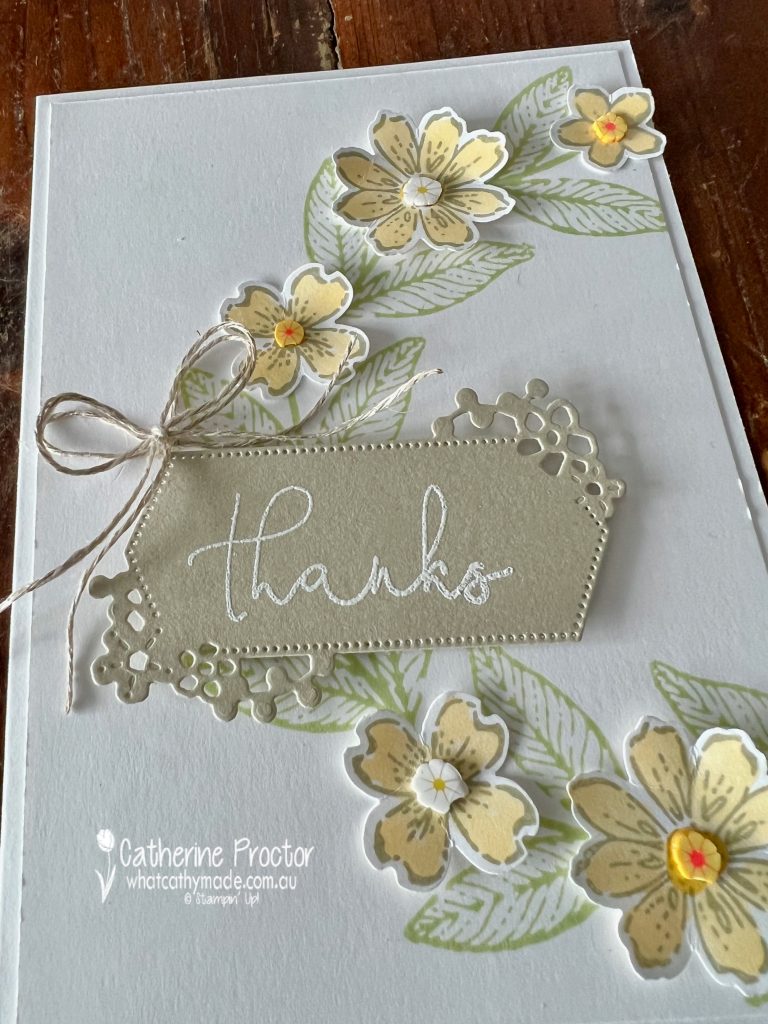
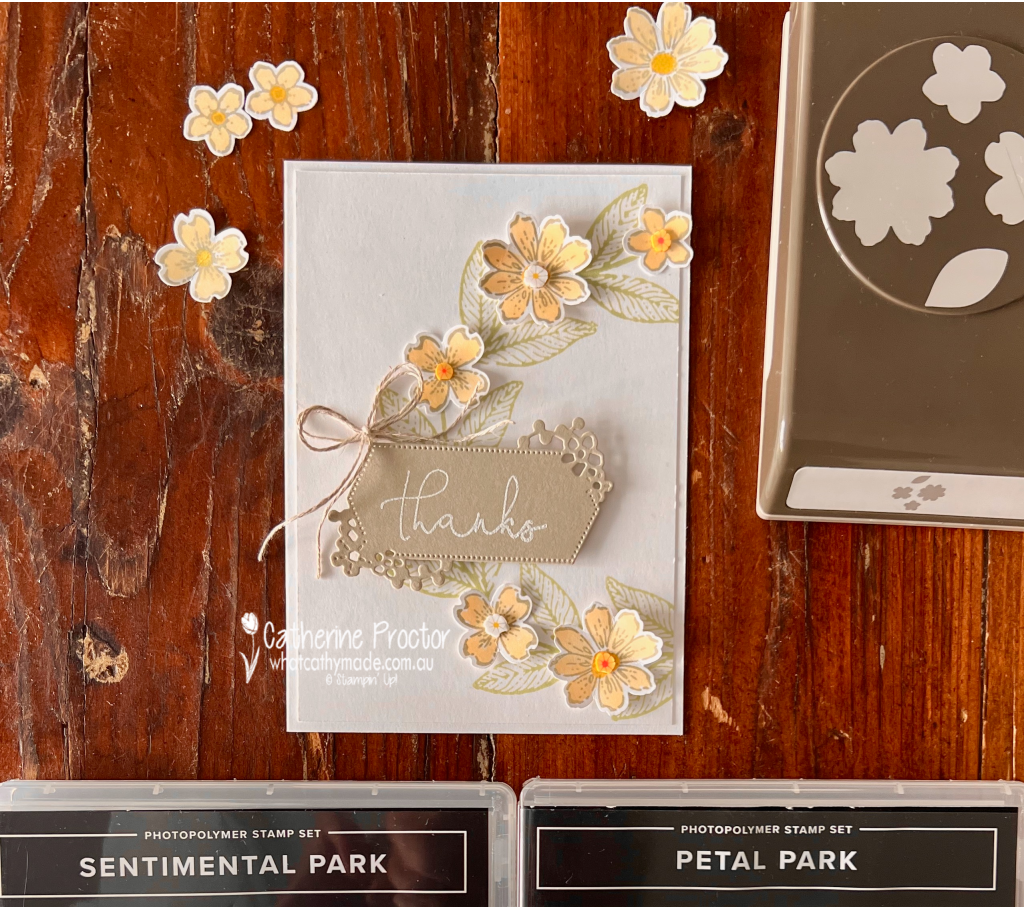
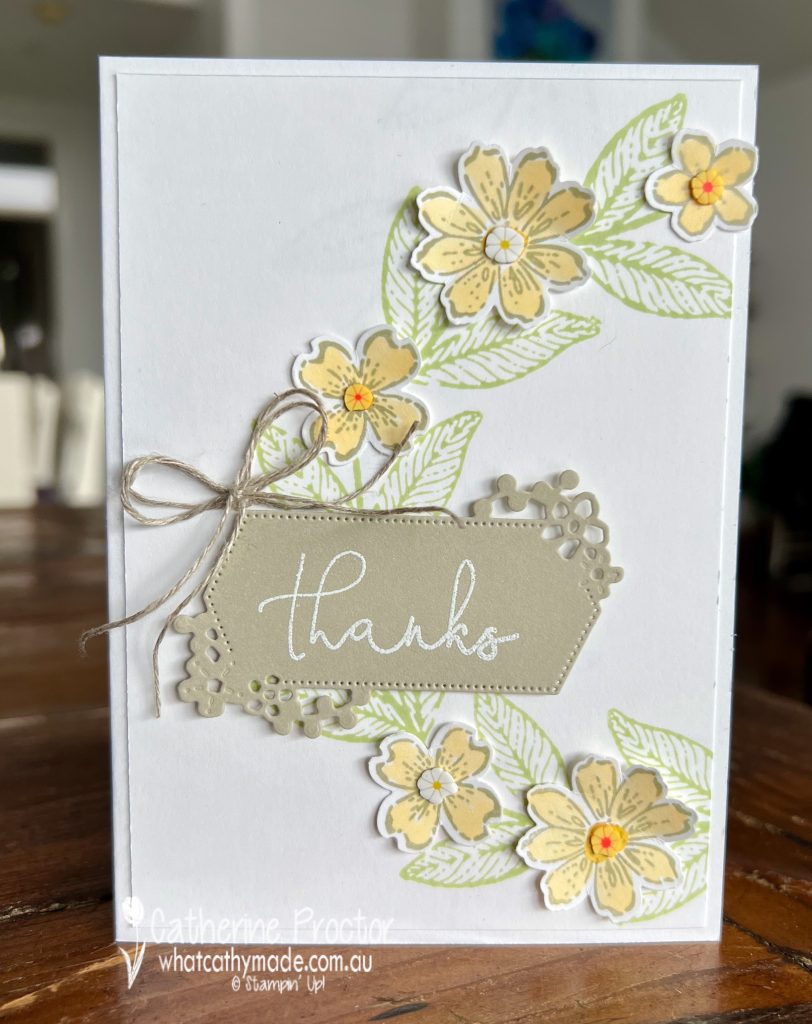
I’ve used the Petal Park bundle and the Sentimental Park bundle for my thanks card – all these products are all carrying over to the new 2023-24 Annual Catalogue, however if you want to save 10% on these bundles, you’ll need to order them before May 1st.
First, I stamped the leaf stamp from Sentimental Park in Soft Sea Foam to create a wreath shape off the right hand side of the card stock.
Next, I stamped the petals from Petal Park in Sahara Sand, coloured them in with light and dark So Saffron Stampin’ Blends and Daffodil Delight Stampin’ Blends for the centre of the flowers.
The “Thanks” sentiment was stamped in Versamark ink onto Sahara Sand cardstock, white heat embossed and die cut using a Sentimental Park die.
Once the sentiment and a double bow of linen thread was attached to the stamped wreath, I punched the flowers out with the Petal Park builder punch and adhered them to the wreath as well.
The centre of the flowers were embellished using the Loose Daisy Embellishments – the green leaves on these embellishments were too strong for the soft colours, so I gently twisted the leaves off with my finger before adhering the embellishments to the centre of the flowers.
It has been super hard to photograph this card with the weather we’ve had in Sydney this week, so I do apologise for the quality of the images in today’s blog.
Now it’s time to hop on over to our next participant, the lovely Rachel Palmieri – I can’t wait to see what Rachel has made this week!
If at any time you find a broken link, you can find the complete list of all participants below.
Have you seen Stampin’ Up!’s new online specials? You won’t find these products in any catalogue as they are exclusively online.
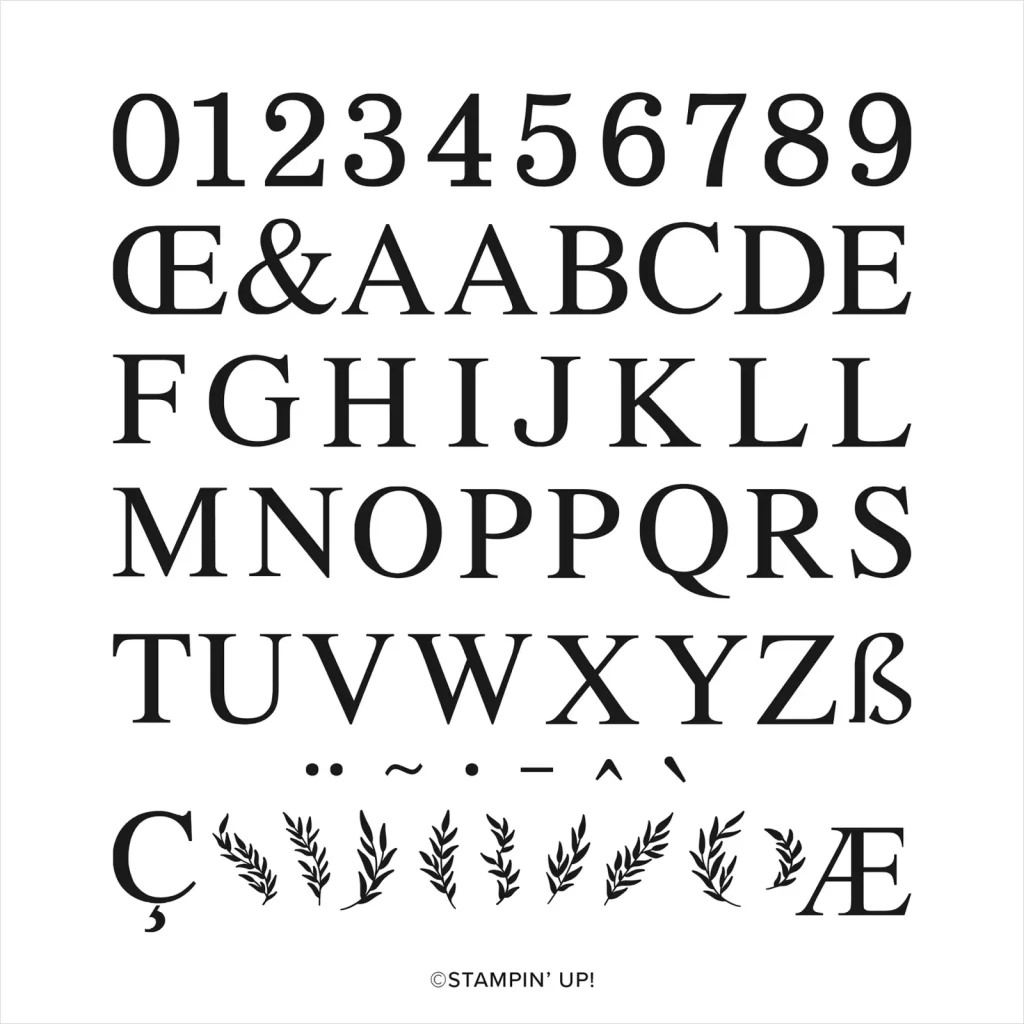
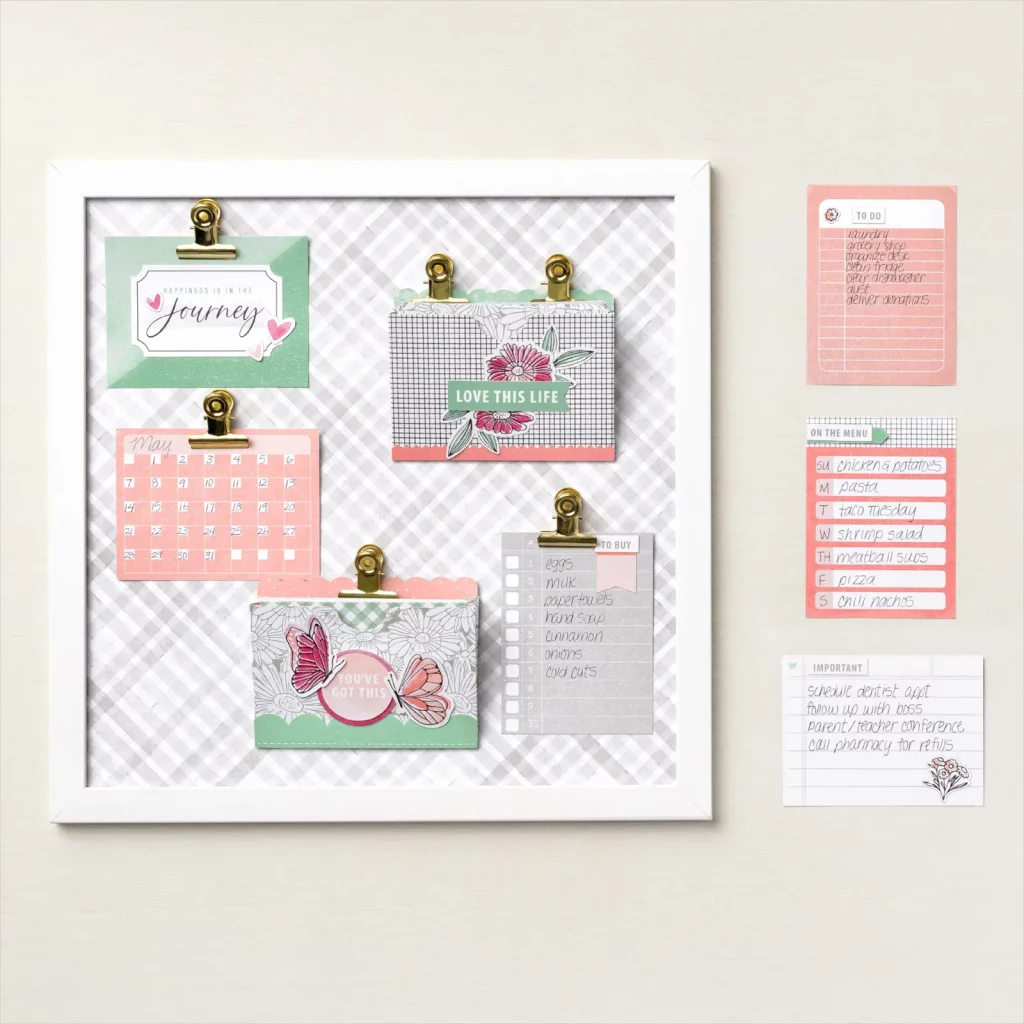
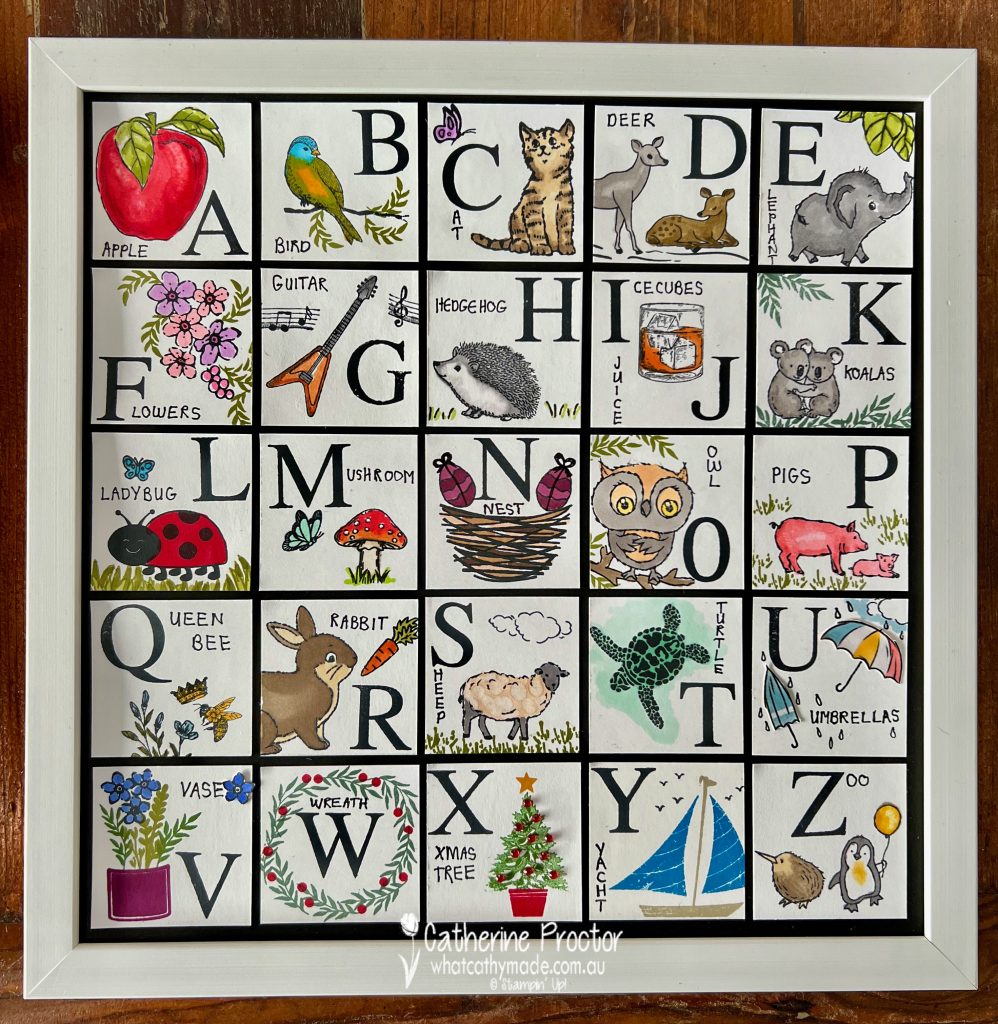
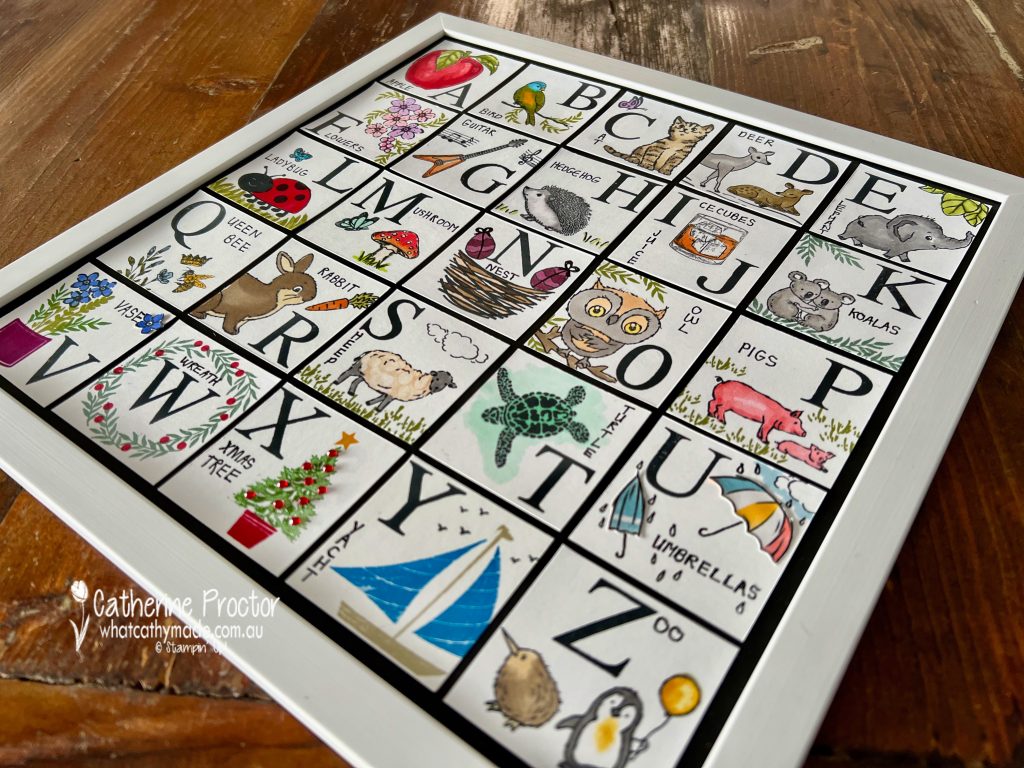
Today I wanted to share a project with you that used two of these online exclusives – the Classic Letters Stamp Set and one of the kits, the Celebrate Today Magnet Board.
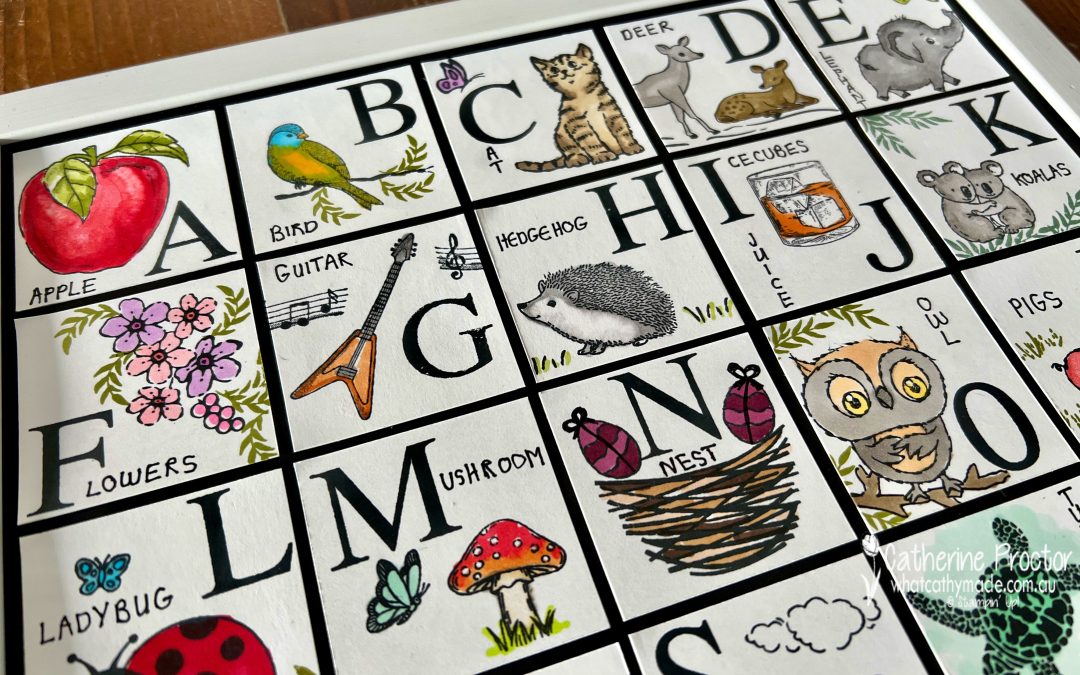
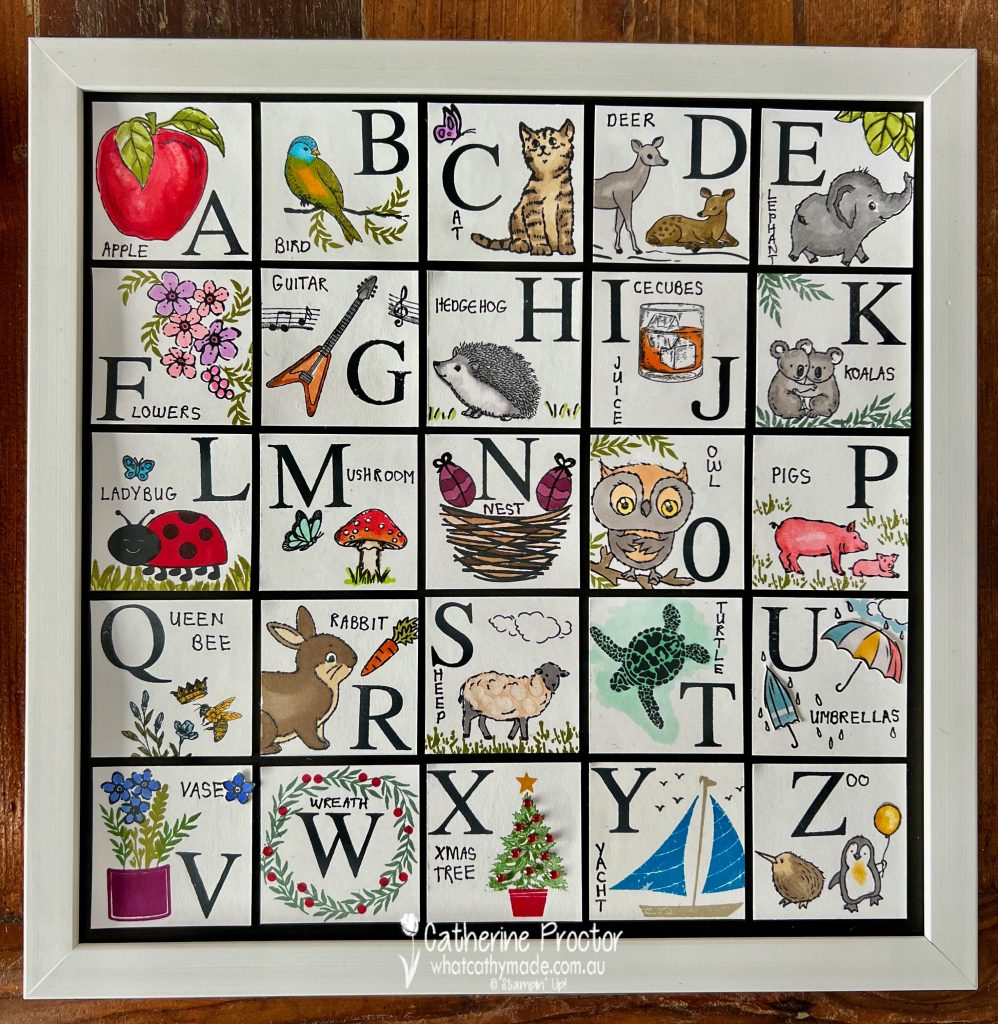
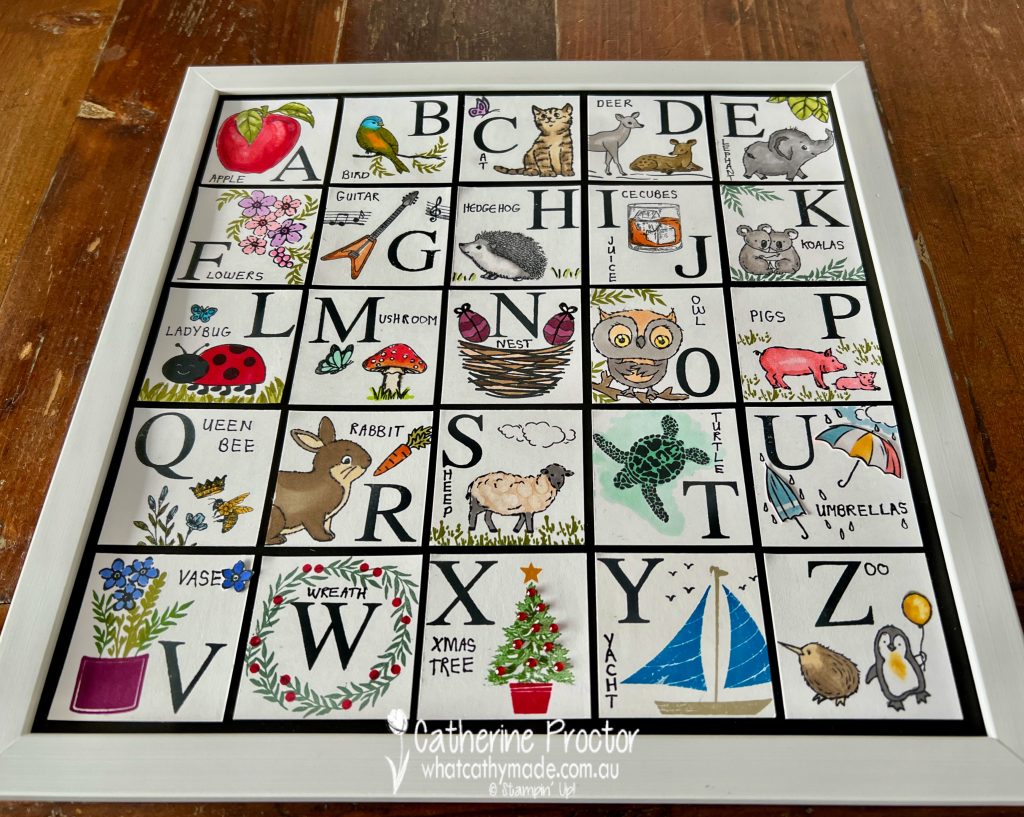
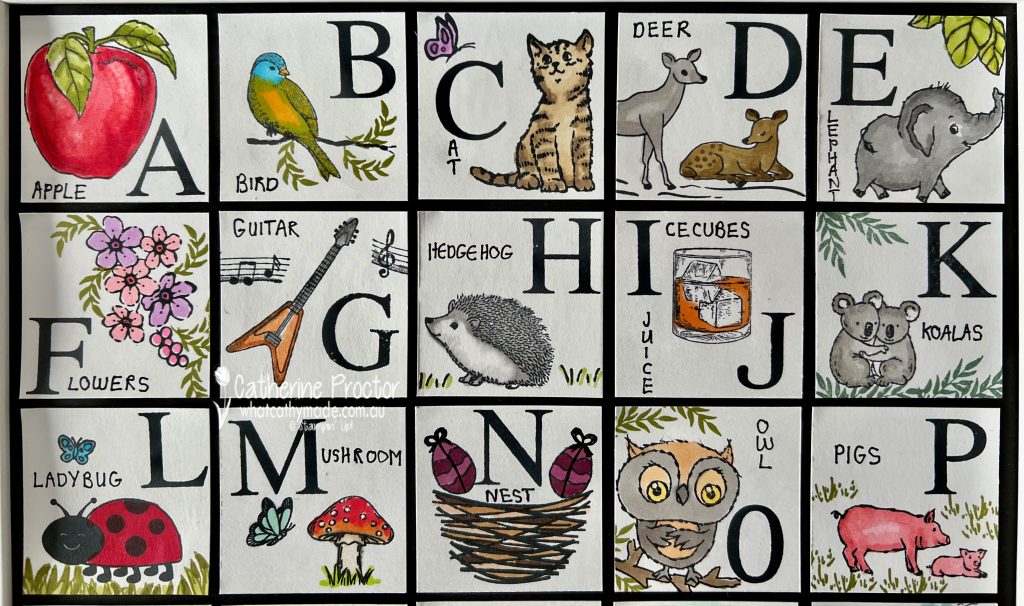
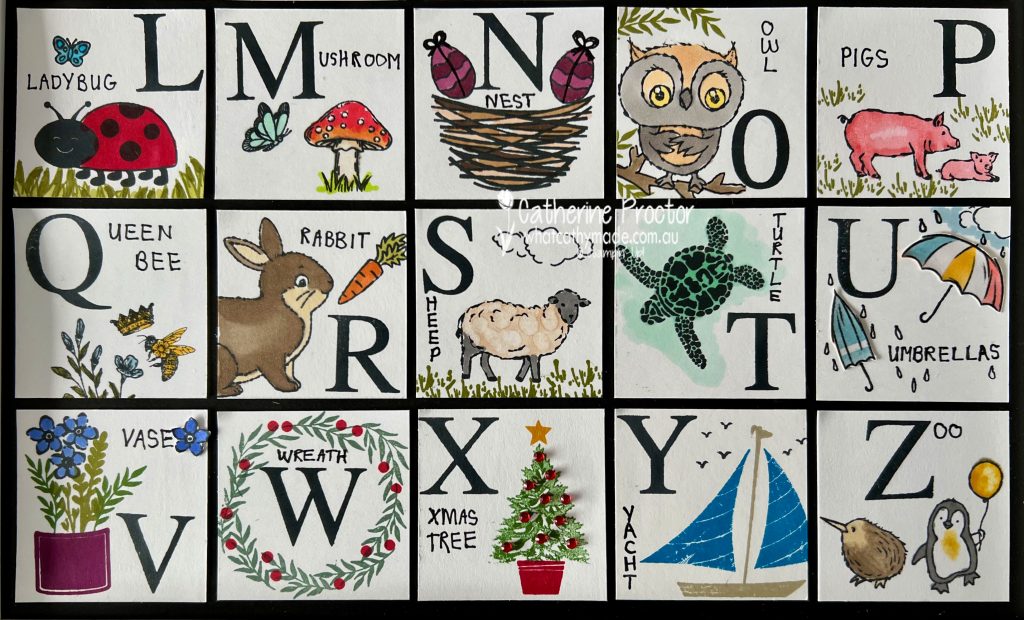
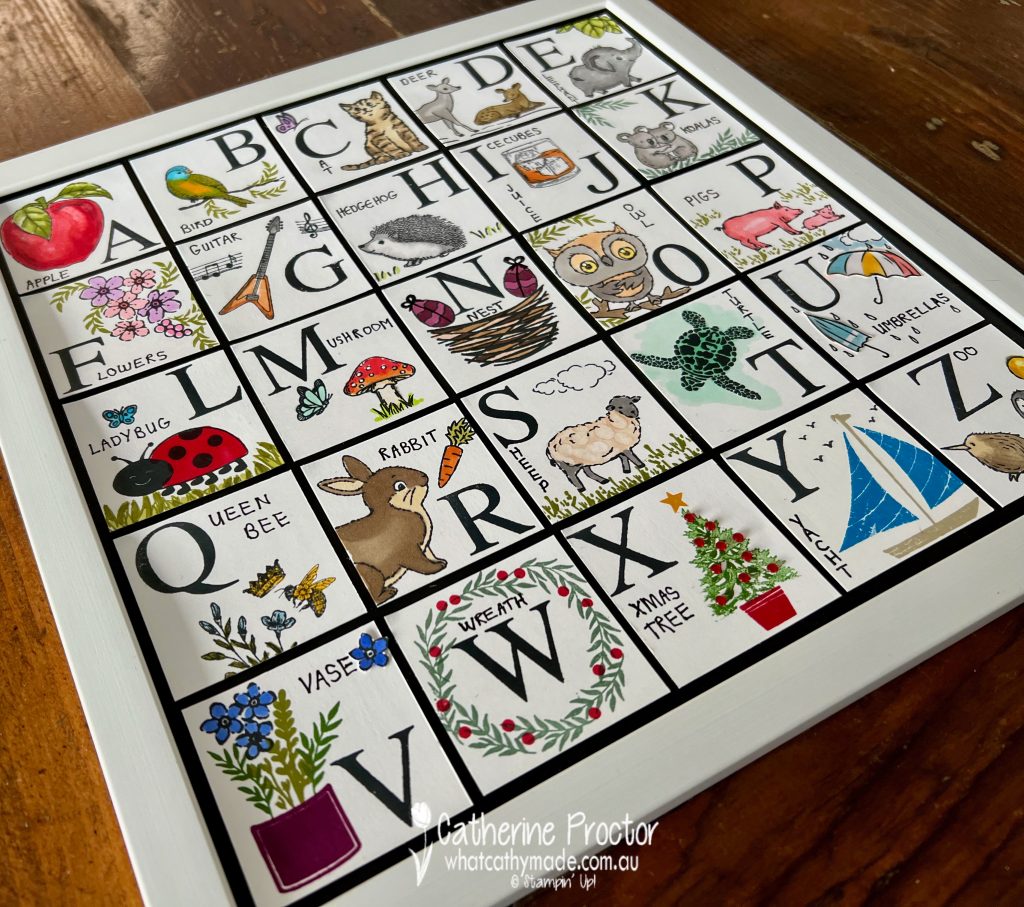
I’ve used both of these products, plus an wide assortment of stamp sets, dies, embellishments and ink to make an alphabet sampler.
At the time of publishing this blog post, all of these Stampin’ Up! products were current, bar one – the owl from the recent SALE-a-bration Adorable Owls stamp set. It was current when I began making this sampler!
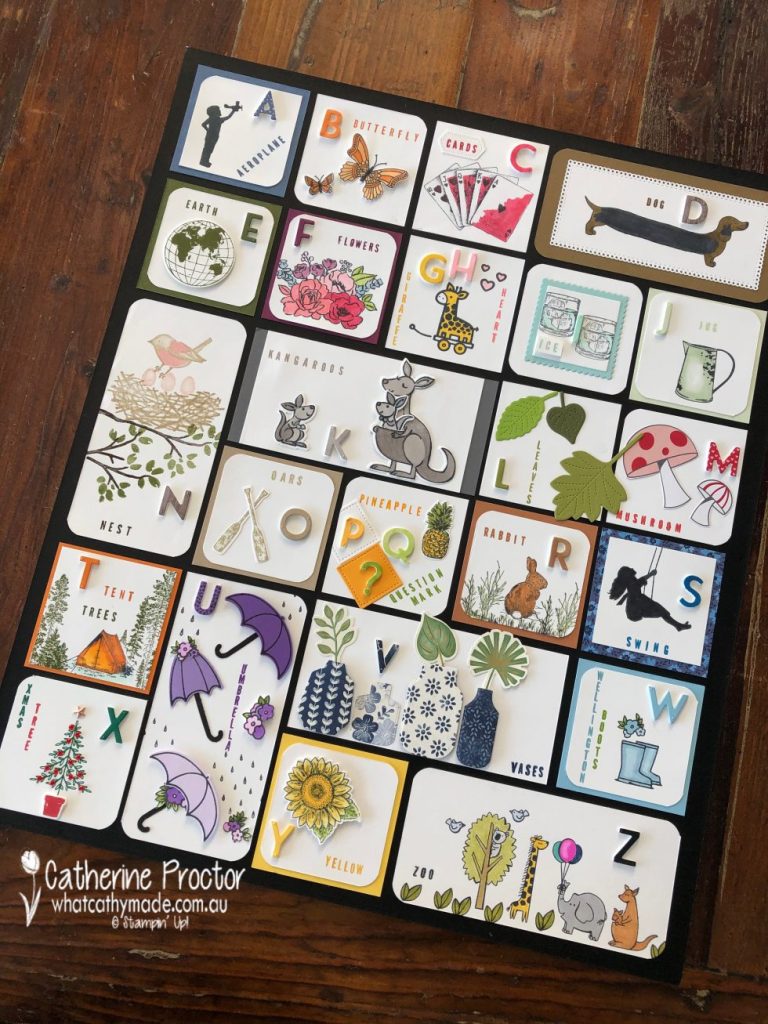
I’ve previously made a much larger alphabet sampler using the now retired Playful Alphabet Dies, however you could make it using the Alphabet à la Mode Dies instead.
A larger frame gives you a lot more creative licence with the way you lay out your sampler and the size of stamps and dies you can use, so if you’d like to make this larger alphabet sampler instead, you can read about how I made it here.
This smaller alphabet sampler was more of a challenge to make because I had to fit 26 letters onto a 12 x 12 inch piece of cardstock that could fit into the Celebrate Today Magnet Board Kit frame.
It took a bit of calculating, fiddling and adjusting, but I got there in the end!
Here’s how to make this smaller alphabet sampler.
Alphabet sampler instructions
Start with a frame that is designed to frame a 12 x 12 inch (30.5 x 30.5 cm) piece of cardstock – I used the one from the Celebrate Today Magnet Board and it measures 13 x 13 inches (33 x 33 cm).
You’ll also need a piece of 12 x1 2 inch (30.5 x 30.5 cm) cardstock as the backing layer. I think black is the best colour to make the alphabet squares really pop.
Most importantly, measure the dimensions INSIDE your frame so you can calculate the size of your alphabet squares. For the Celebrate Today Magnet Board the inside dimensions are 11.6 x 11.6 inches (29.5 x 29.5 cm).
Now take a look at your stamp collection and make a list of the stamps you could use for each letter – it’s important to do this at this stage of your project as you’ll need to fit two of your letters on the one square in order to fit your alphabet sampler into this size of frame. So think about one image that could illustrate two letters of the alphabet that sit next to each other.
There are 26 letter in the alphabet – ideally I would have liked to have 6 letters across and 6 down (36 squares in total) for visual interest and to give me more room to play, however it would not have allowed for squares that were large enough to fit in a letter, a word and an image.
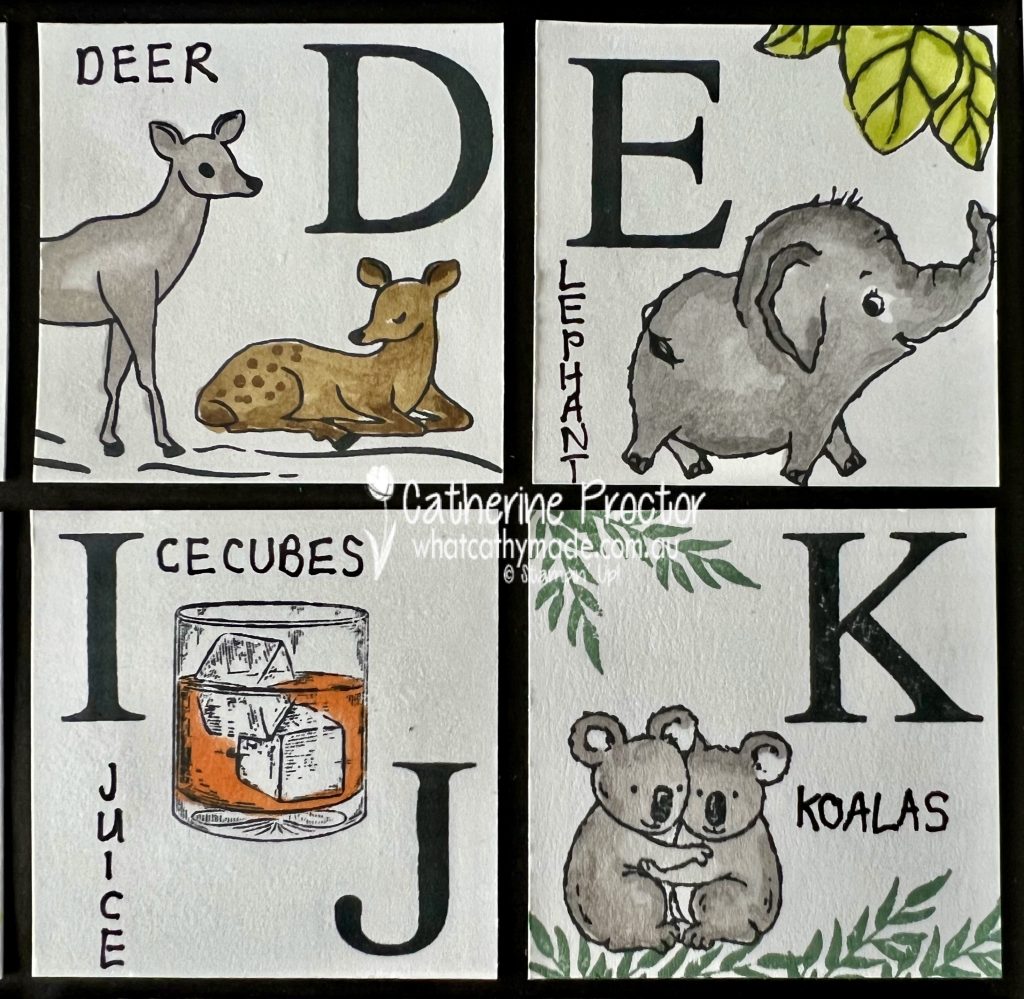
The solution? I decided on 5 squares across and 5 squares down (25 squares in total) and this meant I had to place 2 letters on the one alphabet square. I chose “I and J” for Ice and Juice – this allowed me to use the one image from Whiskey Business for both letters.
Each of my Basic White squares measure 5.5 x 5.5 cm – if you are calculating this in inches you could get away with slightly larger 2 1/4 inch squares for ease of measurement and cutting.
Just make sure that the size of your squares allows for enough room to show the backing cardstock – it really makes the alphabet squares pop!
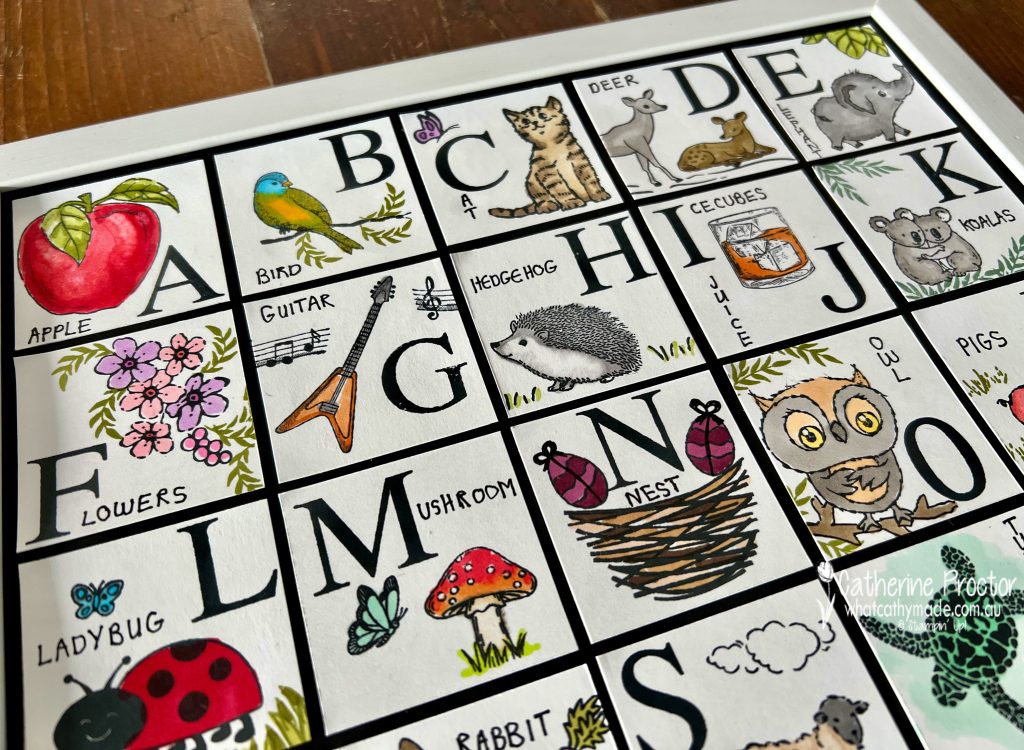
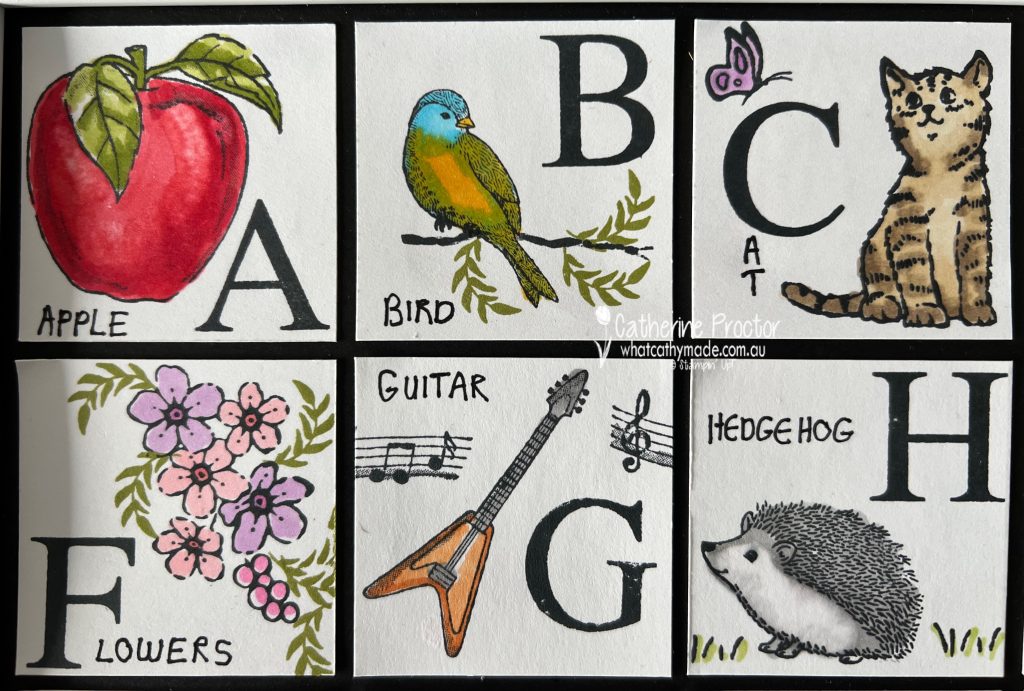
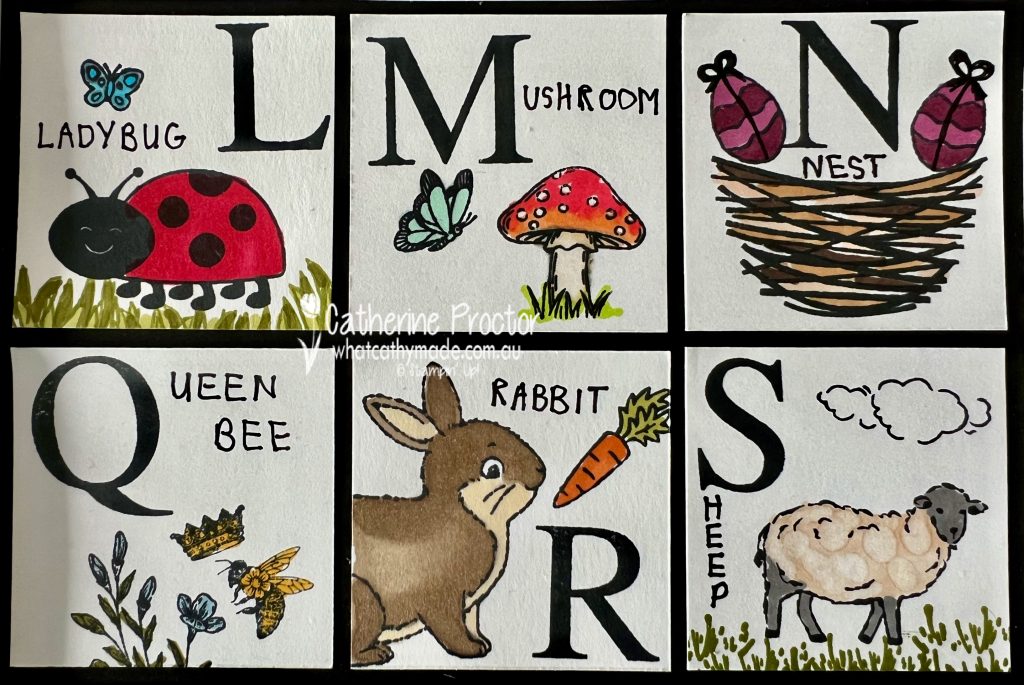
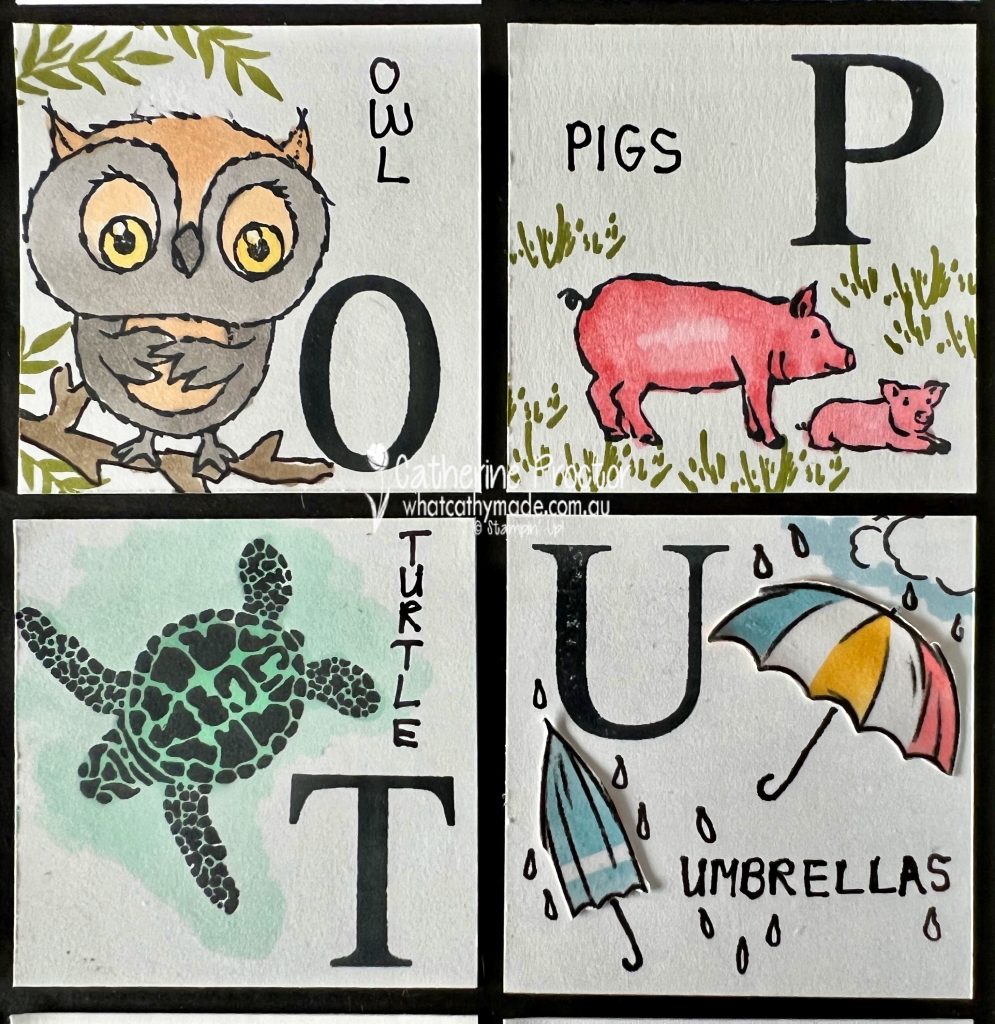
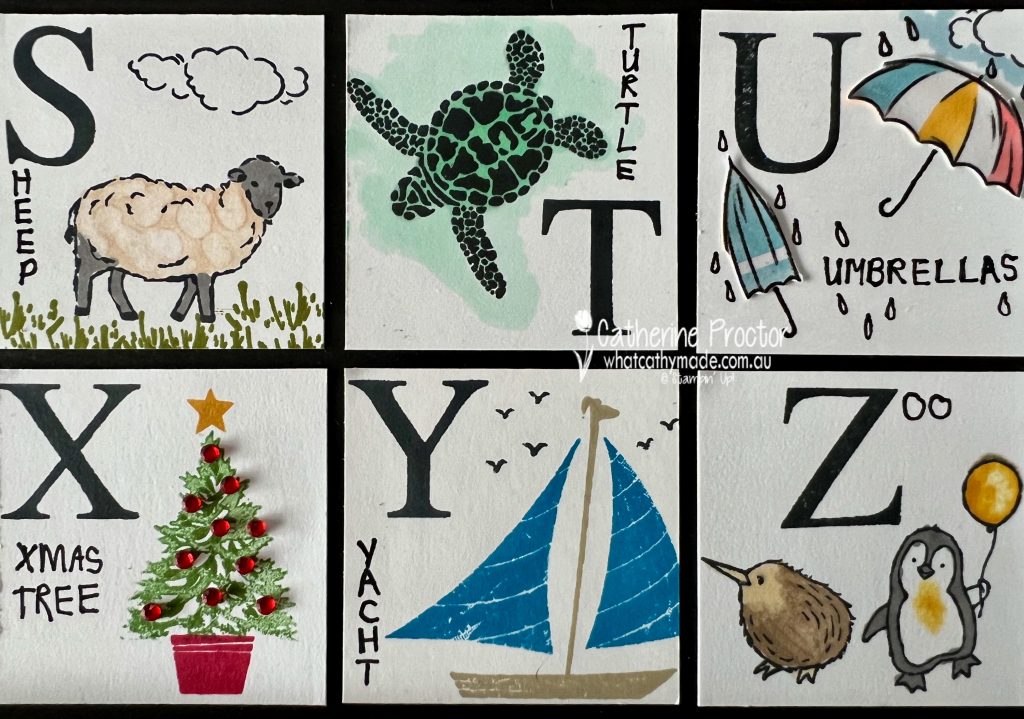
Here’s a closer look at each of the sections of the alphabet sampler.
Top half.
Bottom half.
These classic letters are the perfect size for this sampler and if you look closely you’ll also see I used the greenery flourishes from this stamp set in many of the squares as well.
I used a Stampin’ Write Marker in Basic Black to hand write the words so they were small enough to fit into the squares.
I’m a leftie and my handwriting is so messy – hopefully it adds to the handmade charm of the project!!!
I also used the Basic Black Stampin’ Write marker to add details to some of the squares, including the rain drops on the umbrella square. I didn’t have an umbrella stamp so I fussy cut umbrellas from the “Rain or Shine” DSP and then hand drew the umbrella handles.
Other tips for making this style of sampler?
Stamp the letters in different positions on each square, ensuring they work with the shape and orientation of each image and that they are nicely distributed throughout the sampler.
Once you’ve stamped each letter and the image, make sure you “ground” each image by adding some extra details and context, such as flowers, butterflies, branches, grass or clouds to create a mini scene.
Before you adhere the letter squares to the 12 x 12 cardstock, colour the images, ensuring there is a variety of colour throughout the sampler.
Write the name of each letter image and add then your own doodling to add visual interest, such as the bows on the top of these easter eggs in the nest and the rain drops on the U for umbrella.
Finally, adhere the squares to your background cardstock once it is inside the frame so you can evenly space the squares in the space.
Start with the row across the top and down the left hand side – once these letter squares are in and evenly spaced it makes it so much easier to line up the rest of the squares.
This was such a fun project to make – I wanted to use these stamps and colours before many of them retire at the end of April. You can use whatever you have in your stamp collection.
I’ll be back this Wednesday April 5, with the AWH Colour Creations team to showcase one of the retiring core colours – So Saffron. I hope you can join us then.