Welcome to week 22 of our 2021-22 Colour Creations blog hop! Tonight we are showcasing Highland Heather, a soft purple from the Subtles colour collection.
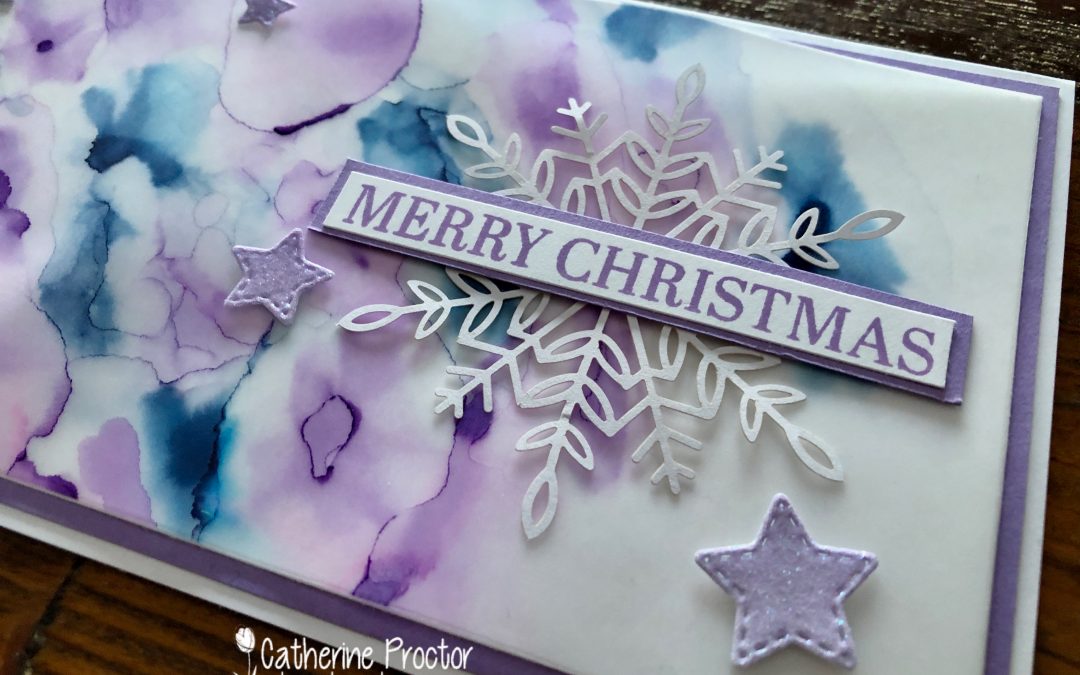
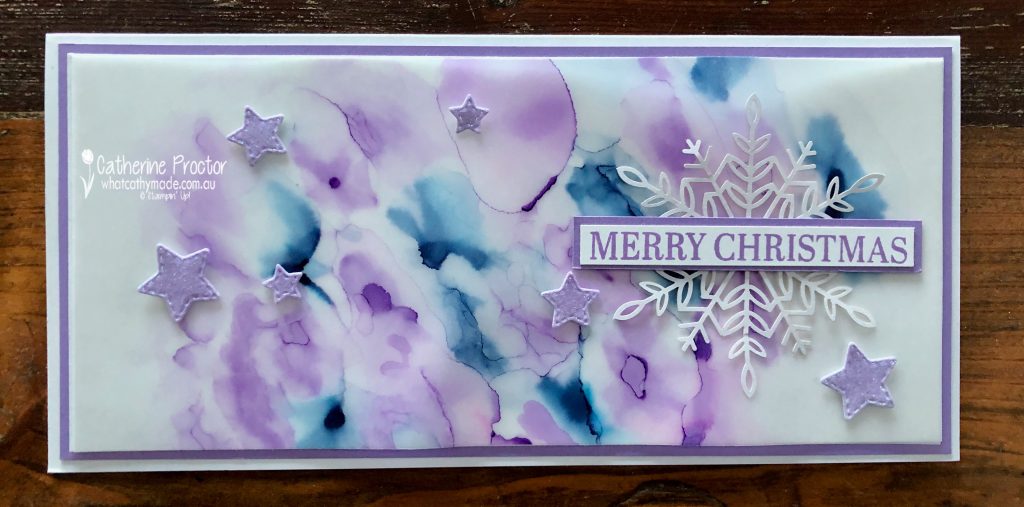
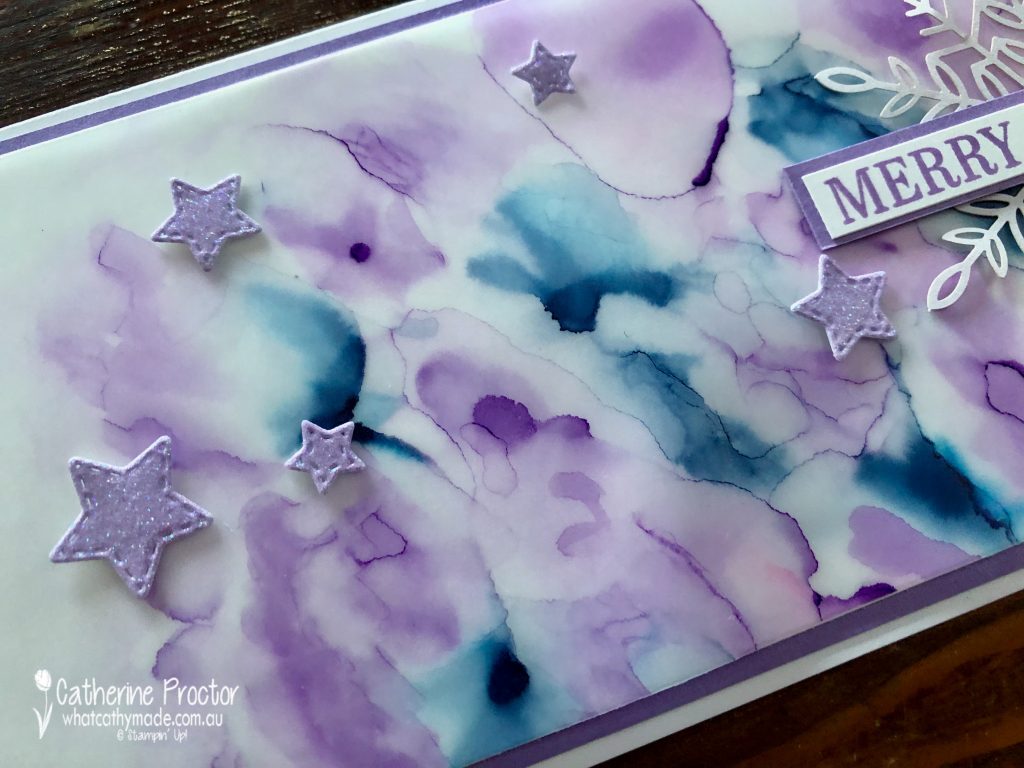
I know I’m a bit late to the party, but this week I finally tried the Stampin’ Blends alcohol technique. Oh my goodness, gracious me – what a fantastic technique this is! If you haven’t tried this technique yet, just give it a go. There is no right or wrong, it’s easy to do and you get a totally different effect every time. All you need are Stampin’ Blends, 100% Isopropyl Alcohol, vellum and a paintbrush.
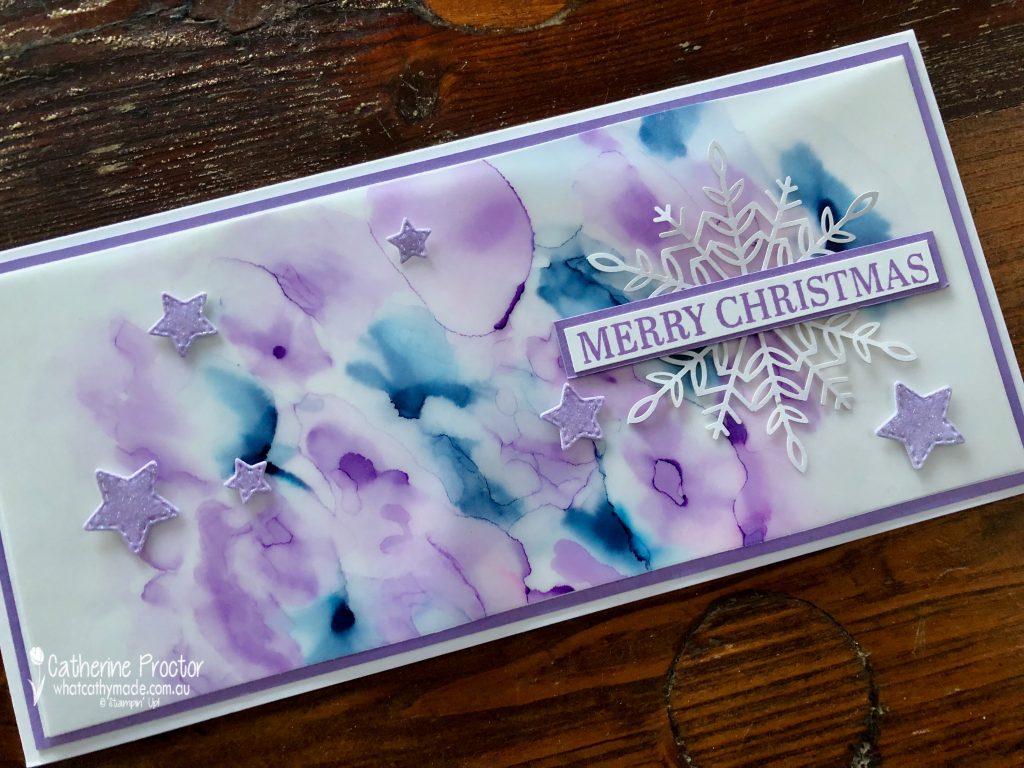
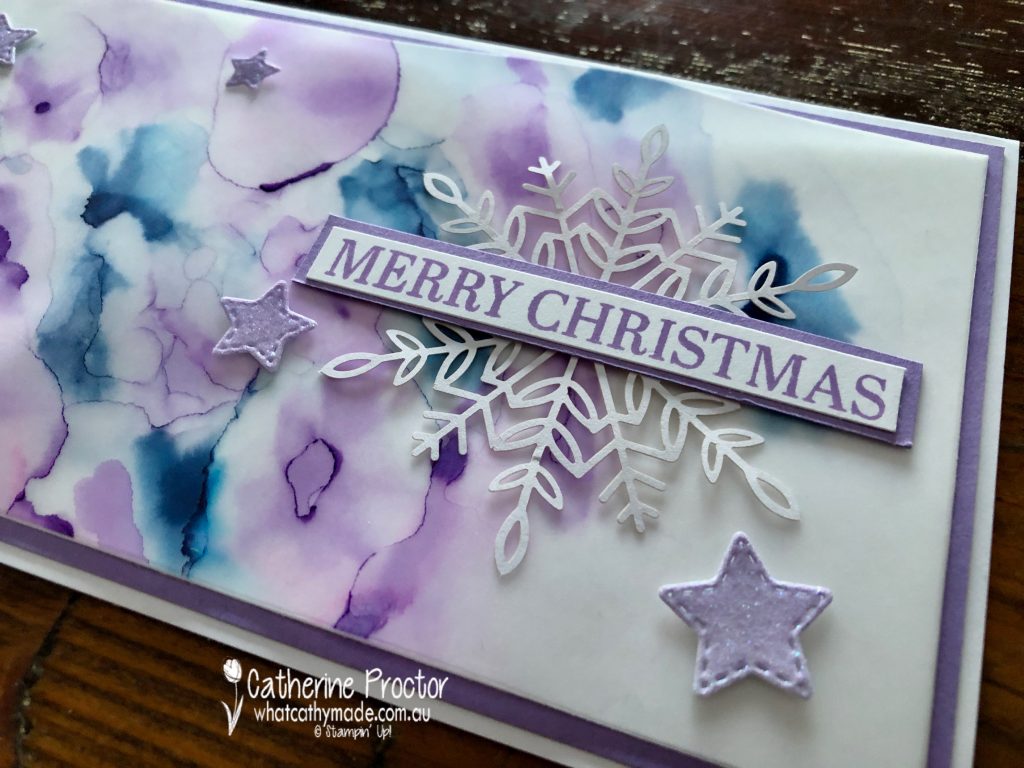
For my slimline card (10 x 20 cm) I used my dark Highland Heather Stampin’ Blend and my dark Night of Navy Stampin’ Blend. I simply scribbled random “splotches” of each colour onto vellum and then used a paint brush to gently paint the edges of the splotches with 100% Isopropyl Alcohol.
If I felt the gaps between splotches were too big, I simply waited for the alcohol to dry, added more colour with the Stampin’ Blend and repeated the alcohol painting with my paintbrush.
The sparkly stars are die cut from the from one of the glittering glimmery ombre specialty papers using the star dies from the Give It a Whirl dies. I used the Gorgeous Grape glittering glimmery ombre specialty papers – the lighter end of this ombre paper looks more like Highland Heather than Gorgeous Grape.
TIP: Once the alcohol has dried, adhere your embellishments to the front side of the vellum FIRST and them turn the vellum over and strategically place adhesive BEHIND where the embellishments sit so you can’t see the adhesive behind the vellum layer.
A snowflake from the Wonderful Snowflakes embellishments and the Merry Christmas sentiment from the Sparkle of the Season stamp set complete my Christmas card.
Now it’s time to hop on over to our next participant, the lovely Michele Taylor – I can’t wait to see what she’s made this week!
If you find a broken link or have come to this blog hop from a different entry point, you can view the the full list of participants below:
Hello crafters! Welcome to Week 17 of our AWH Heart of Christmas blog hop.
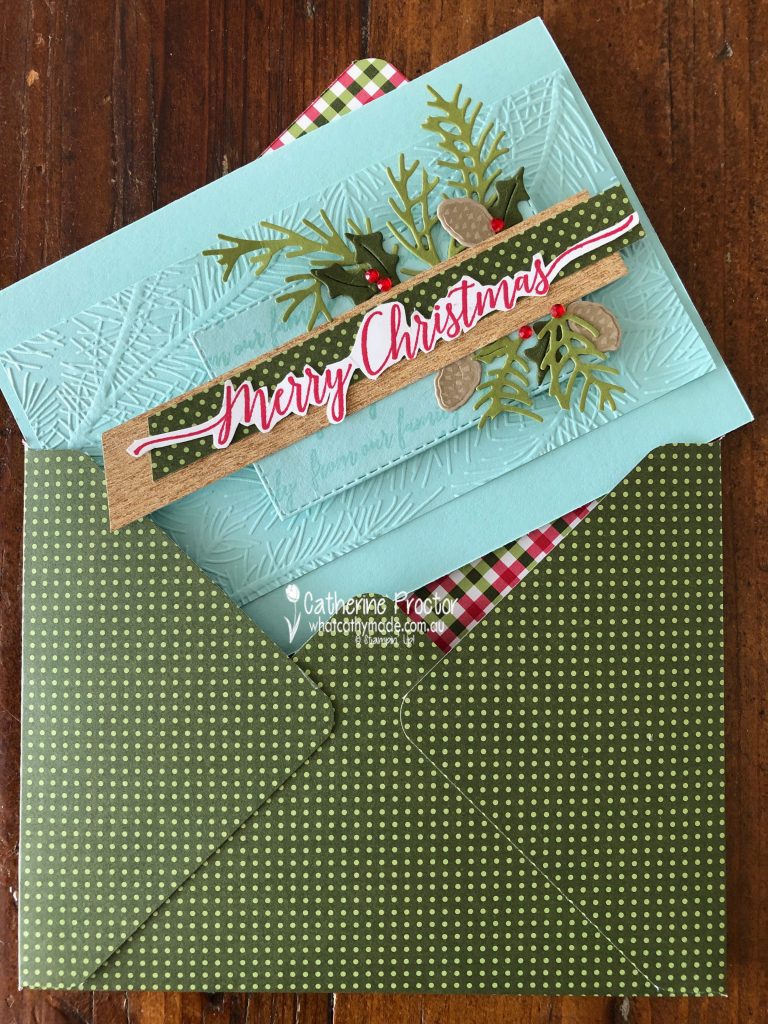
This week I decided to CASE the Stampin’ up! July-December 2021 Mini Catalogue. If you don’t know what CASE stands for, it means to Copy And Share Everything. The Stampin’ Up! catalogues are a great source of inspiration for design ideas, which is why I always hold onto old copies of the Stampin’ Up! catalogues.
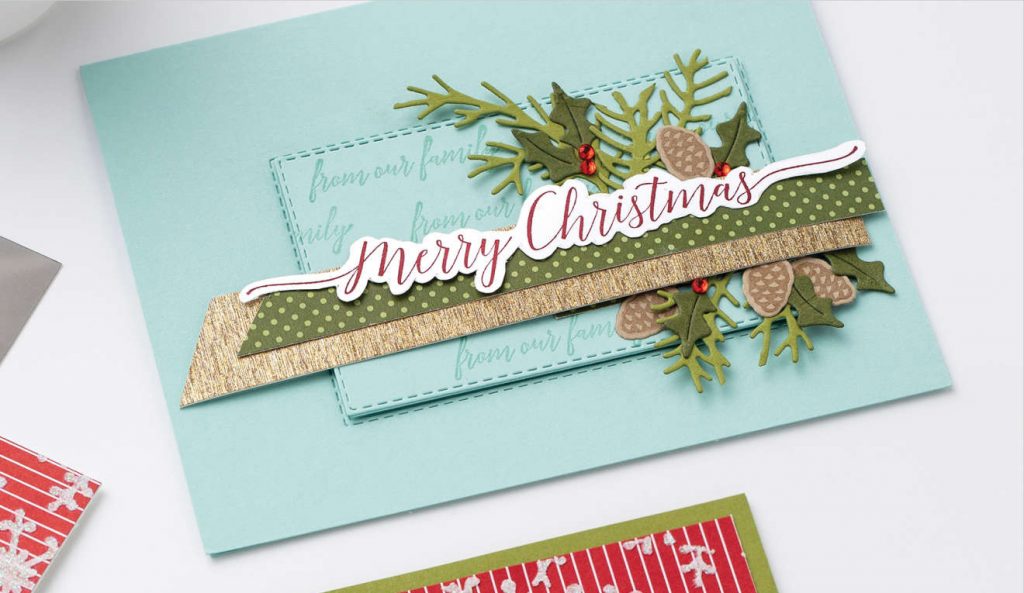
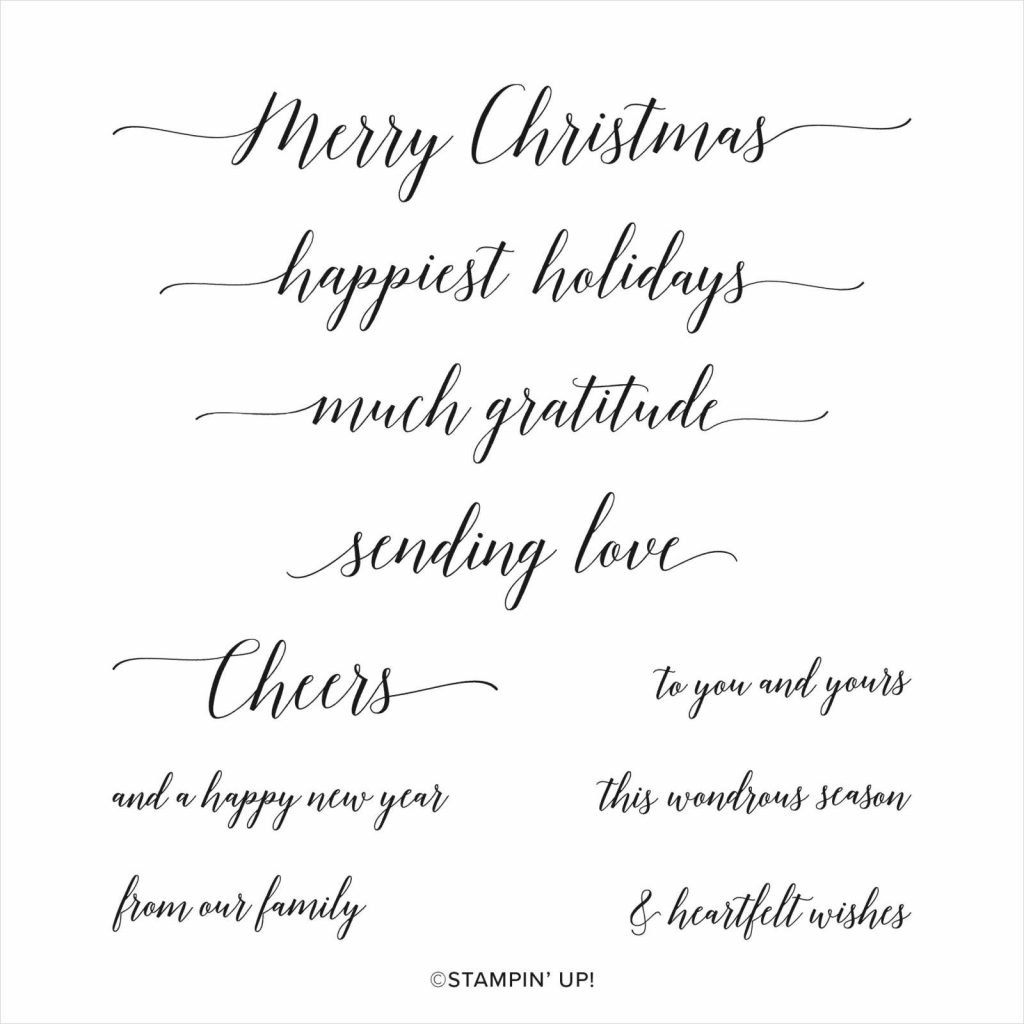
The card I cased is on page 57 of the July-December 2021 Mini Catalogue and I loved this card so much I bought the Heartfelt Wishes stamp used on this card.
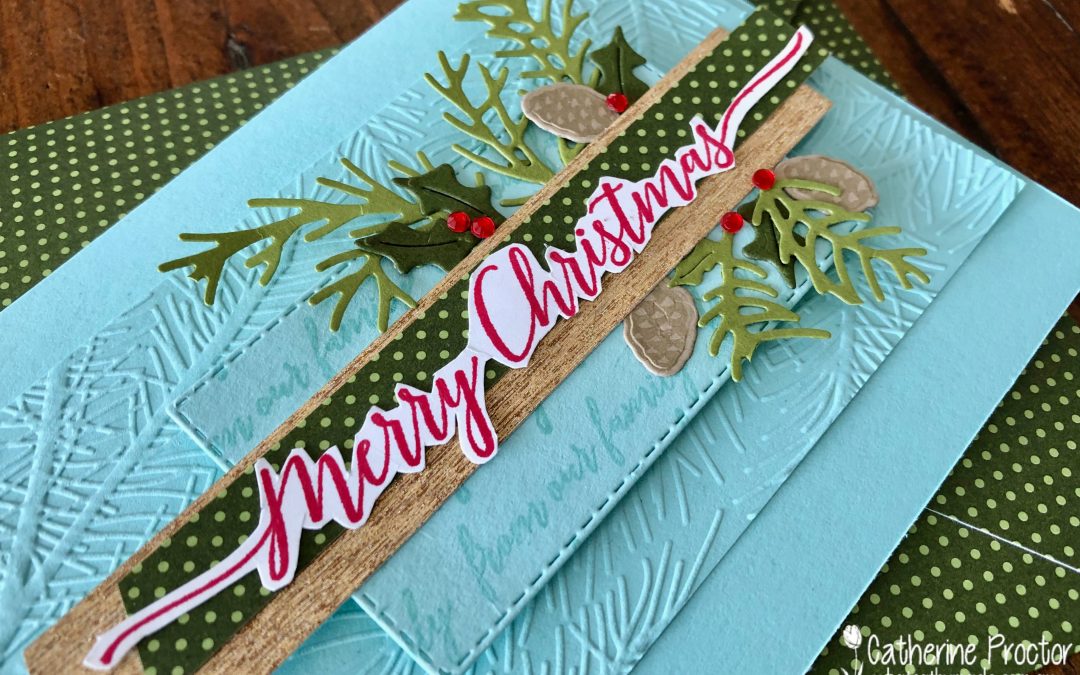
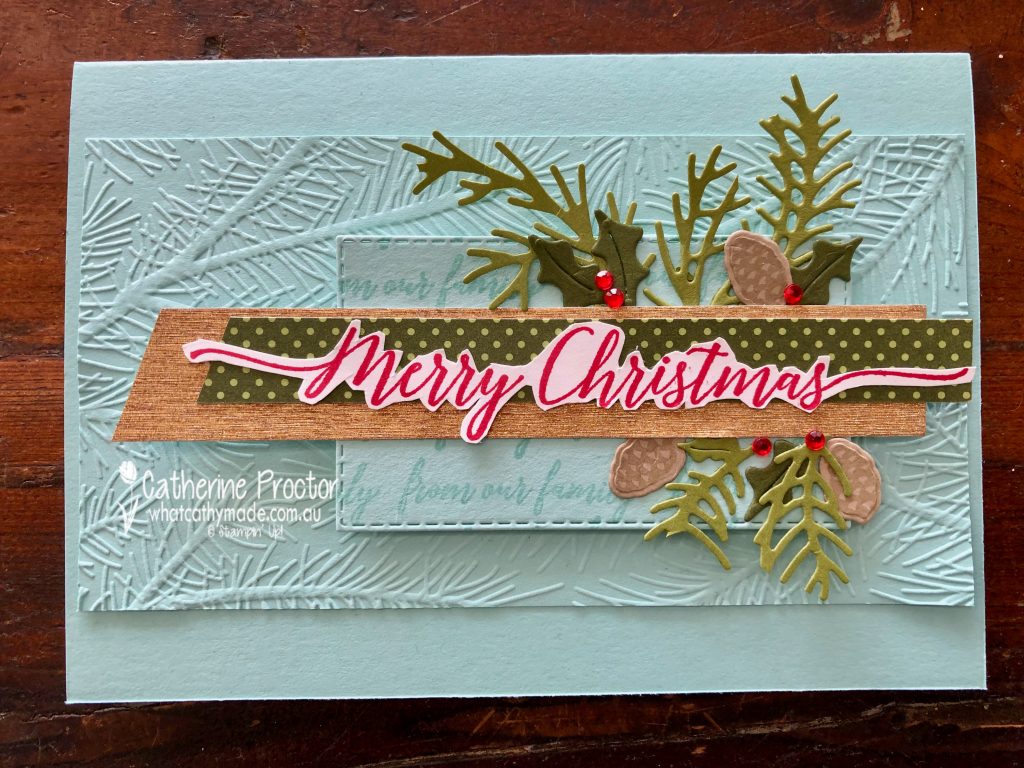
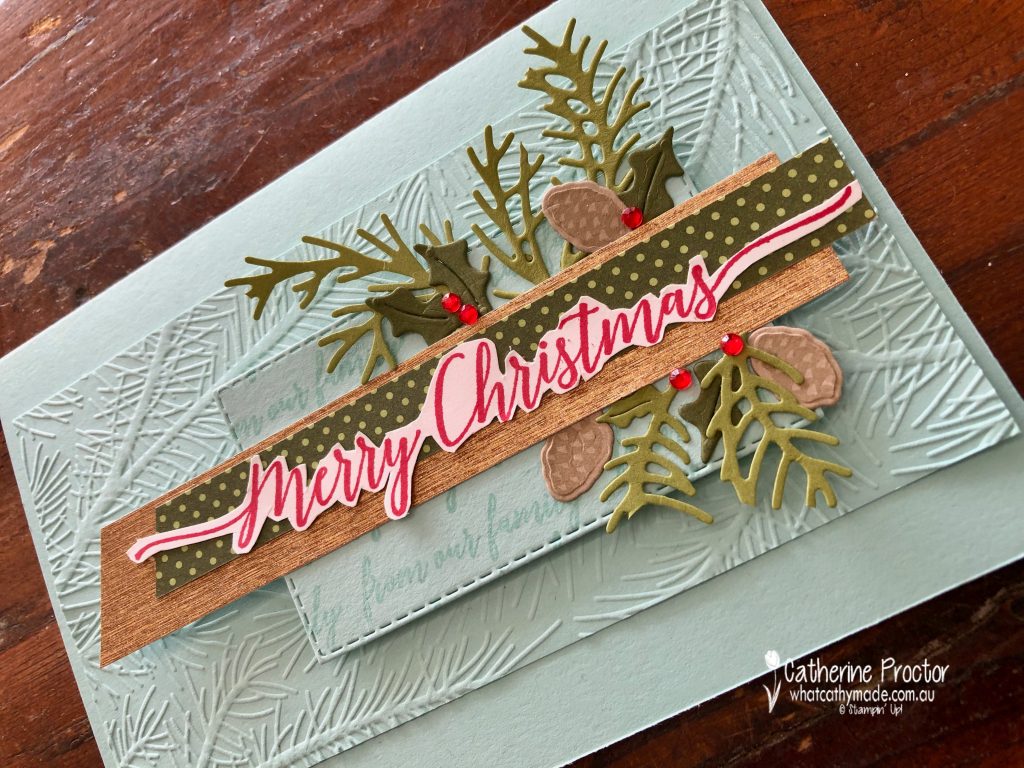
Although I kept the colours and the layout pretty much the same as the original, I also added in an an embossed layer using one of the wintry embossing folders. Such a simple step, but doesn’t it give a wonderful dimension to the card?
Once again I’ve used the incredibly versatile Seasonal Swirl dies and matching Sparkle of the Season stamp set for the foliage the holly leaves and the pine cones. The holly berries are Red Rhinestones.
The lovely spotted Mossy Meadow strip of DSP is from Heartwarming Hugs DSP – I’ve made a co-ordinating envelope with this DSP too.
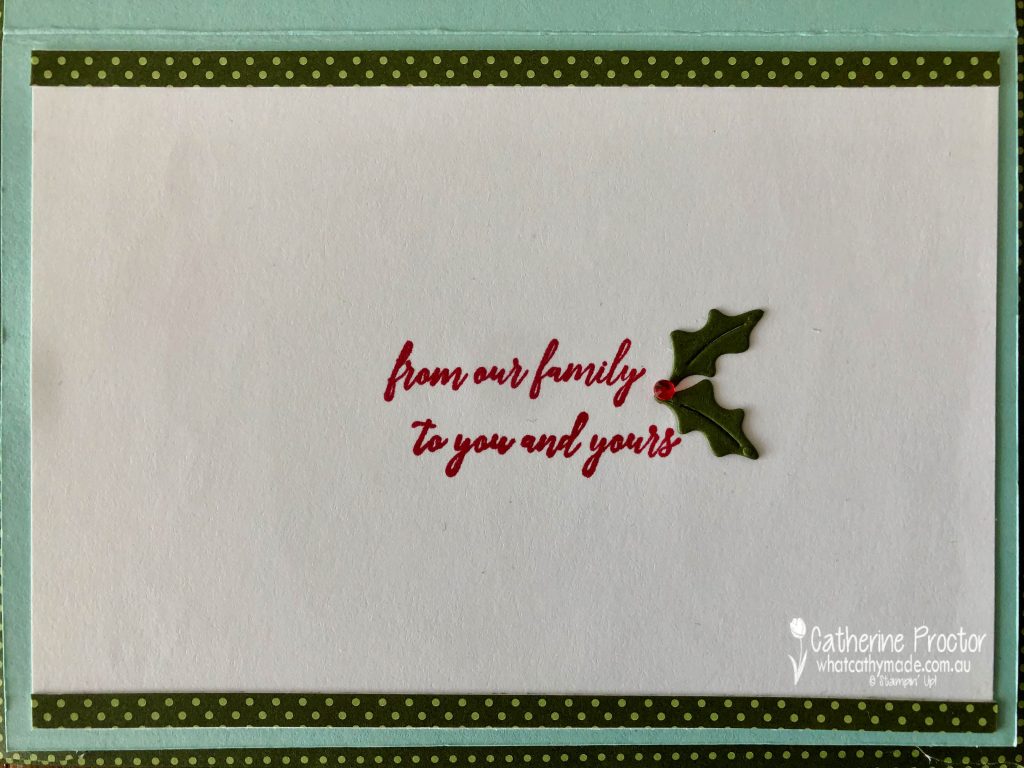
The inside of the card uses the “from our family to yours” stamp that I also used on the front of the card, more holly and strips of the Heartwarming Hugs DSP.
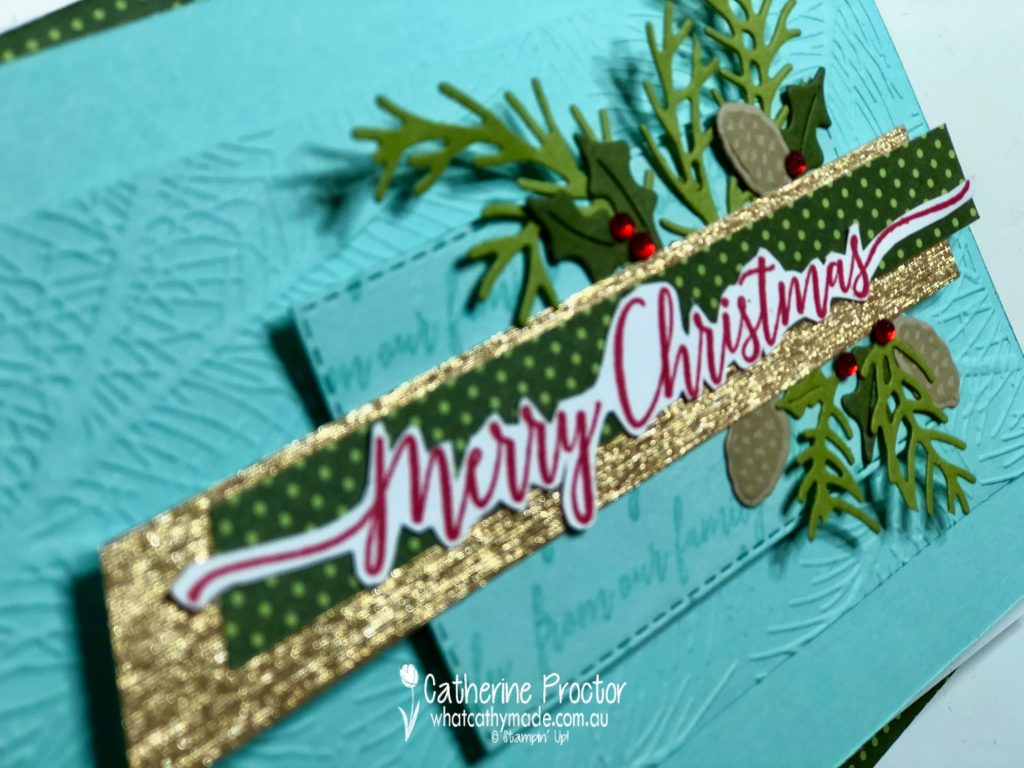
This strip of Gold Brushed Metallic 12″ x 12″ (30.5 x 30.5 cm) Cardstock really adds so much interest to the card – this close up shows you just how sparkly it is!
Now it’s time to hop on over to our next participant, the lovely Claire Daly. I can’t wait to see what Claire shares with us today!
If at any time you find a broken link please head to the blog of this week’s host of The Heart Of Christmas Blog Hop, Sharon Davern, and she will have the list of all those participating.
Thanks for visiting my site. I’ll be back with another card on Wednesday.
In the meantime, wherever you are in the world, stay safe, stay calm … and keep on crafting xxx
Welcome to week 21 of our 2021-22 Colour Creations blog hop! Tonight we are showcasing Gray Granite, a really versatile gray from the Neutrals colour collection.
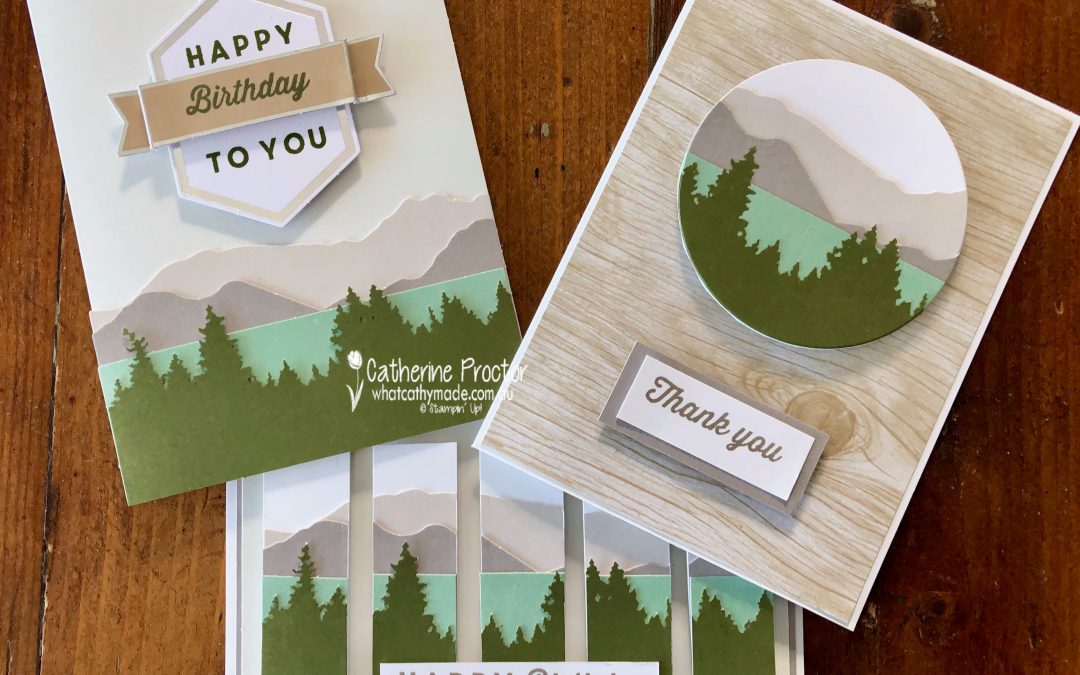
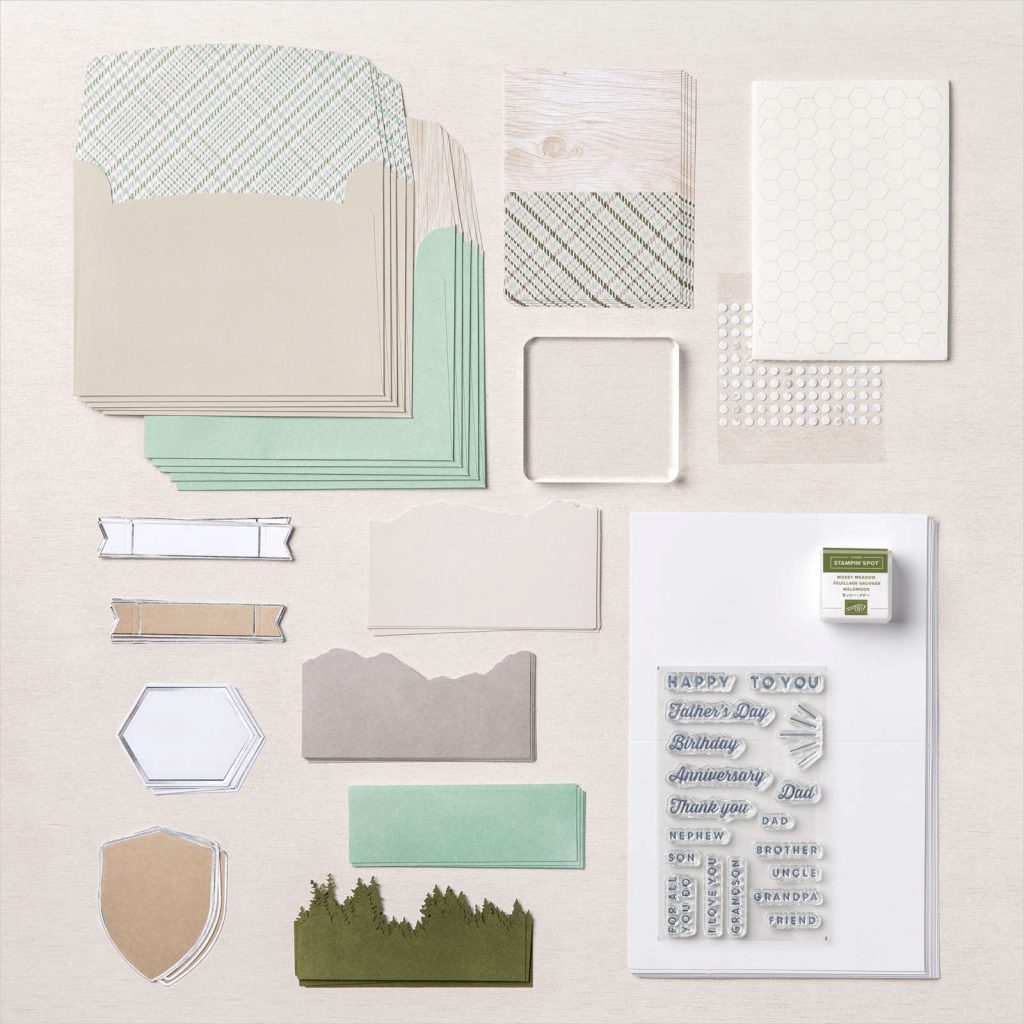
This week I didn’t have a lot of time to craft so I opened up one of my Stampin’ Up! kits: the For the Guys All-Inclusive Card Kit. For $33 this kit is incredible value as you get all the materials you need to make 10 cards with 10 matching envelopes.
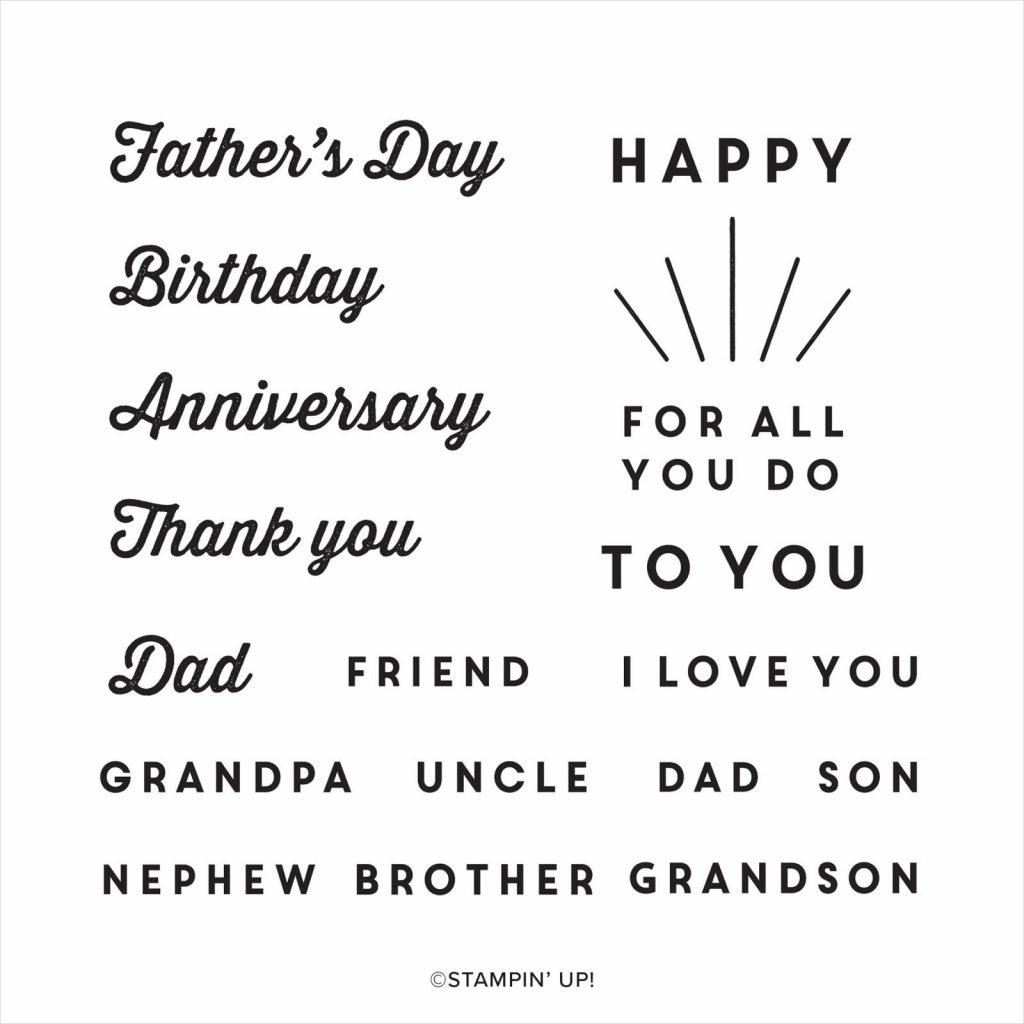
After you’ve made your 10 cards you still have leftover adhesives as well as an acrylic block, a Mossy Meadow Stampin’ Spot and a fantastic stamp set full of stamps to suit virtually any man in your life!
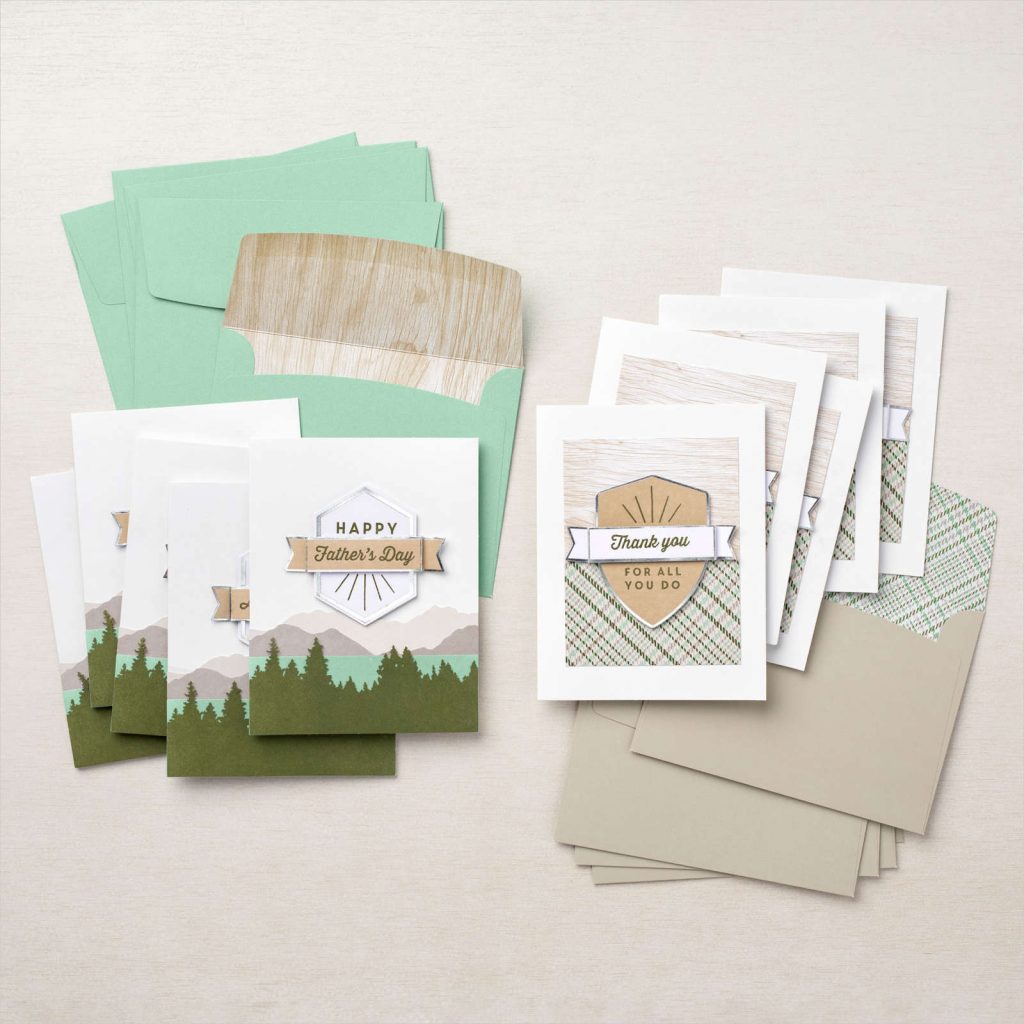
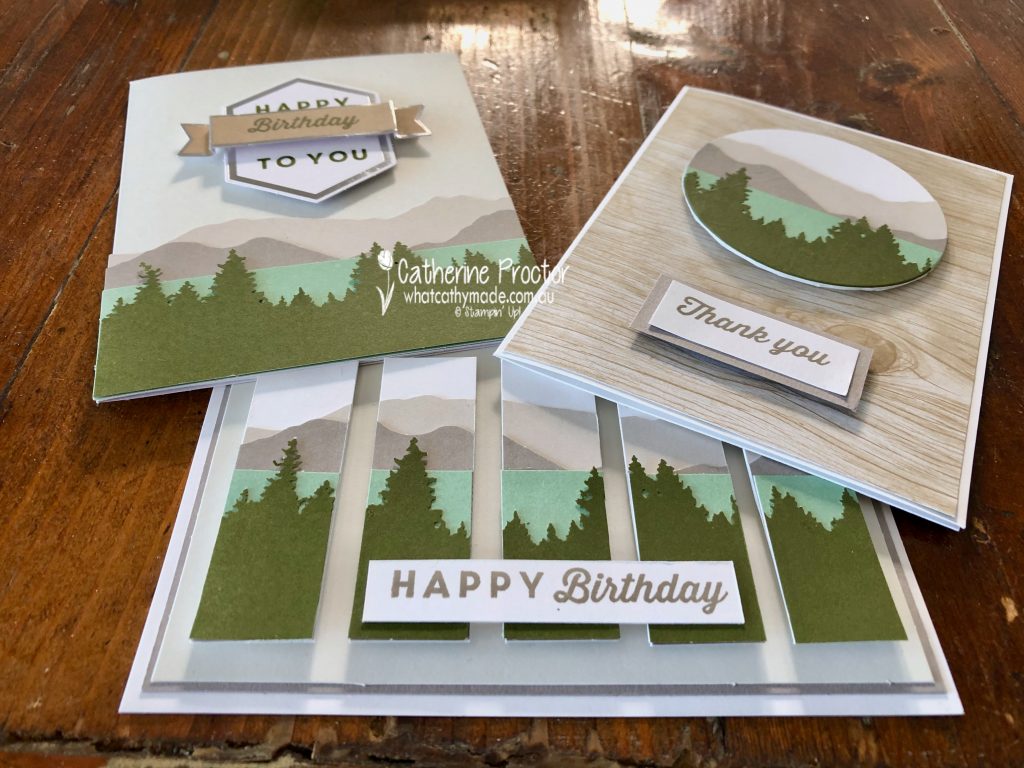
You could simply make these cards up as instructed or make your own variations. These are how the cards look when they are made up per the enclosed instructions.
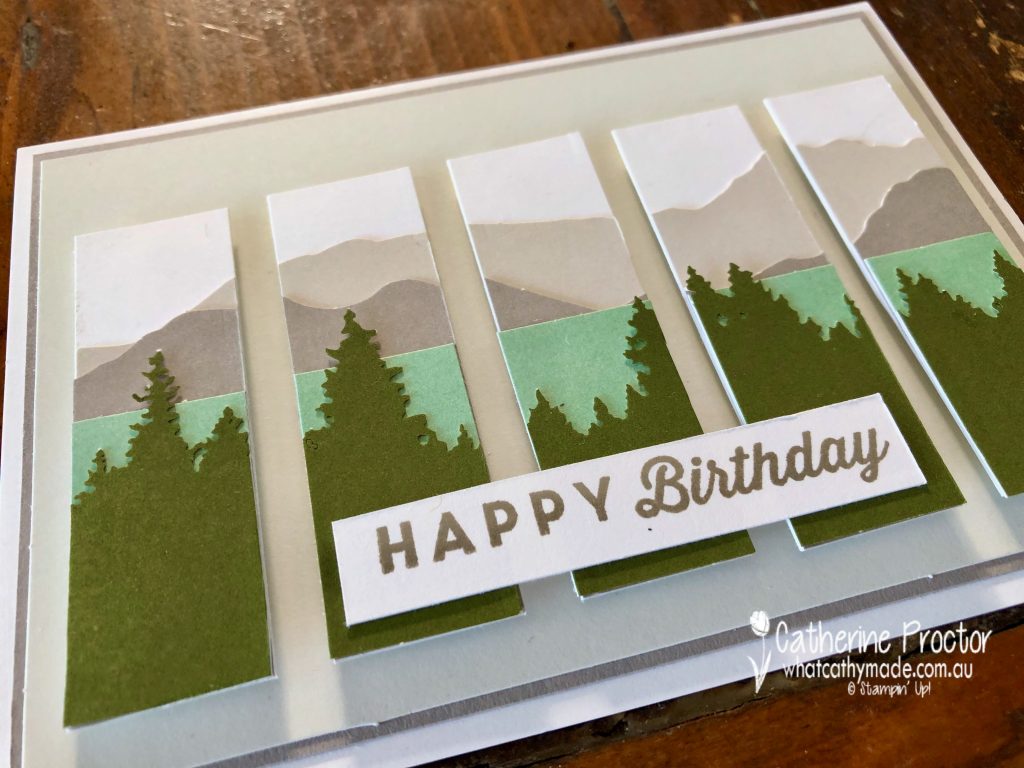
Here’s my first variation. I trimmed and mounted one of the card bases to a layer of Gray Granite cardstock onto a Basic White card base. The mountain scene was layered up as per the card design but It was adhered to the a layer of Basic White and cut into 5 strips before mounting onto the card base using dimensionals.
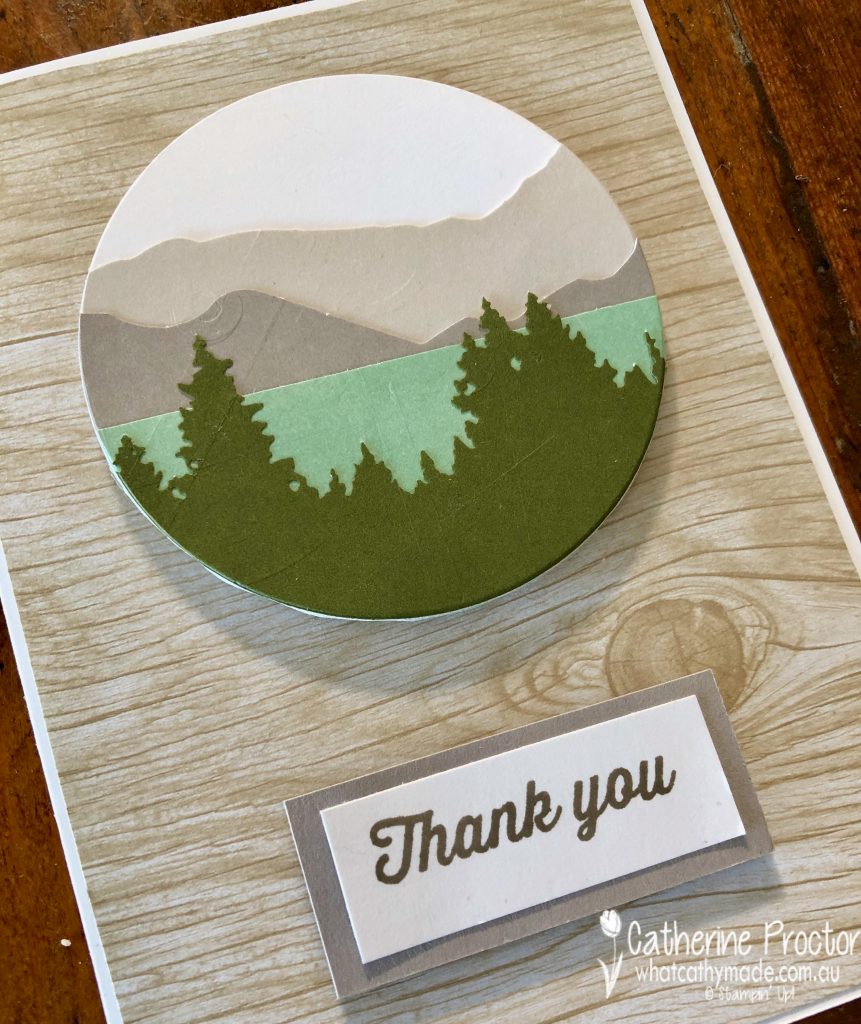
This card uses the lovely woodgrain pattern from one of the envelopes in this kit as the base layer on the Basic White card base – I’ll simply use another envelope instead for this card. The largest layering circle die cut this scene.
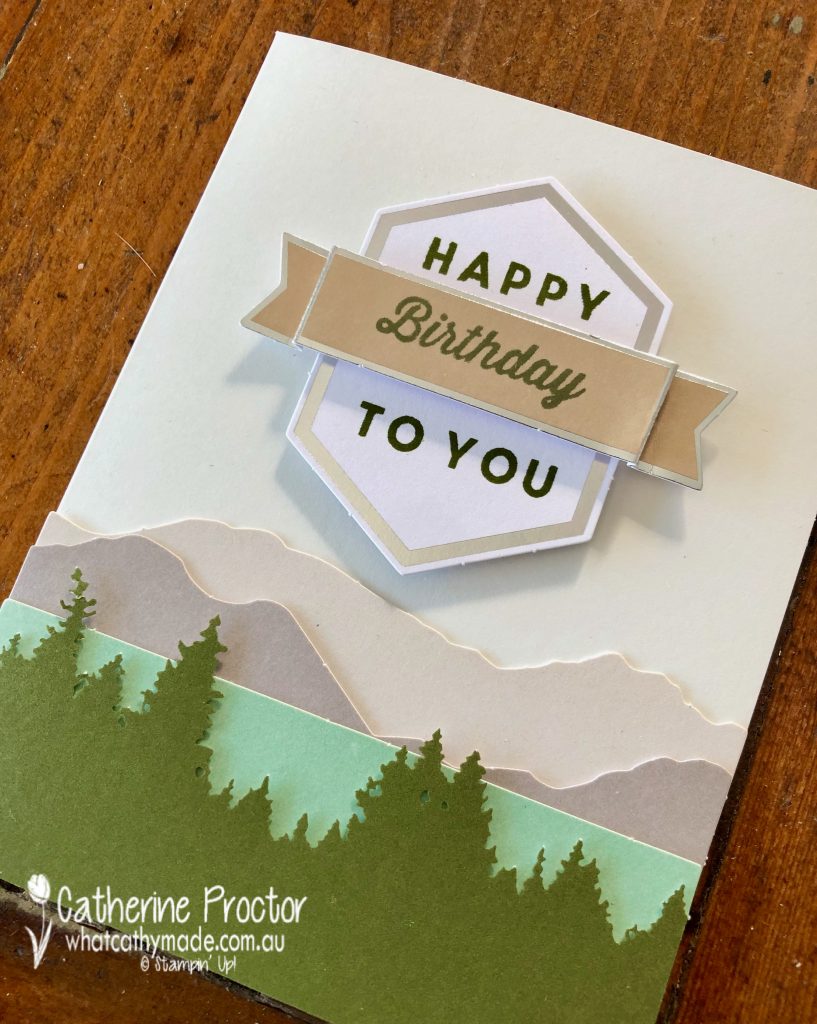
I did make up this card as per the kit instructions, but as I would not use this as a Father’s Day card (as suggested in the instructions) I substituted the Father’s Day sentiment for the birthday one instead.
I’m really happy with these masculine cards – the Gray Granite works so well these other soft neutral colours.
Now it’s time to hop on over to our next participant, the lovely Kate Morgan – I can’t wait to see what she’s made this week!
If you find a broken link or have come to this blog hop from a different entry point, you can view the the full list of participants below:
Hello crafters! Welcome to Week 16 of our AWH Heart of Christmas blog hop.
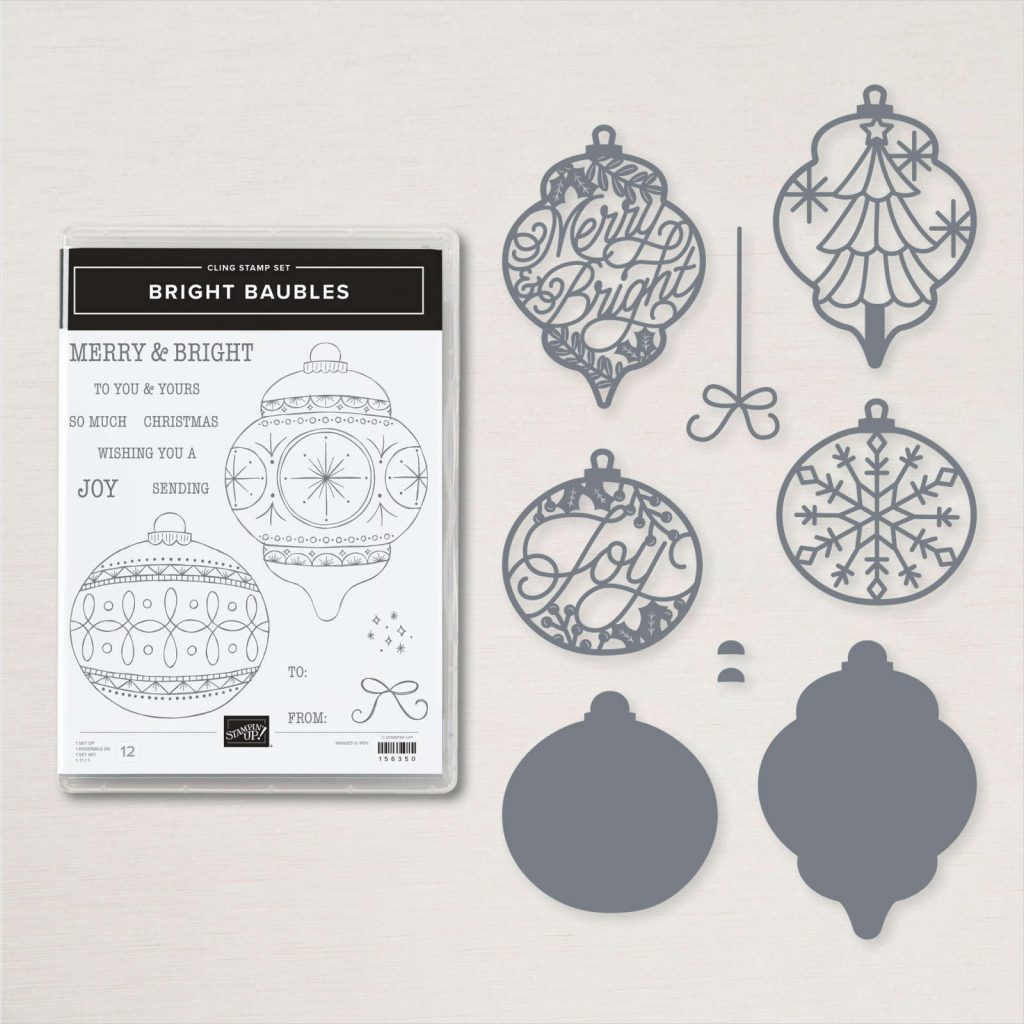
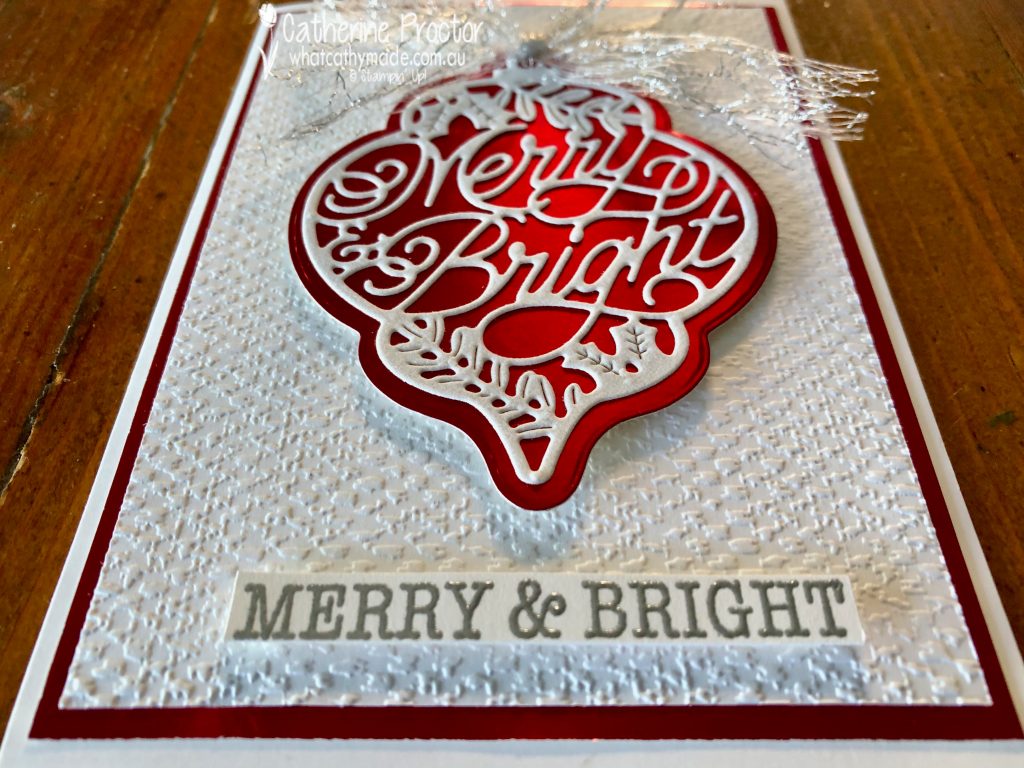
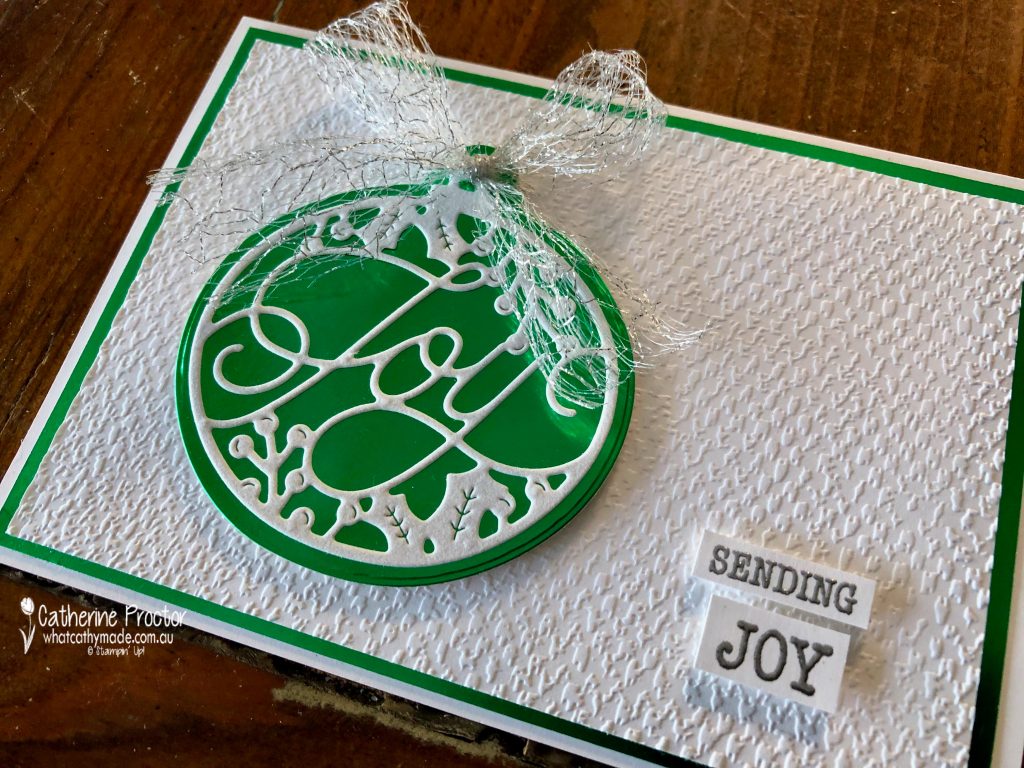
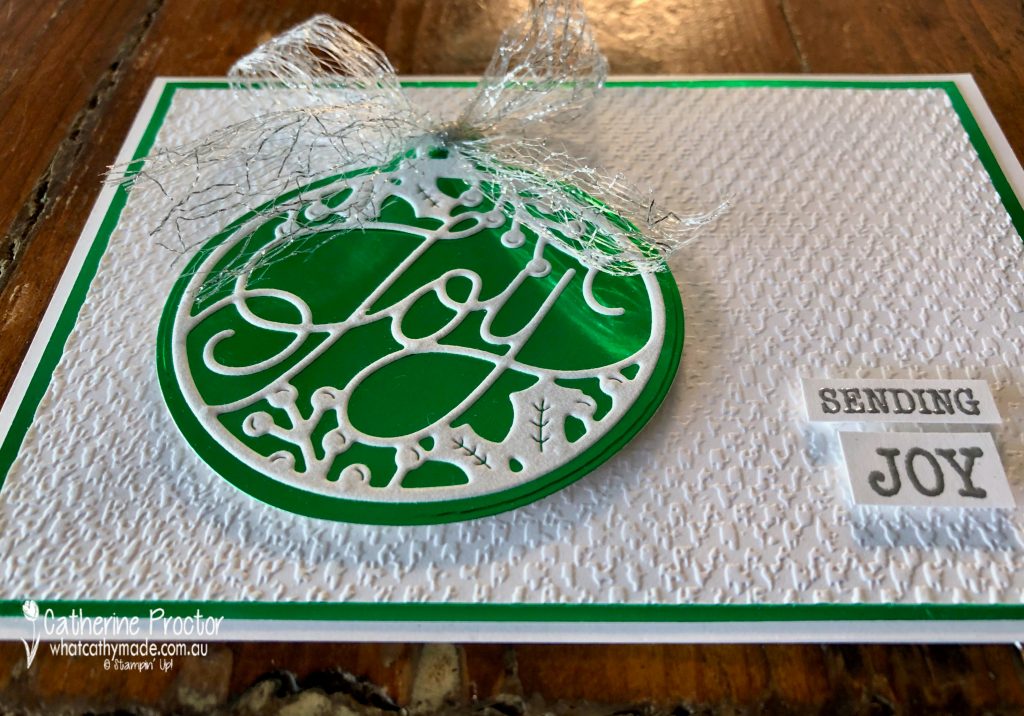
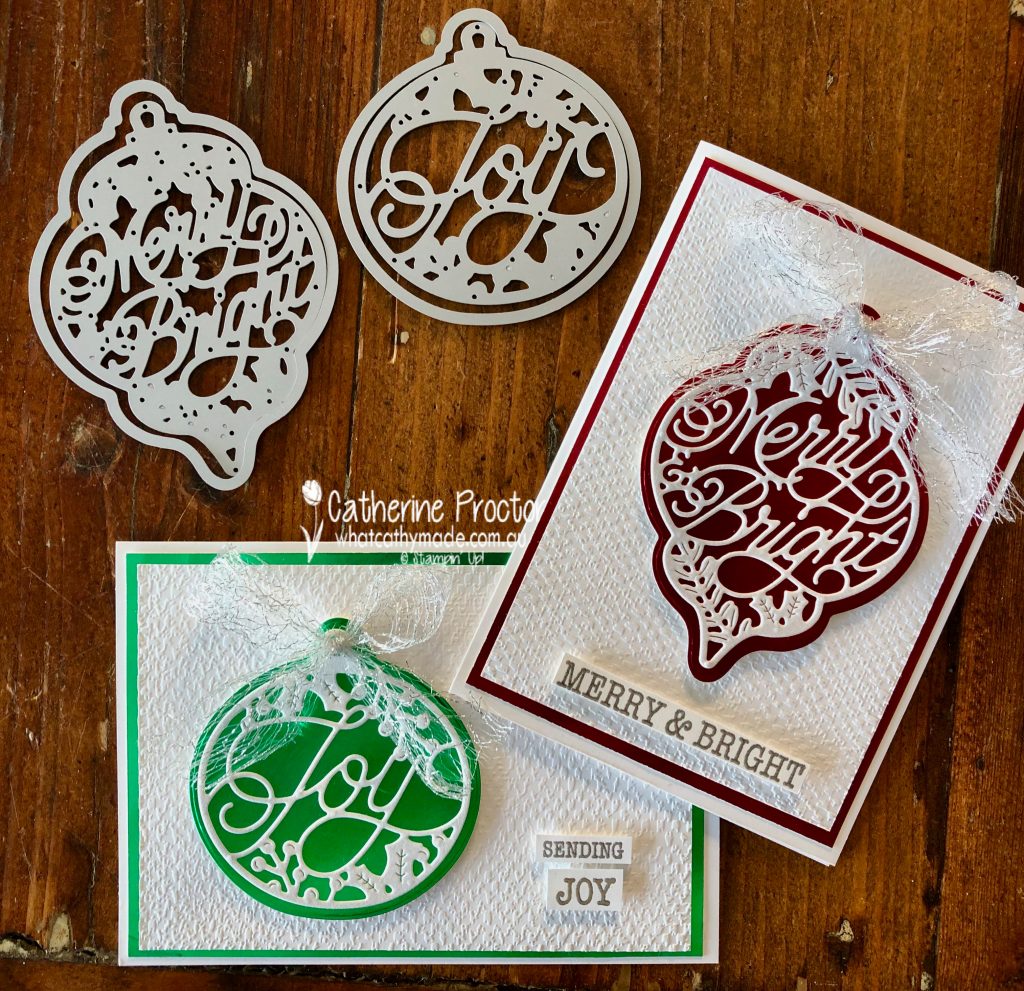
This week I have another two Christmas Bauble cards, made using the Delicate Baubles dies and Bright Baubles stamp set from the Bright Baubles Bundle.
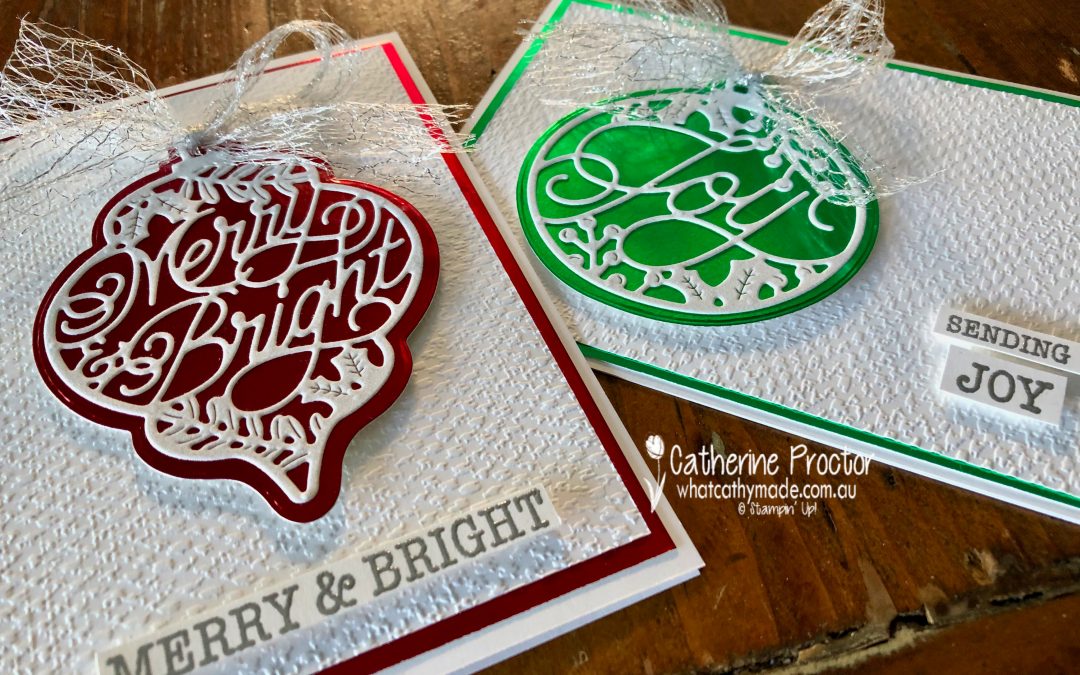
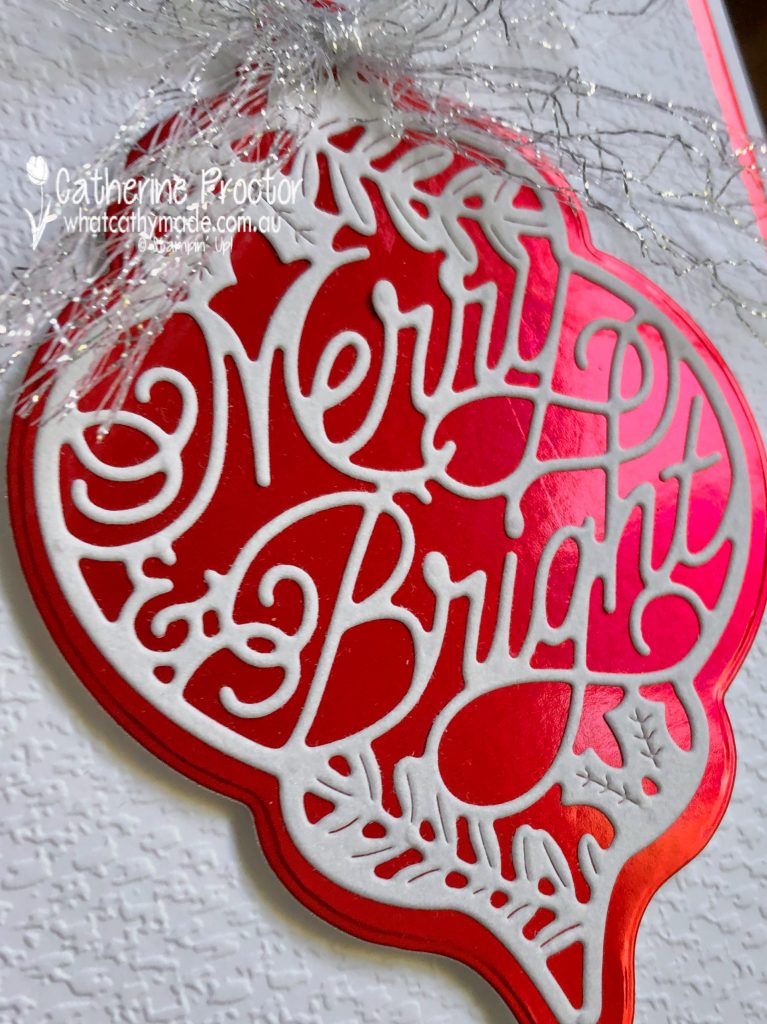
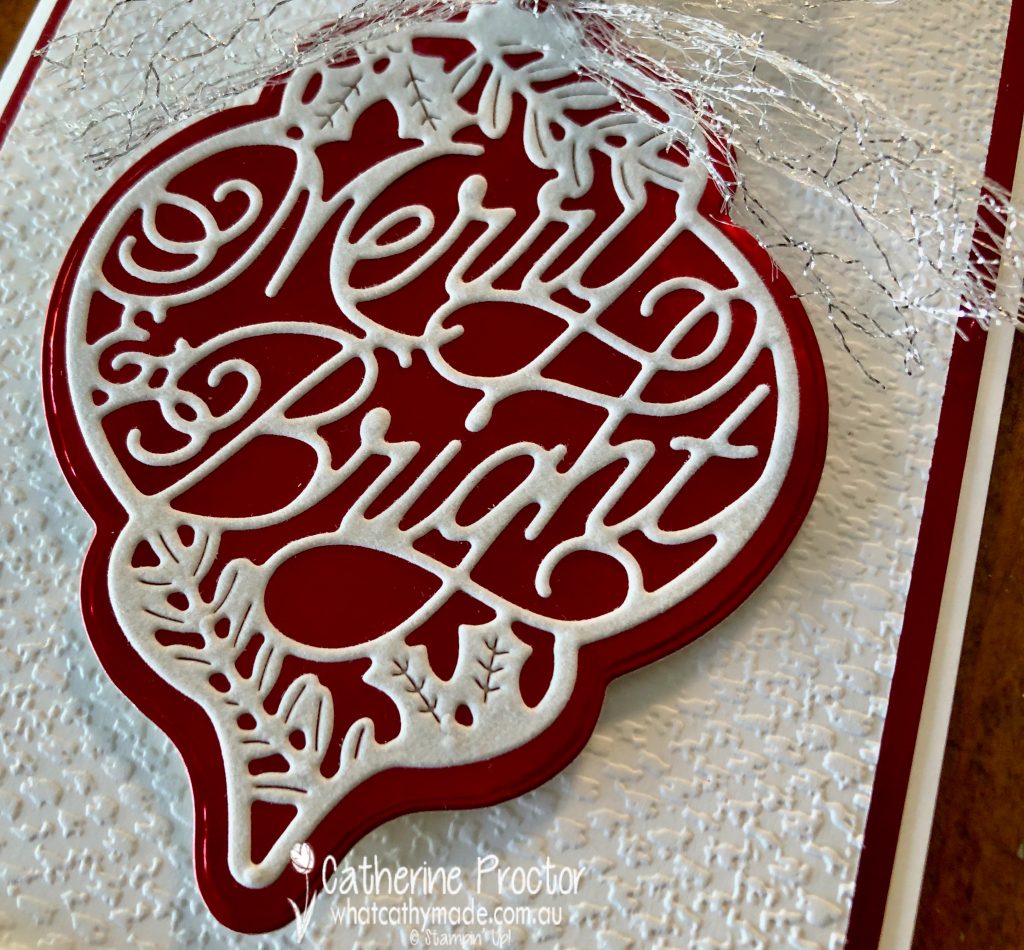
I’ve used some of the Stampin’ Up! specialty papers for my bauble cards. Card one uses Red Foil for the base of the bauble and Snowy White Velvet Sheets for the intricate “Merry & Bright” pattern detail on the bauble. I’ve taken this super close up photo to show you how shiny the red foil is and how gorgeous this velvet paper is – I wish you could stroke this card!
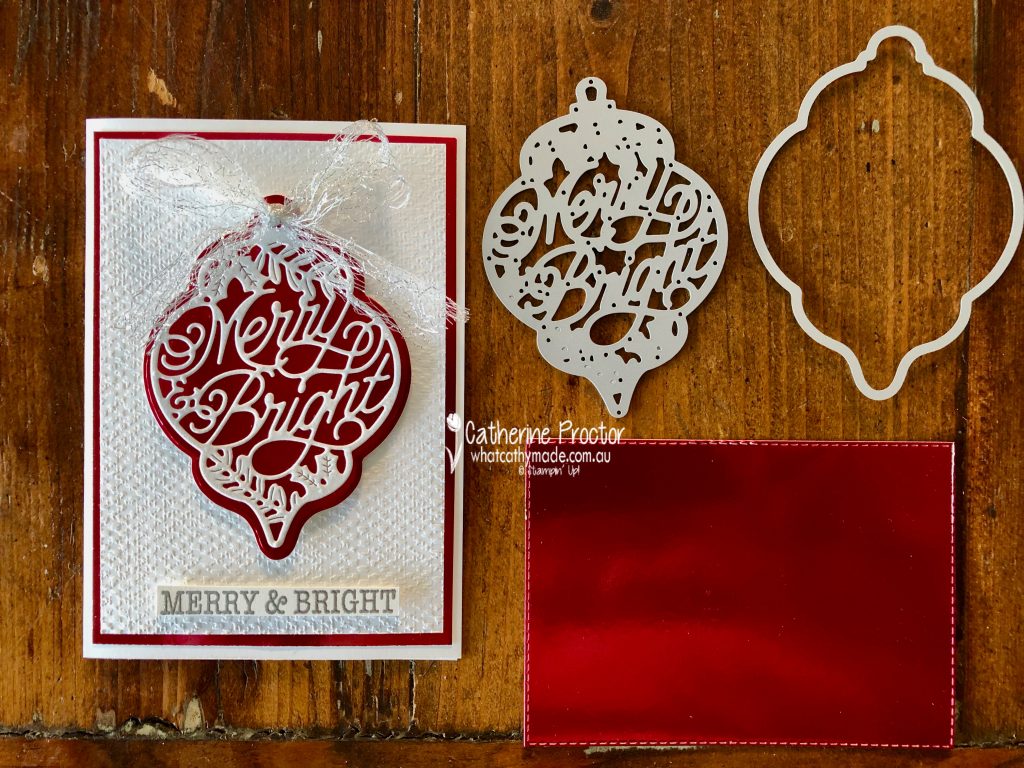
For both bauble cards I’ve embossed the Basic White layer using the Tasteful Texture Embossing Folder.
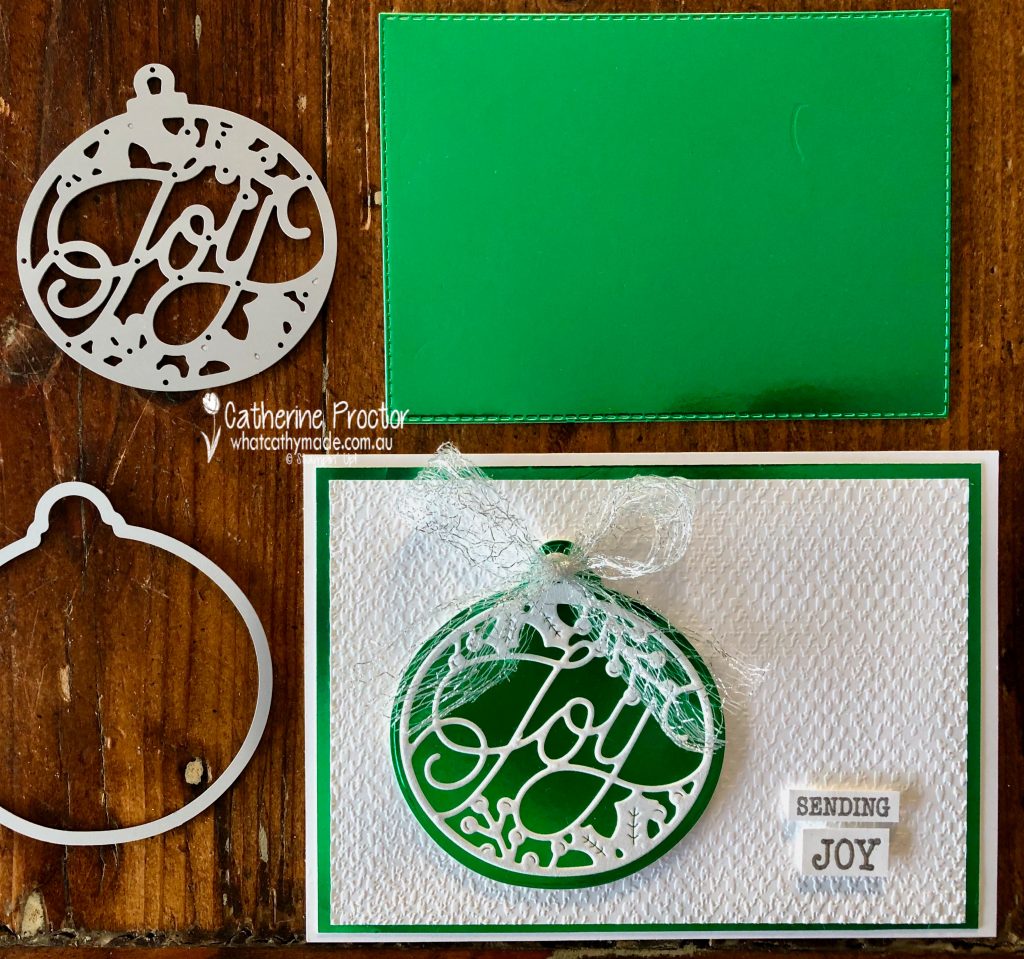
There is another layer of red foil behind the embossed Basic White layer. To get the most out of my craft supplies I’ve cut a large rectangle out of the centre of this layer BEFORE I assembled the card.
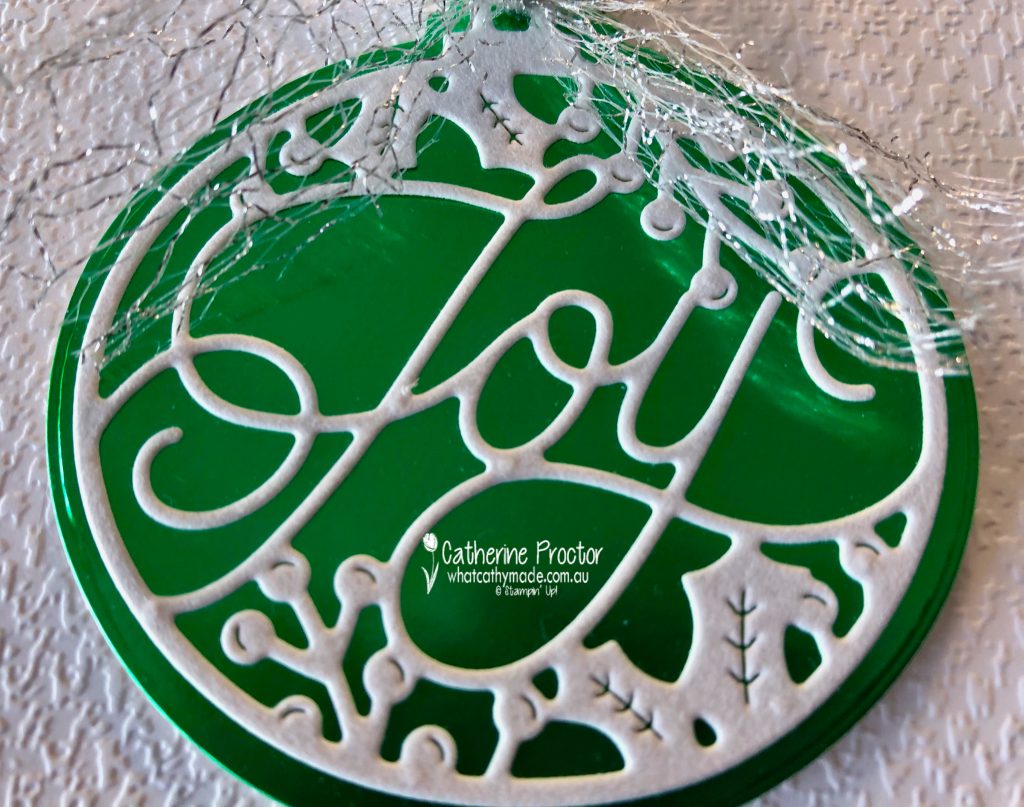
The “Merry & Bright” sentiment from the Bright Baubles stamp set matches the die cut and it was embossed in silver to match to Metallic Mesh Ribbon bow.For card two I used the green foil for the base of the bauble and a Snowy White Velvet Sheet for the intricate “Joy” pattern detail on the bauble. Once again, I die cut the rectangle out before layering so I didn’t waste any foil.Here’s a close up of the die detail and that gorgeous Snowy White Velvet Sheet.I decided to make this card horizontal and use two of the sentiments from the Bright Baubles stamp set to match the “Joy” on the die cut.
For both cards I adhered an adhesive sheet to the back of the Snowy White Velvet Sheet before die cutting – this turns it into a sticker and ensures there is no glue mess on the bauble.
Now it’s time to hop on over to our next participant, the lovely Andrea Sargent. I can’t wait to see what Andrea shares with us today!
If at any time you find a broken link please head to the blog of this week’s host of The Heart Of Christmas Blog Hop, Tina Gillespie, and she will have the list of all those participating.
Thanks for visiting my site. I’ll be back with another card on Wednesday.
In the meantime, wherever you are in the world, stay safe, stay calm … and keep on crafting xxx
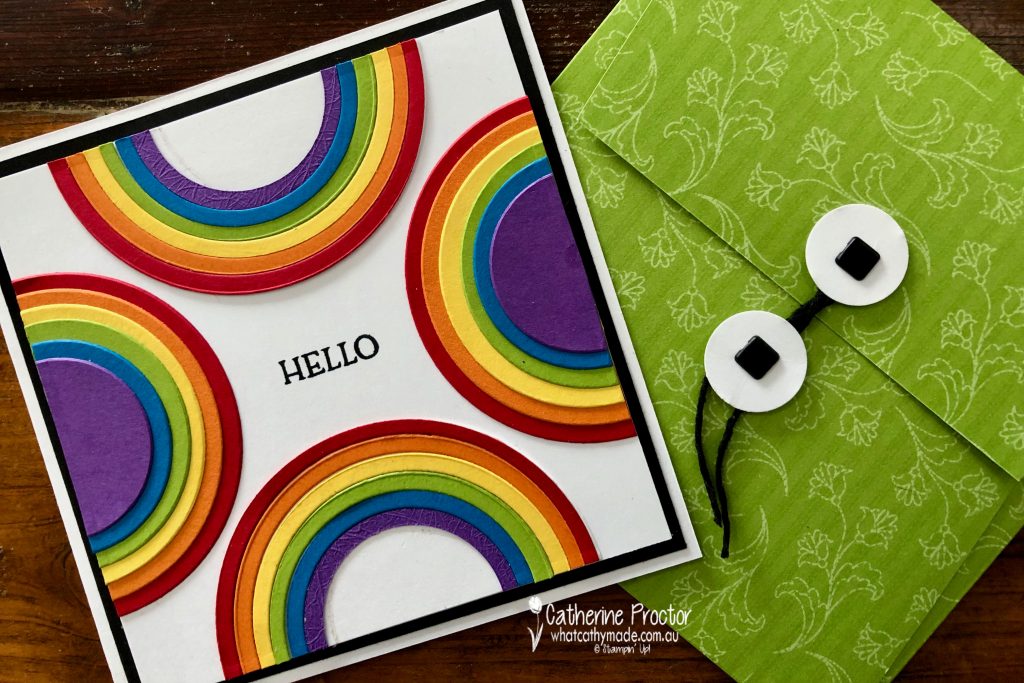
Welcome to week 20 of our 2021-22 Colour Creations blog hop! Tonight we are showcasing Granny Apple Green, a vivid green from the Brights colour collection.
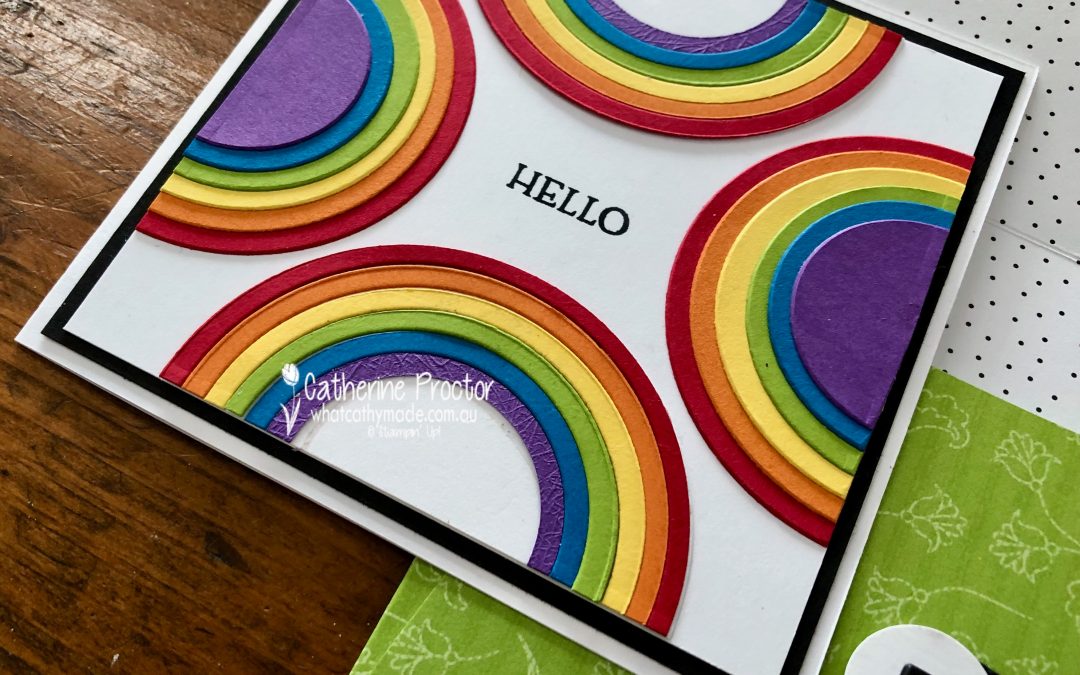
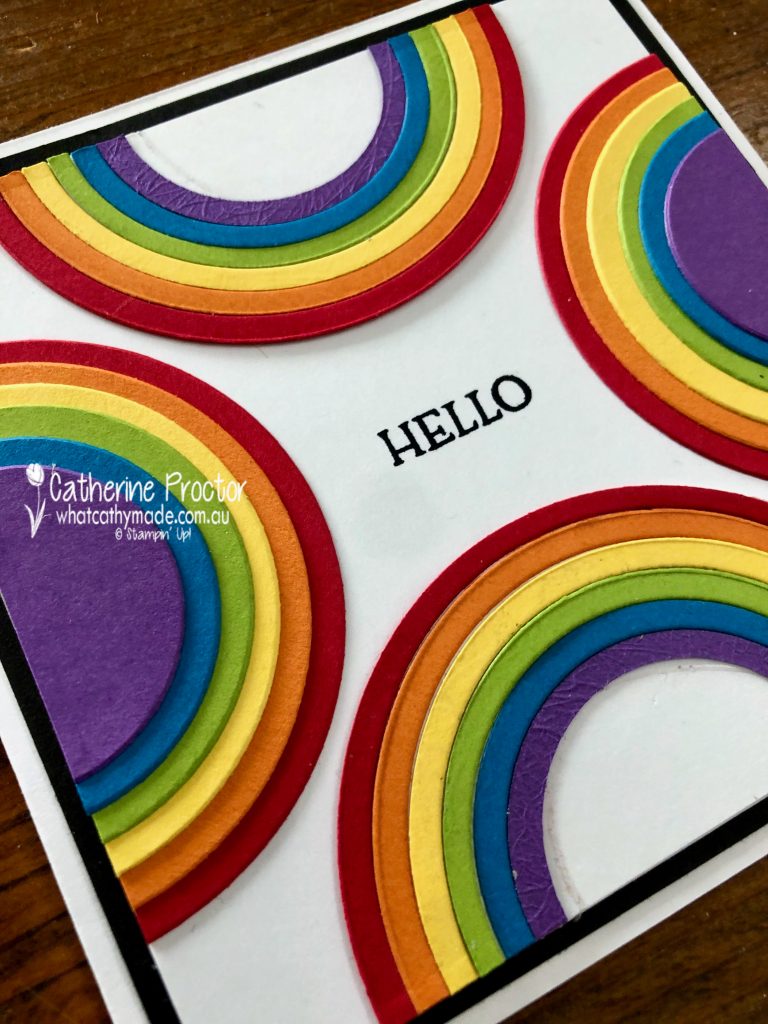
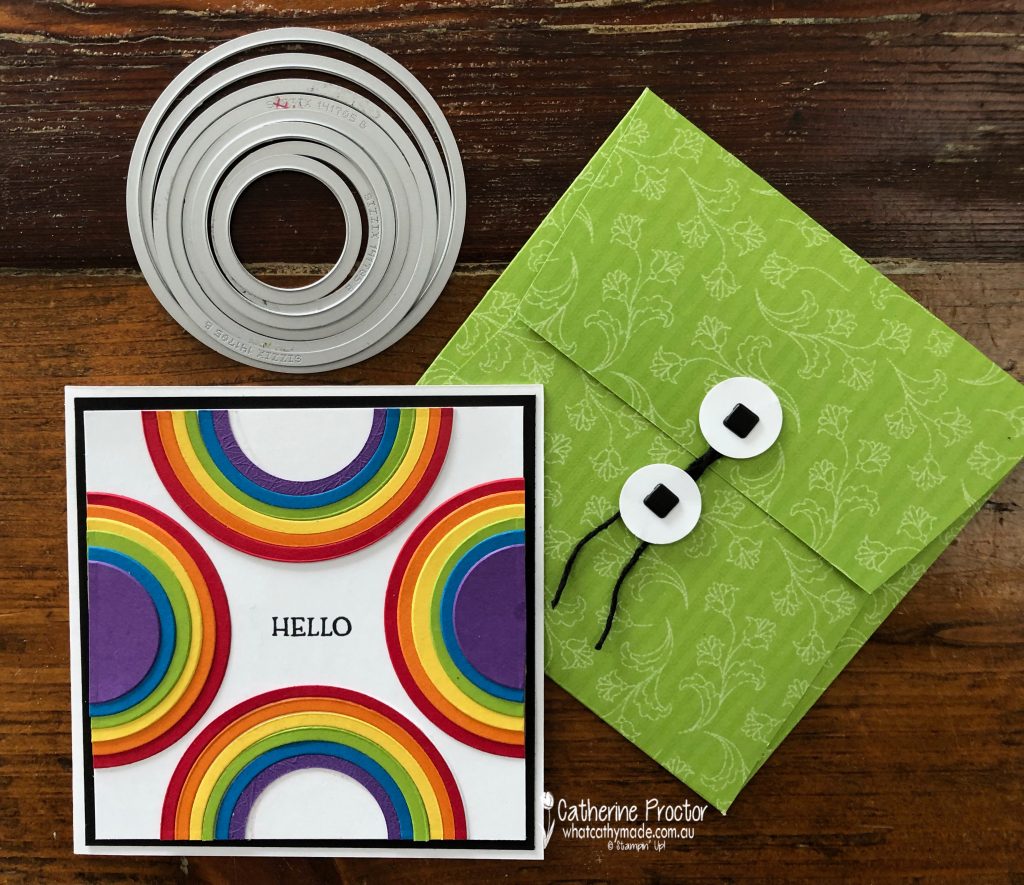
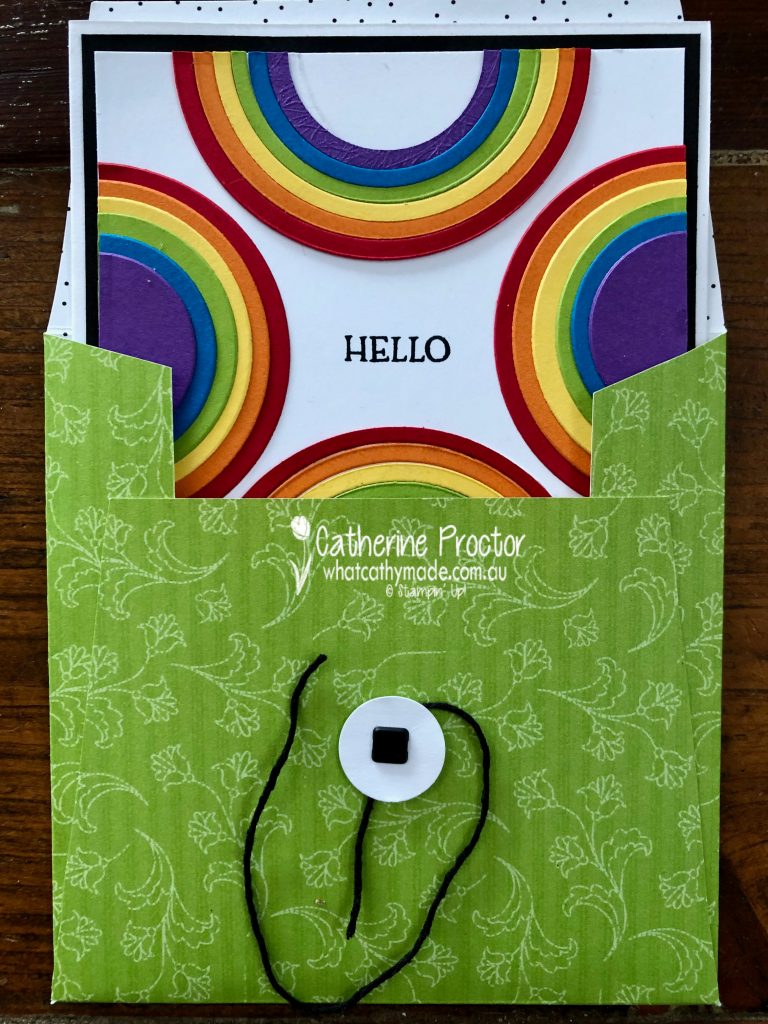
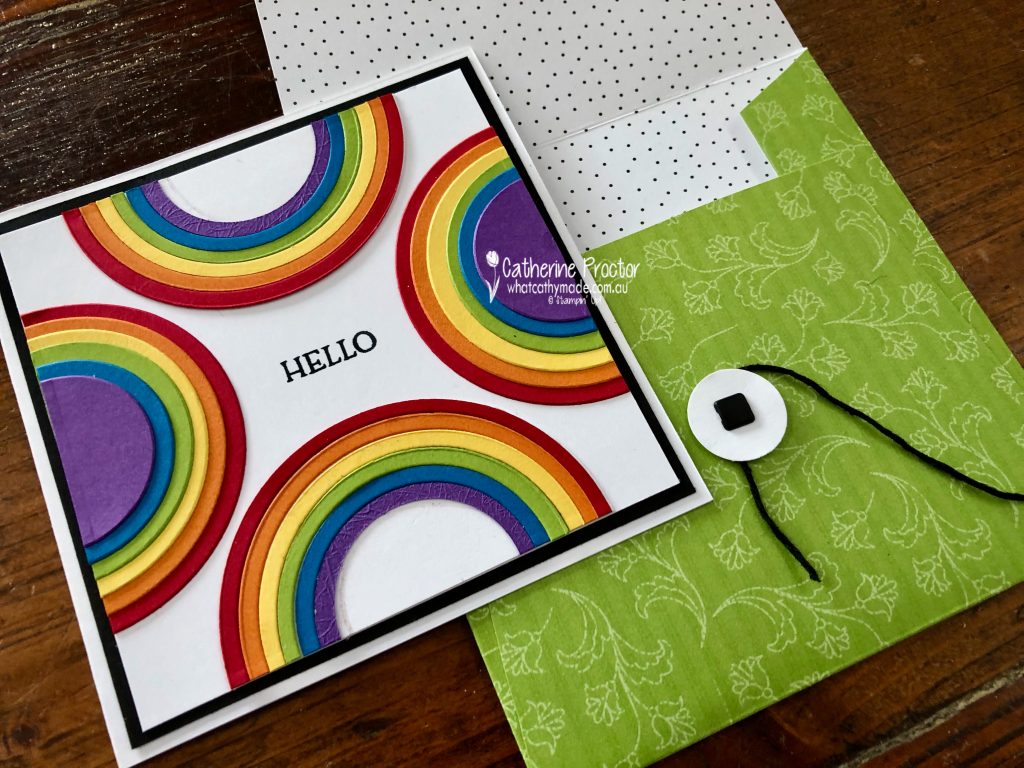
It’s such a cold, wet and windy day here in Sydney – the sort of weather that calls for a bright and happy rainbow card!
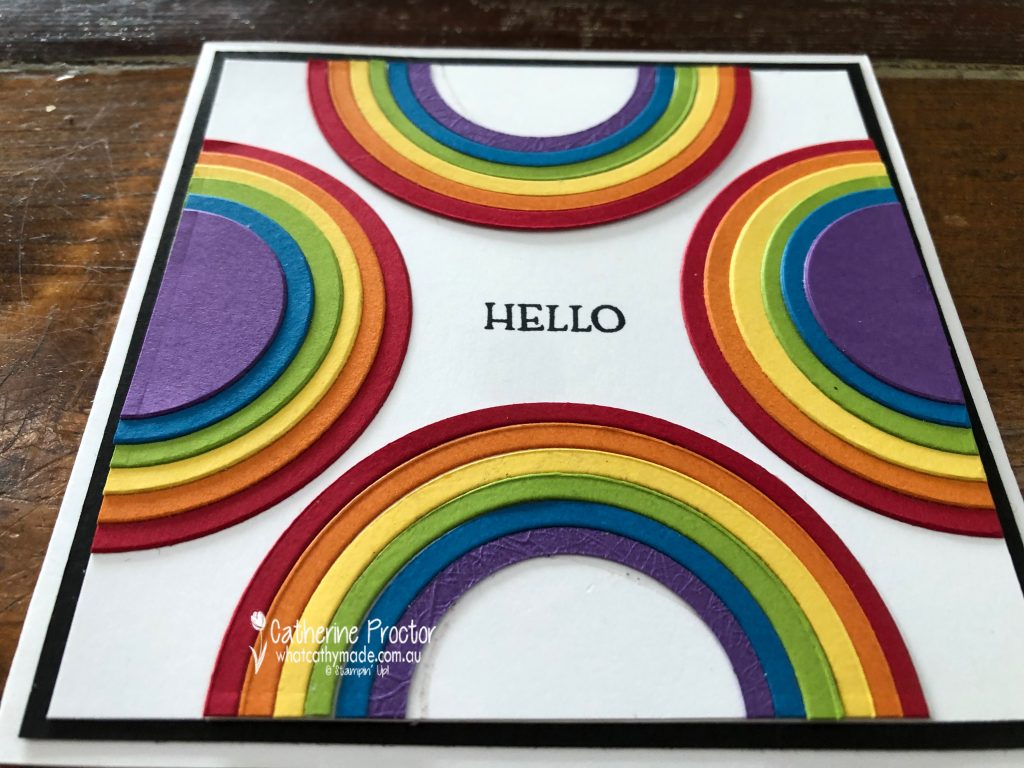
The rainbow colours on this card from top to bottom are:
Real Red
Pumpkin Pie
Daffodil Delight
Granny Apple Green
Pacific Point
Gorgeous Grape.
Because I didn’t feel there was enough Granny Apple Green in the card to justify using it for a Colour Creations Granny Apple Green blog hop, I made a matching envelope to showcase this vibrant green, using the Pattern Party DSP.
The layering circle dies make this card quick and easy to make. I created the top and bottom rainbows by die cutting a circle of Real Red with the largest circle die then die cutting it again with the next smallest sized circle and repeating that process with all the colours, using smaller and smaller circle dies. I carefully adhered the colours in rainbow order onto a circle of basic white and cutting it half. The rainbows on the sides of the card use the leftover circles, adhered in the same colour order.
TIP: adhere these circle in 2 sections of 3 layers each and cut them in half BEFORE adhering both sections together. These rainbows are 6 layers thick and too thick to be cut in half with paper trimmer all at once.
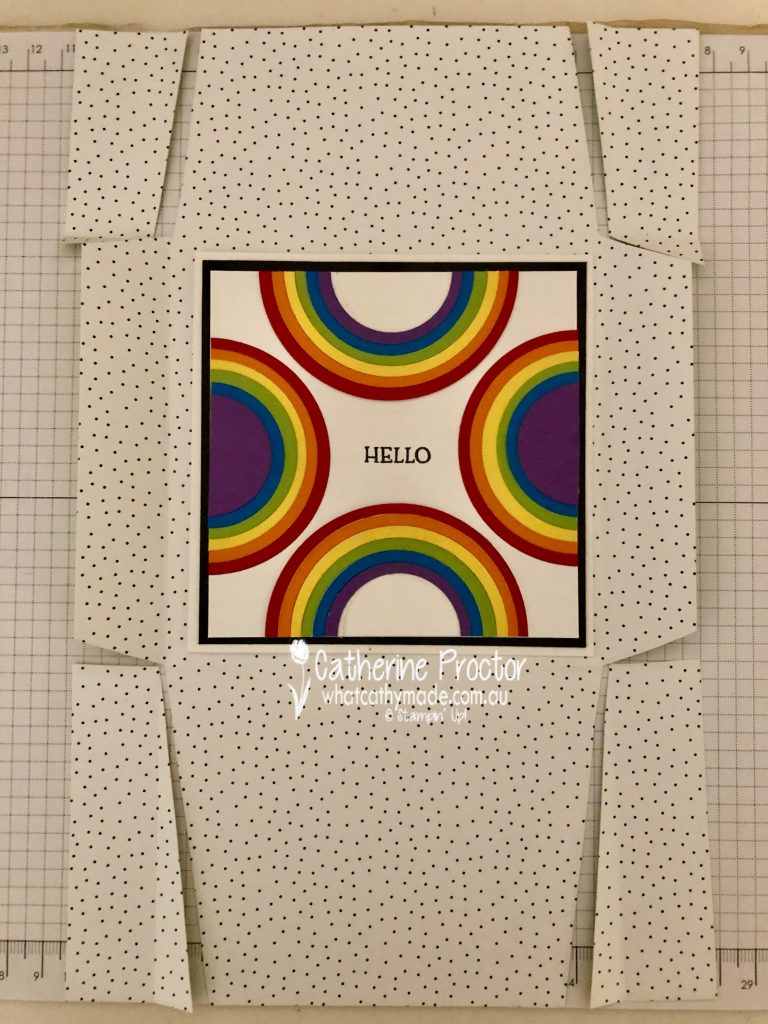
The scoring and cutting pattern for the envelope is shown in the photo below – whatever size your card is, make sure your finished envelope allows enough room for the card to slide in and out.
This card measures 11.5 x 11.5cm (4 1/2 x 4 1/2 inches) so I made my envelope 12.5 x 12.5 cm (5 x 5 inches). The flaps either side are scored at 2.5 cm (1 inch) wide and, the bottom flap is scored at 9.5 cm (3 3/4 inches) and the top flap is scored at 6cm (2 3/8 inches).
The back flap of the envelope closes with die cut Basic White circles secured to the card with square brads and a tie made using a short length of Basic Black Bakers Twine twisted around them. The “Hello” sentiment is from the Blossoms in Bloom stamp set.
Now it’s time to hop on over to our next participant, the lovely Rachel Woollard – I can’t wait to see what she’s made this week!
If you find a broken link or have come to this blog hop from a different entry point, you can view the the full list of participants below: