Welcome to week 15 of our 2021-22 Colour Creations blog hop! Tonight we are showcasing Daffodil Delight, a bold yellow from the Brights colour collection.
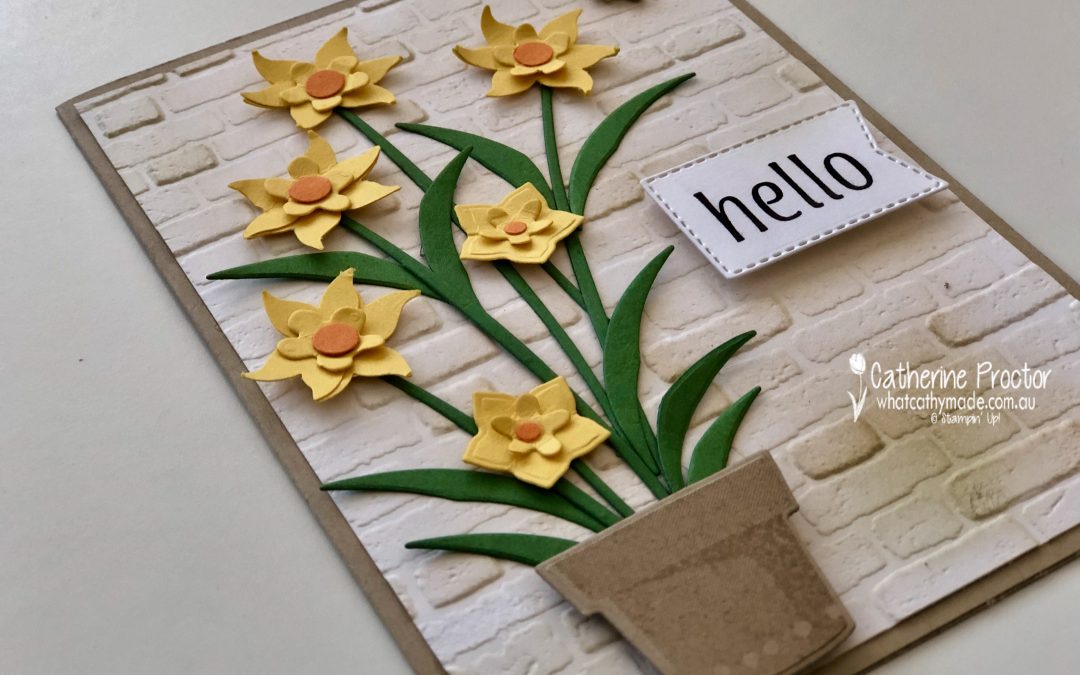
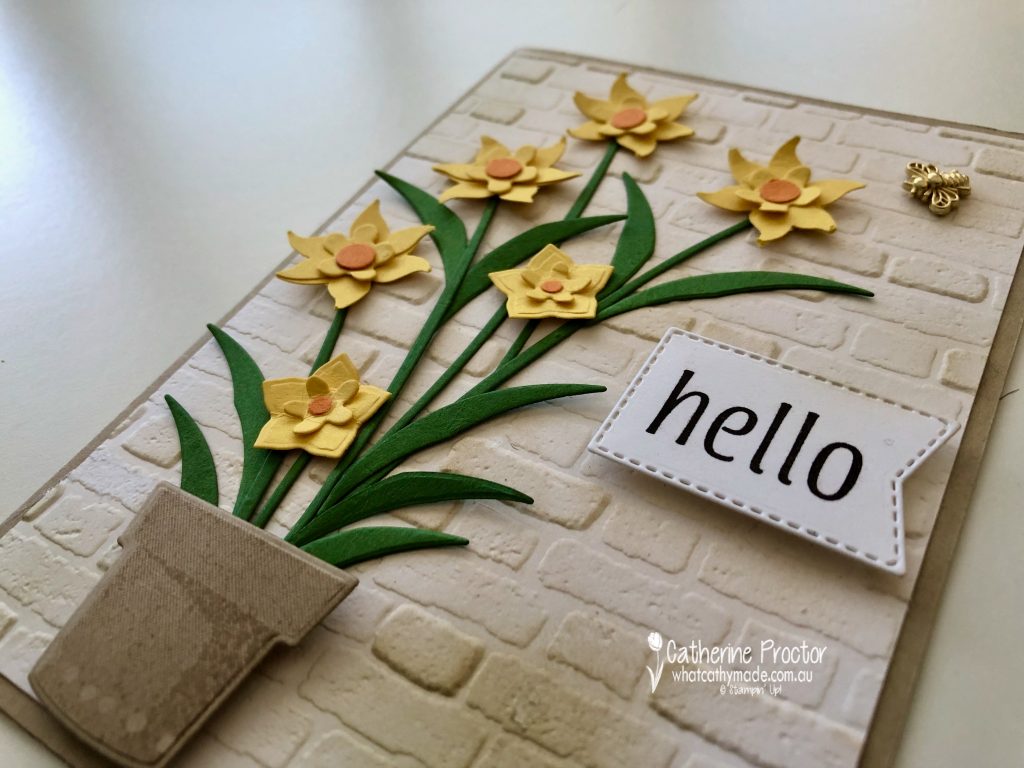
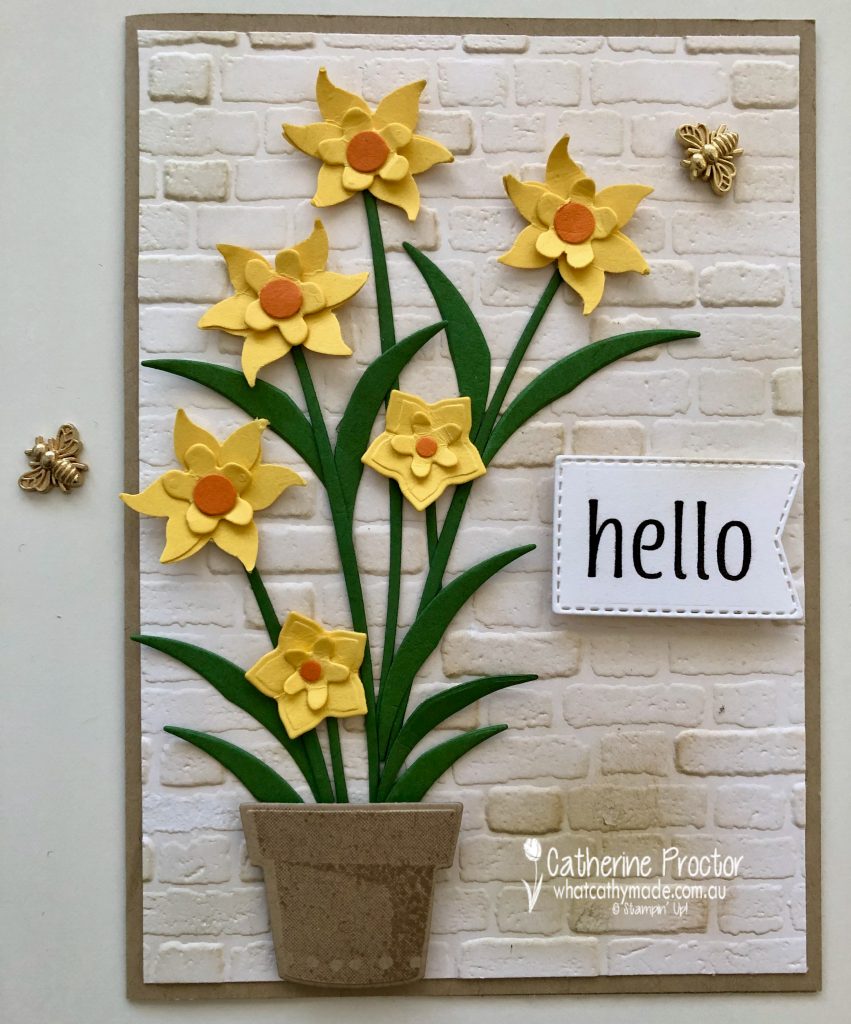
I really wanted to make a daffodil card for our Daffodil Delight blog hop, however as we only use current Stampin’ Up! products in these blog hops and I didn’t have any daffodil stamps, punches or dies. It was time to get creative.
I’m not sure just how botanically correct my daffodils are, so please allow me some artistic licence!
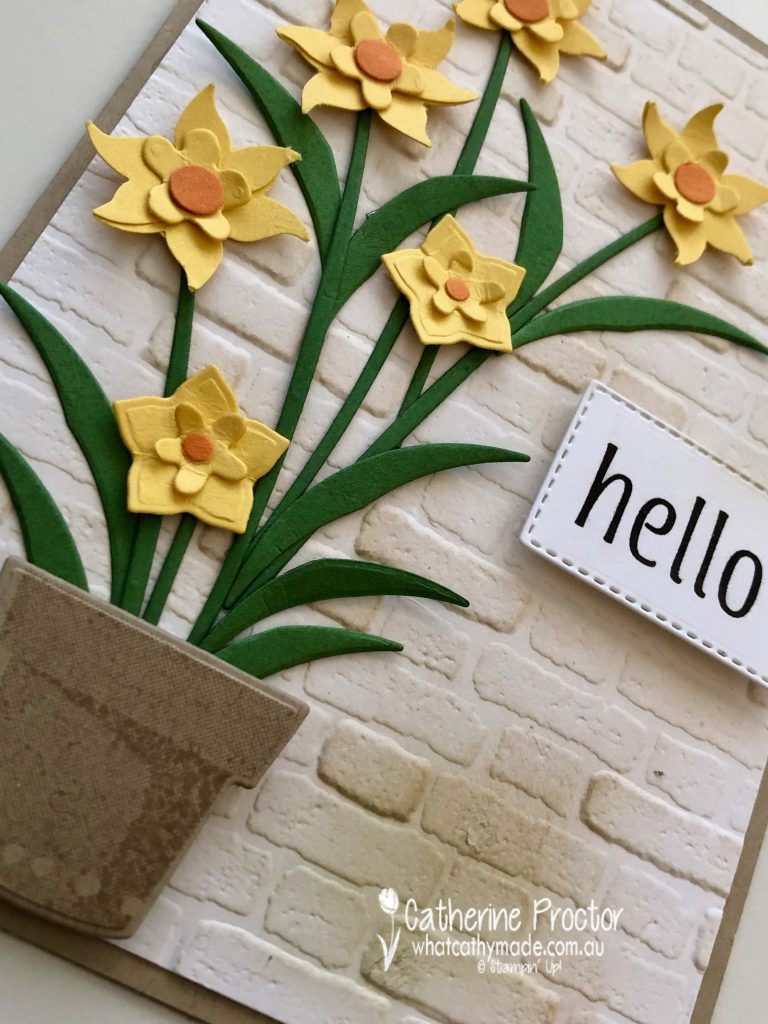
For the embossed Whisper White layer of my card front, I’ve deliberately inked my embossed brick wall darker in some places than others, applying both Crumb Cake and Garden Green with a blending brush to give a more realistic effect.
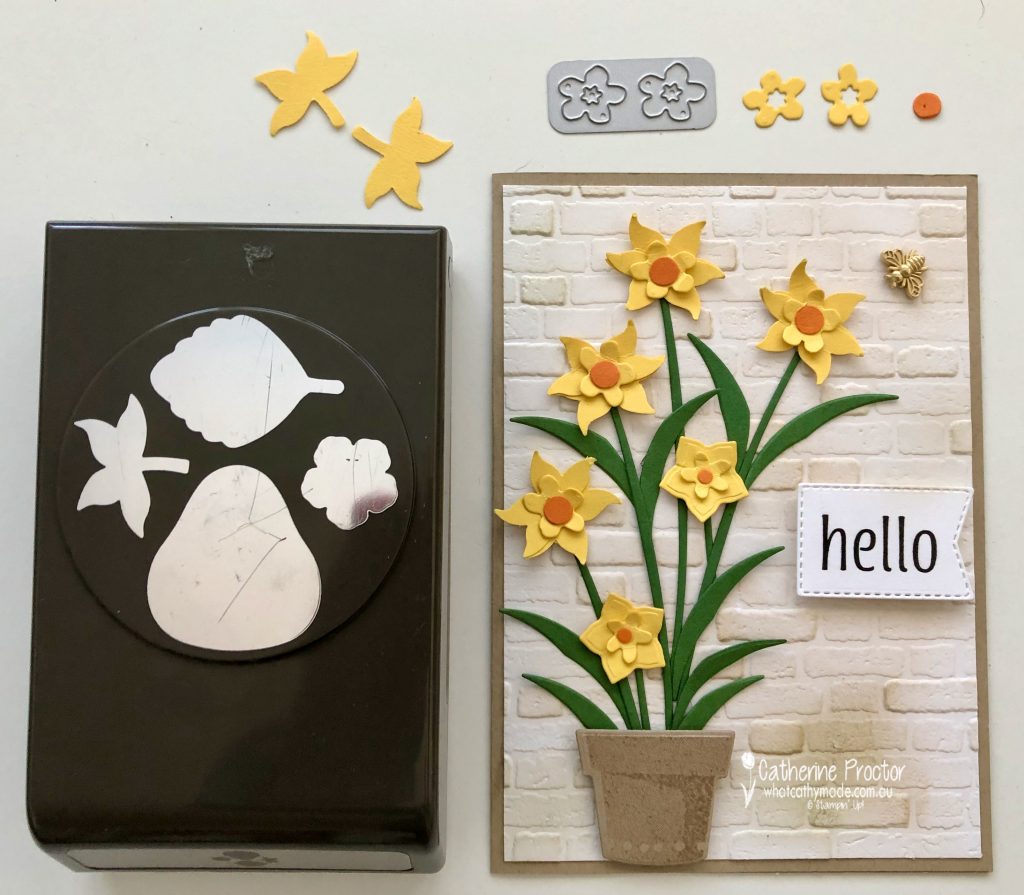
There are two sizes of daffodils on this card. For the back layer of the larger daffodil I punched two leaves in Daffodil Delight from the Strawberry Builder Punch. I them removed the leaf stems and overlapped the dies when gluing them together.
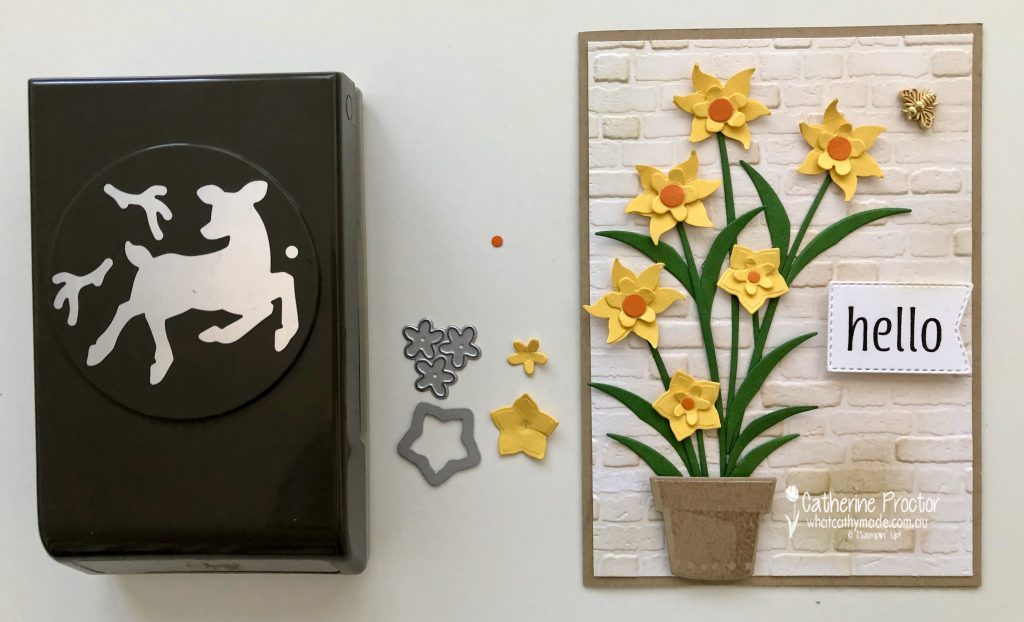
The middle layer of the large daffodil is die cut in Daffodil Delight using the small double flower dies from the Cherry Blossom Dies. The Pumpkin Pie circle in the centre of the flower is punched with a standard sized hole punch for ring binders.
The two smaller daffodils use the flower die from Birds & More as the background layer and the triple flower die from Pierced Blooms for the middle layer, both cut from Daffodil Delight. The Pumpkin Pie flower centre is punched using the deer nose in the Deer builder punch.
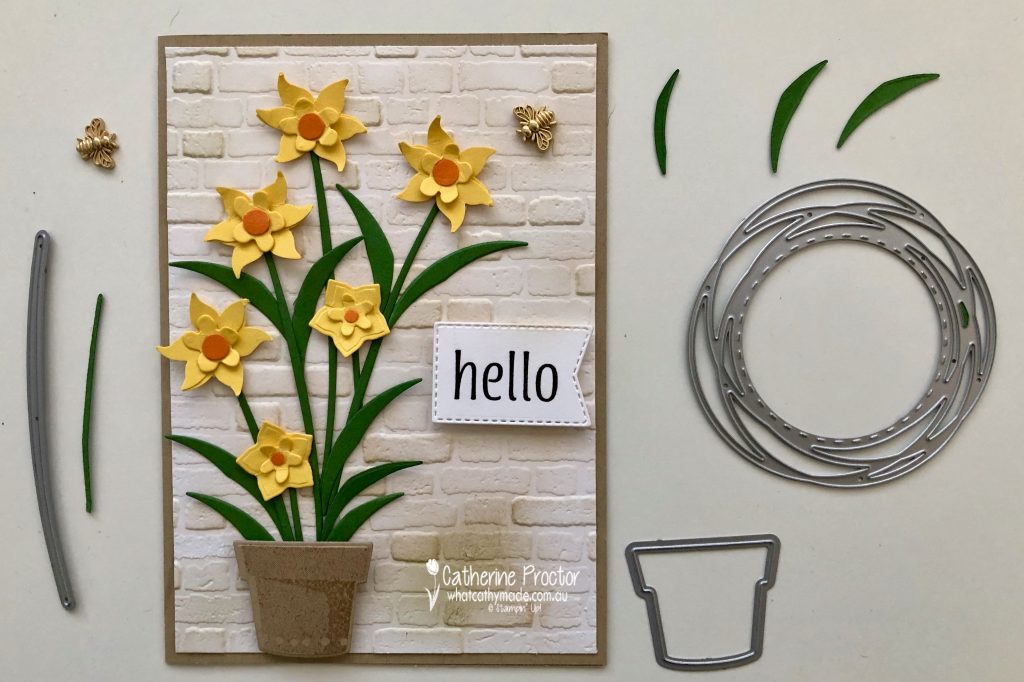
Stems and leaves are die cut from Garden Green card stock using the stem die from Pierced Blooms dies and the offcuts from the circle wreath die in the Painted Labels dies. The cute little pot was stamped in Crumb Cake using a stamp from the Plentiful Plants stamp set and then die cut from Crumb Cake card stock using the coordinating Perfect Plants Dies.
I’ve recently acquired the Artistically Inked bundle and just couldn’t resist adding this gorgeous “hello” sentiment to the front of the card – isn’t this font so eye catching? I die cut it out with one of the Tasteful Labels dies.
My final touch was a Bumblebee trinket. I’ve been hoarding these – it’s time I started adding these adorable embellishments to my cards!
Now it’s time to hop on over to our next participant, the very talented Rachel Woollard – I can’t wait to see what she’s made this week!
If you find a broken link or have come to this blog hop from a different entry point, you can view the the full list of participants below:
Today I’m sharing another card I made for the “G’day Fri’yay’ Card Making Challenges” Facebook group, a fortnightly Card Making Challenge with Aussie Themes.
The theme for this challenge is “Spring” and for me nothing announces the start of spring in Australia like wattle does. September 1 is the start of spring as well as Wattle Day, a celebration of our national flower.
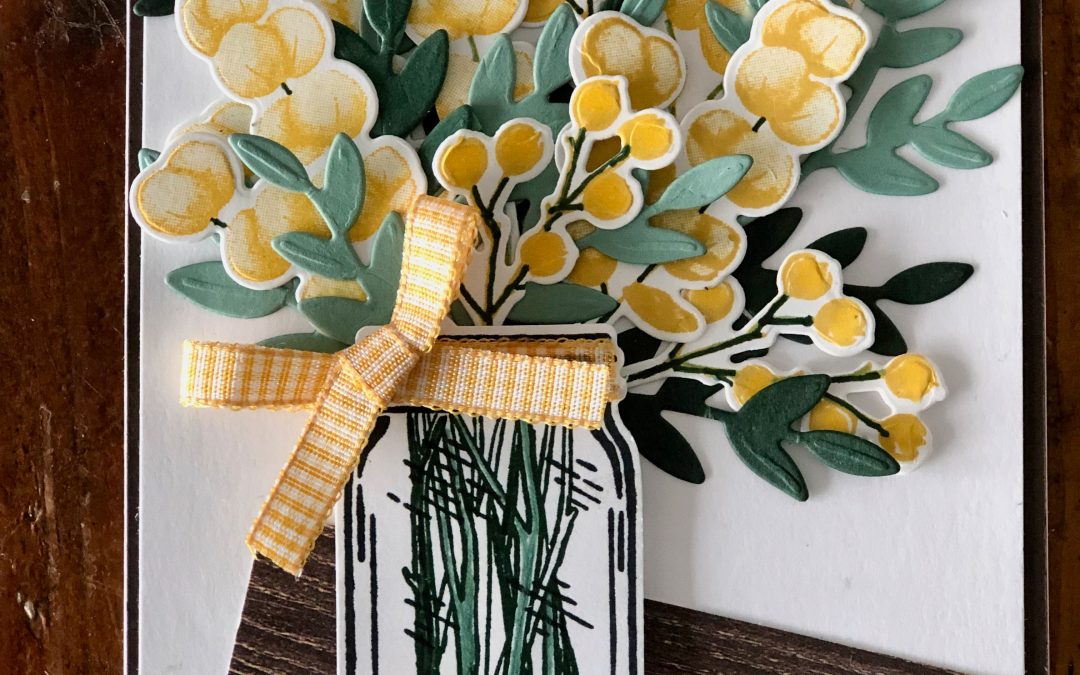
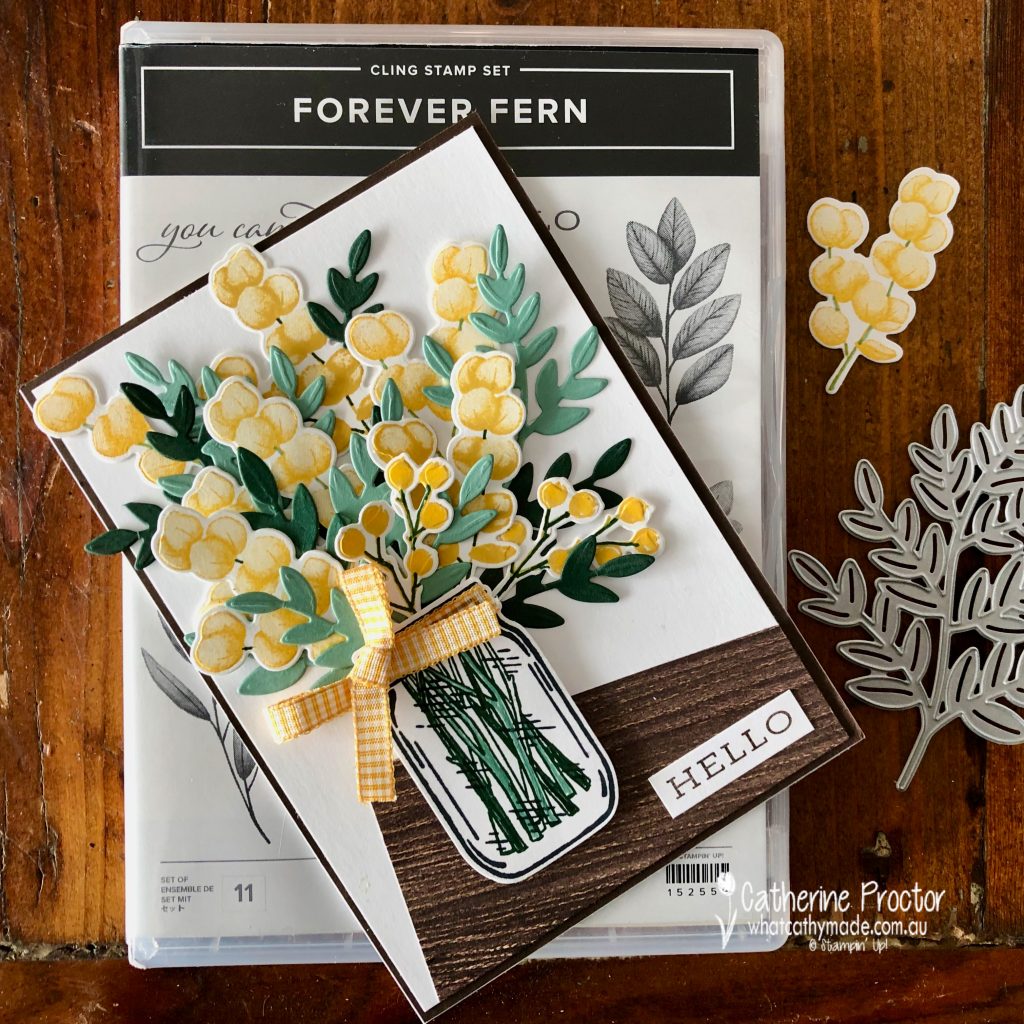
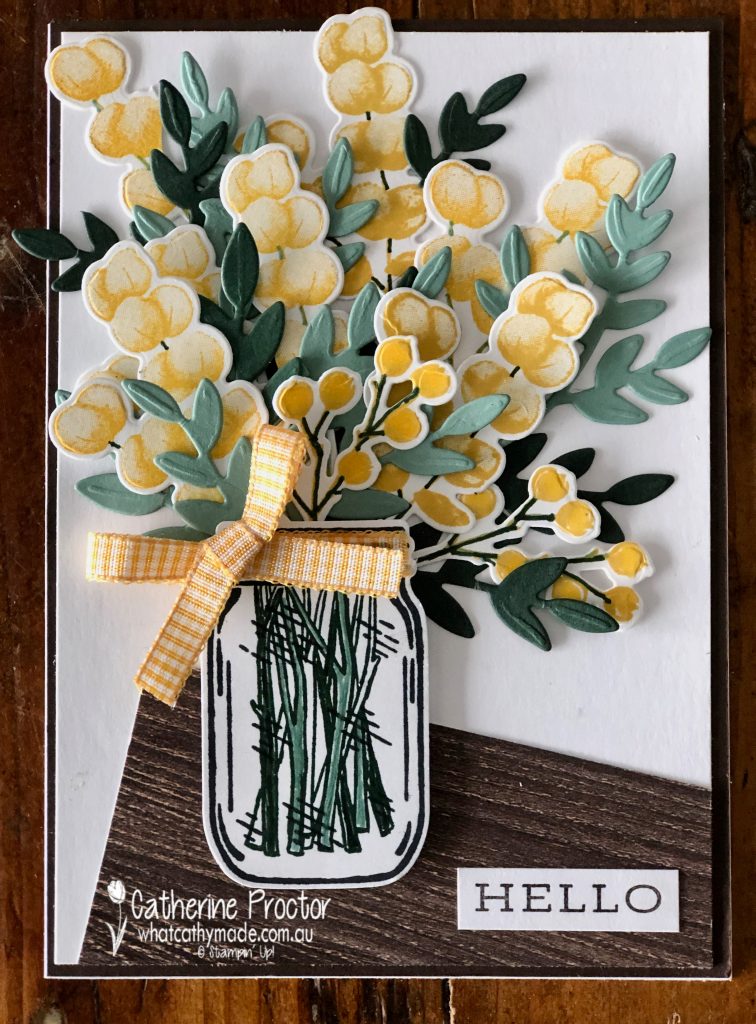
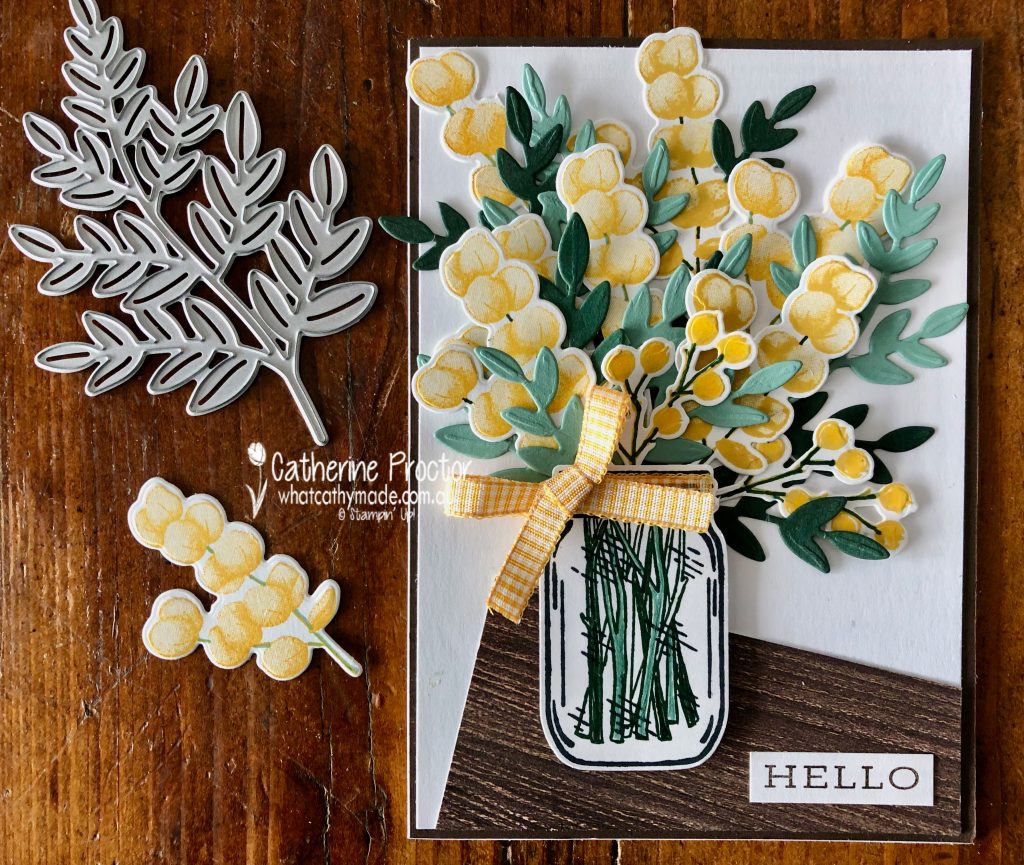
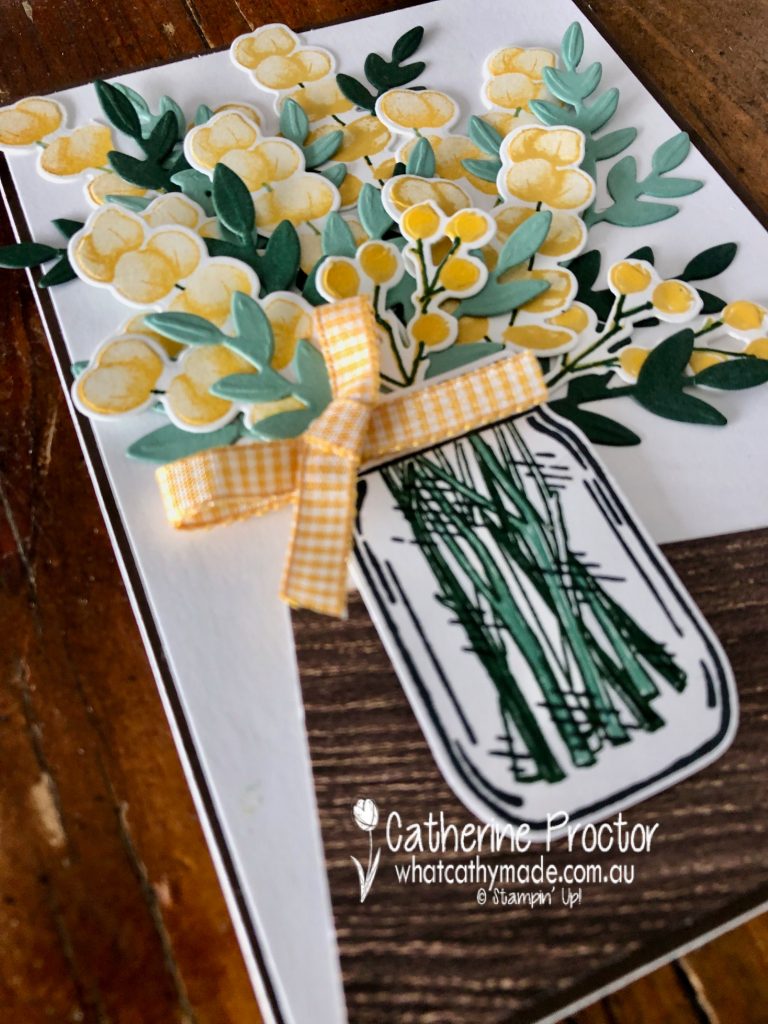
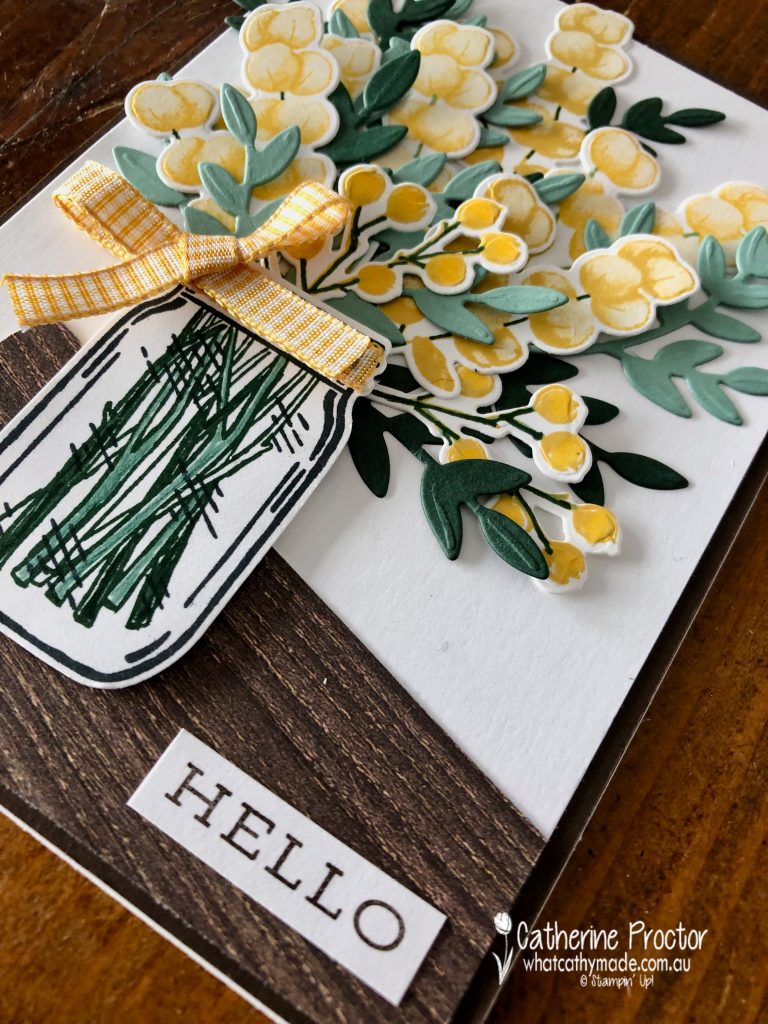
To celebrate the arrival of spring I’ve created a jar of wattle sitting on the edge of a wooden table, using the Forever Fern stamp set, the coordinating Forever Flourishing dies and the Jar of Flowers stamp set with coordinating Jar punch.
Three of the new In Colours (Bumblebee, Soft Succulent and Evening Evergreen) were paired with Daffodil Delight to stamp and die cut my wattle. I love how “Australian” Soft Succulent and Evening Evergreen look when used for foliage.
The wattle was all stamped in either Daffodil Delight or Bumblebee and then I used my Soft Succulent and Evening Evergreen markers to draw on the stems of the wattle and turn them from yellow to green. The smaller wattle springs at the front are stamped using the poinsettia petals stamp set.
The large fern die was used to die cut all my foliage and then it was simply a case of chopping up the foliage and arranging it with my flowers. I used my Soft Succulent and Evening Evergreen markers to also colour in the stamped stems in the jar – the jar and the stems are from the Jar of Flowers stamp set, punched out with the coordinating jar punch.
The Hello sentiment is also from the Forever Fern stamp set and a bow of Bumblebee gingham ribbon is the finishing touch.
I’ve used a piece of In Good Taste DSP set at an angle to creates the impression of the edge of a wooden table.
Thanks for visiting my blog today. I’ll be back tomorrow on our weekly AWH Colour Creations Showcase – we are showcasing Daffodil Delight this week.
If you live in Australia, you can find and purchase all these products in my Stampin’ Up! Online Store. Don’t forget to use my monthly Host Code (if your order is between $50 – $250) and I will send you a thank you gift the following month. If your order is over $250 don’t use the host code because you will qualify for your own stamping rewards.
My September Host Code is WVX3UYCR and it is valid until midnight September 30.
In the meantime, wherever you are in the world, stay safe, stay calm … and keep on crafting xxx
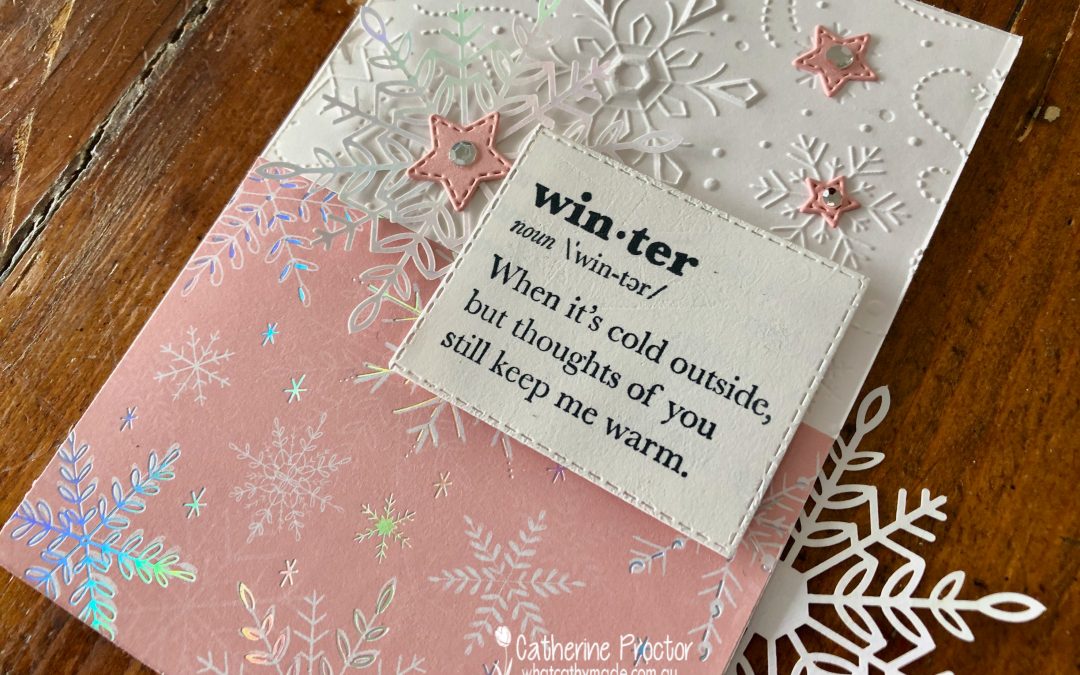
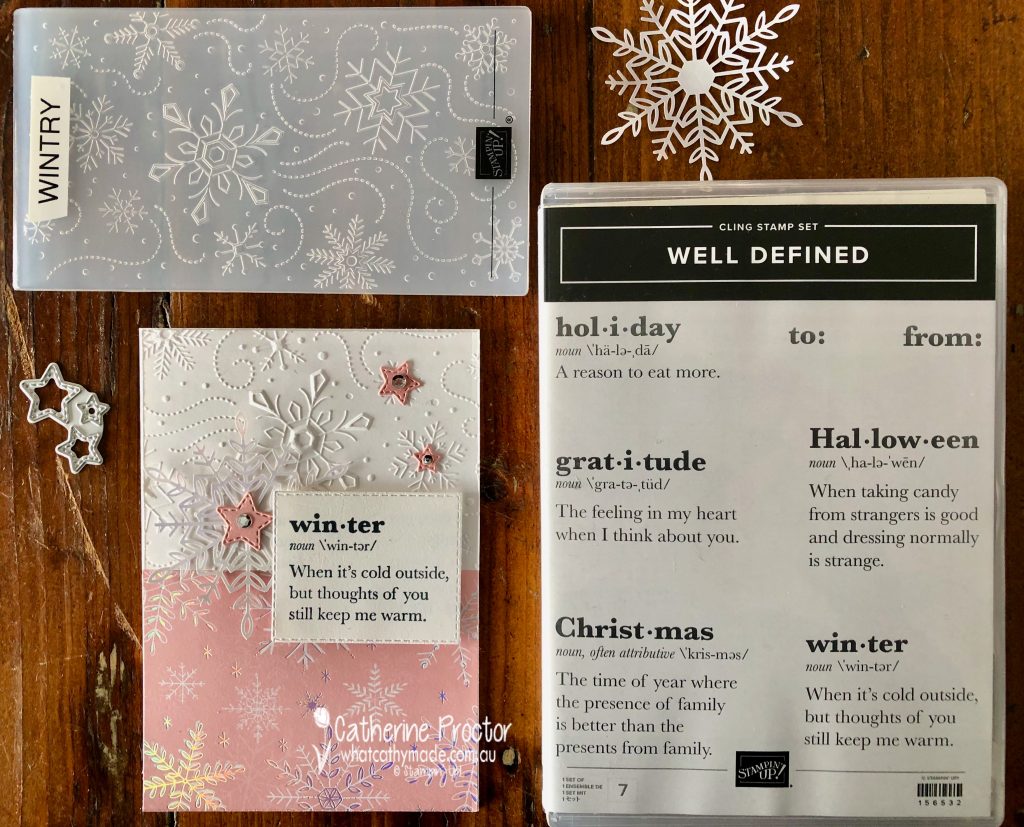
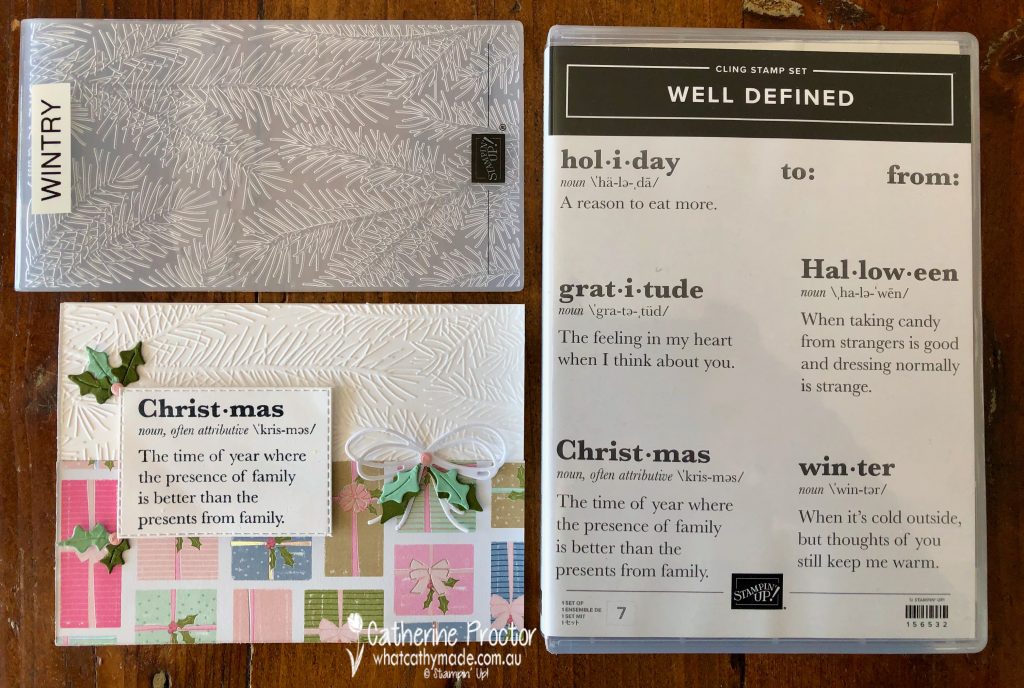
Hello crafters! For my cards this week I’m using the Whimsy & Wonder DSP and the Seasonal Swirl dies again, this time pairing them with the Well Defined stamp set and matching embossing folders.
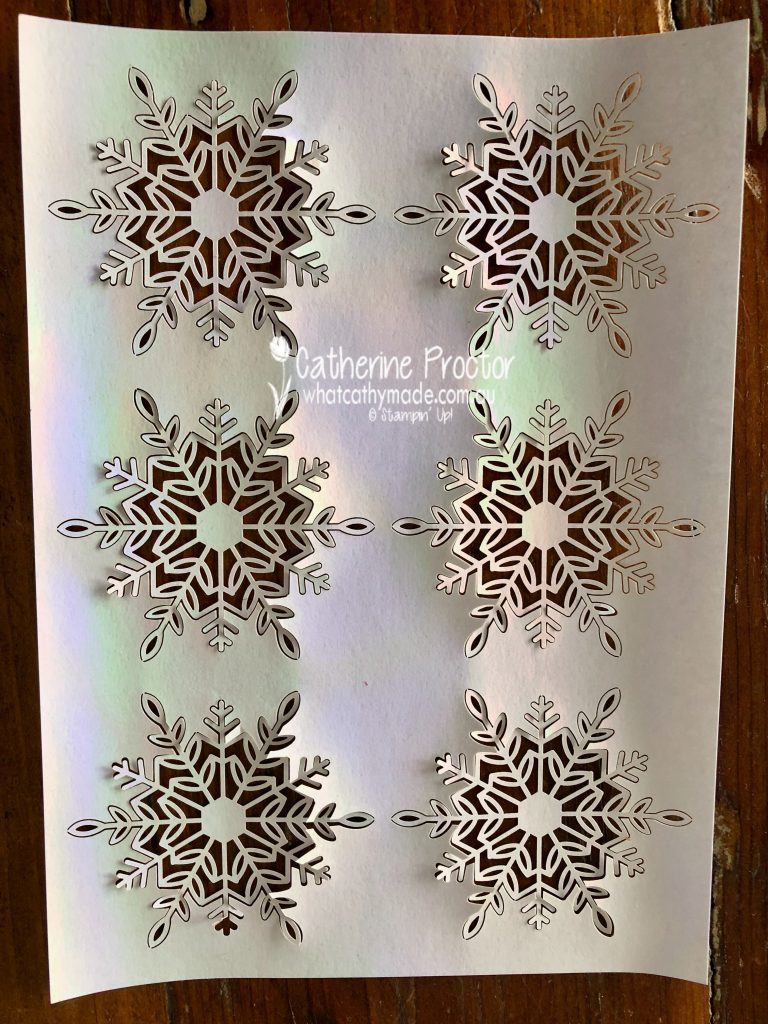
I’ve also created my own matching embellishments using the leftover iridescent foil that surrounds the Wonderful Snowflakes embellishments. There is plenty of spare foil here – don’t waste it! Use your dies and punches to create homemade embellishments to match your cards.
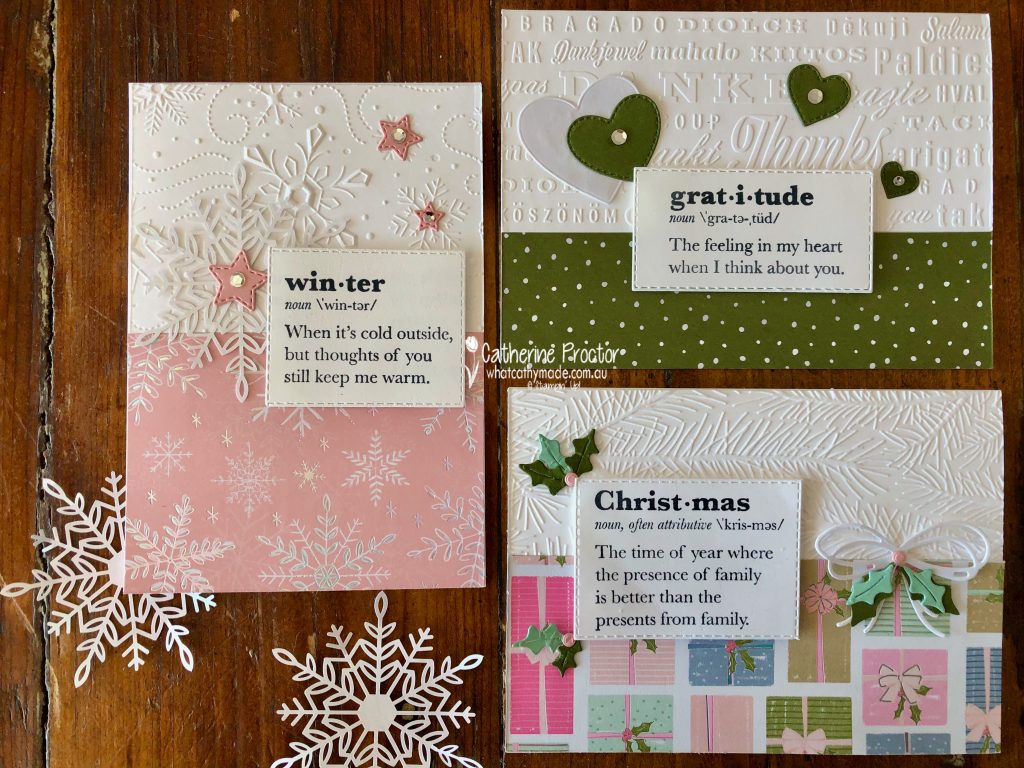
The different elements I used for each card were inspired my the particular definition I chose from the Well Defined stamp set. I think this first card is my favourite.
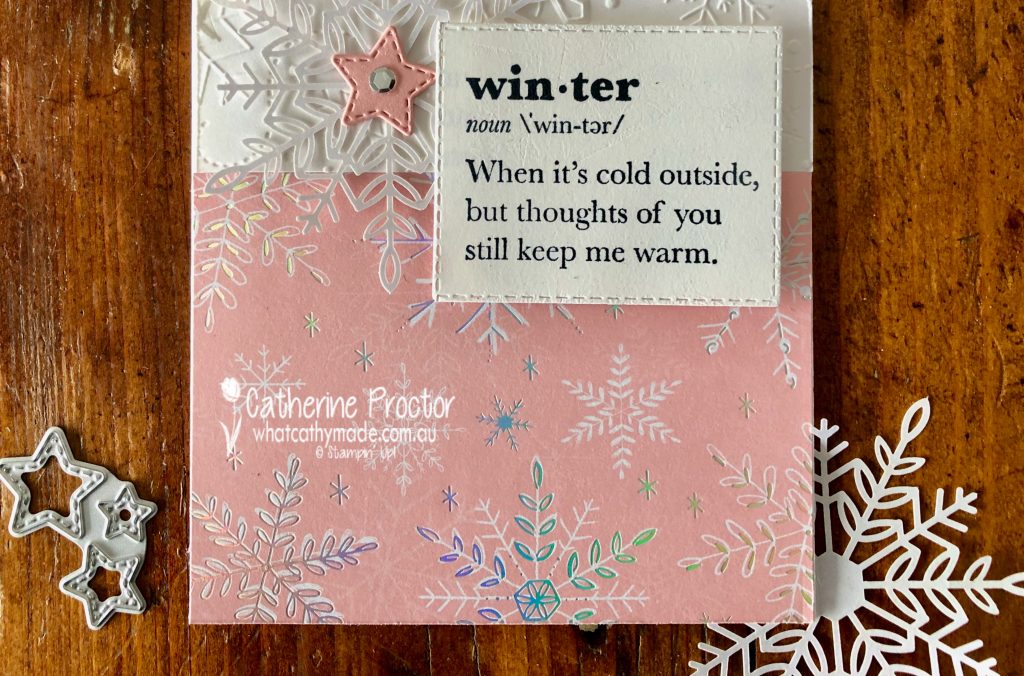
I’ve used the stamp that has “Winter” as the definition word, so I used the snowflake patterned DSP, the snowflake Wintry Embossing folder, one of the Wonderful Snowflakes embellishments and tiny stitched stars from the Seasonal Swirl dies. Subtle Shimmer Sequins add a final touch of bling.
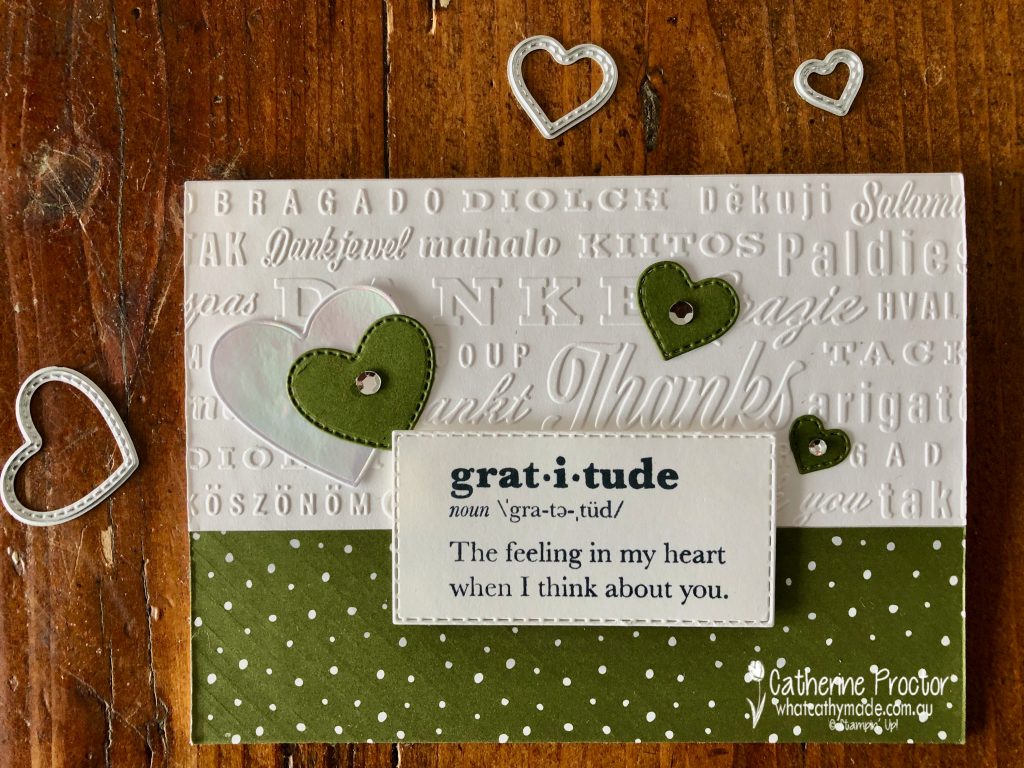
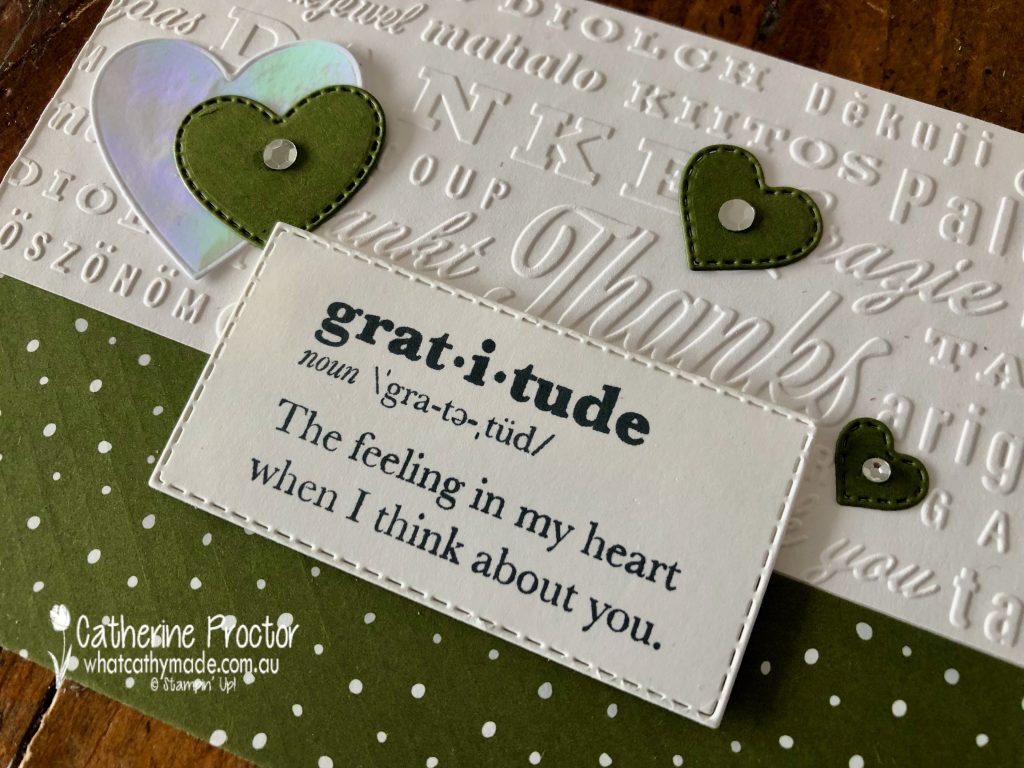
Card two uses the gratitude definition stamp, so the Thanks embossing folder from the Hello and Thanks embossing folders and stitched hearts were the obvious embellishments choice. The iridescent heart is die cut from leftover iridescent foil using the largest heart die in the Seasonal Swirl dies.
I like that this card uses mainly Christmas products to make a thank you card.
Card three is features the “Christmas” dictionary definition that references presents, so I used the Whimsy & Wonder DSP pattern with presents and holly on it. The holly embellishments are die cut using the Seasonal Swirl dies and the iridescent foil bow is die cut using the bow die from Pierced Blooms dies.
Which card is your favourite?
Now it’s time to hop on over to our next participant, the lovely Michele Taylor … I can’t wait to see what Michele shares with us today!
If at any time you find a broken link please head to the blog of this week’s Host of the Heart of Christmas Blog Hop, Tina Gillespie, as she has the full list of links for everyone who is participating.
You can purchase any of the products I’ve used tonight.
Thanks for visiting my site. I’ll be back with another card on Wednesday.
In the meantime, wherever you are in the world, stay safe, stay calm … and keep on crafting xxx
I love sheep! Growing up in the country, we always had a pet poddy lamb in our backyard. Poddy lambs are what lambs are called if they have either been orphaned or rejected by their mother and the local farmers would give them to us to hand raise as pets.
My brother and I would bottle feed the lambs and as they grew they would keep our lawn permanently mowed and let us ride them like horses and even dress them up in fancy dress clothes!
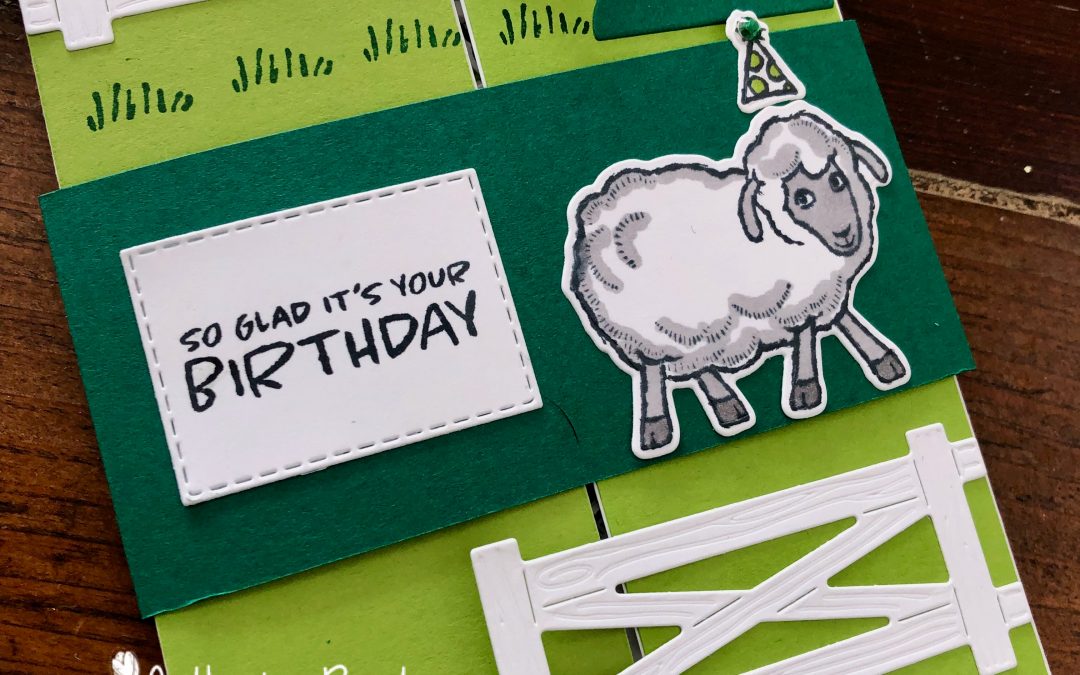
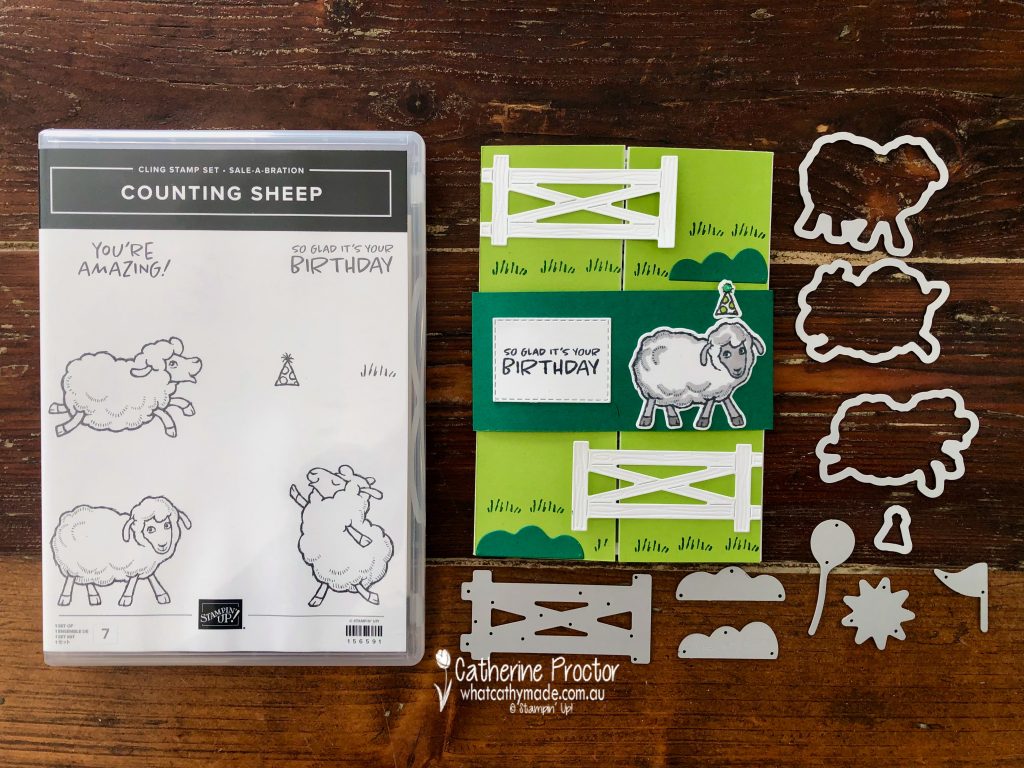
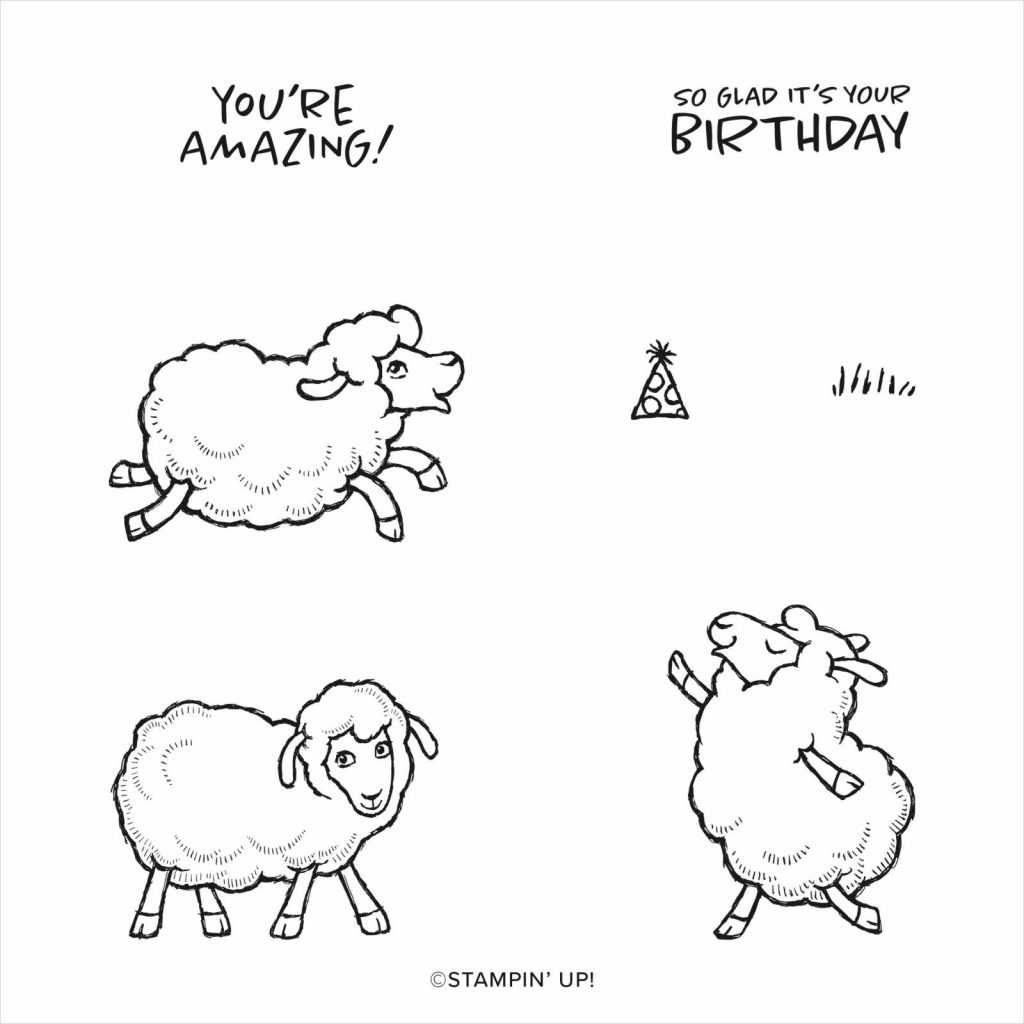
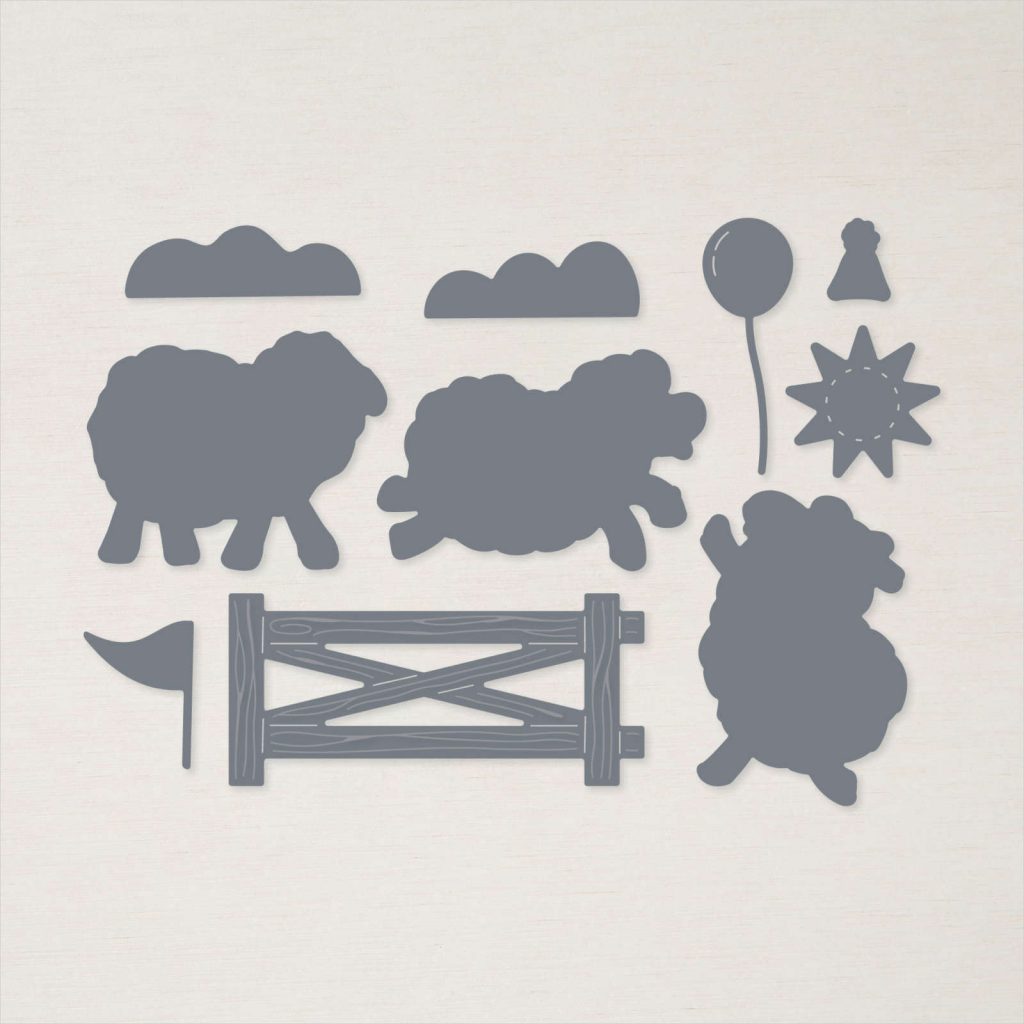
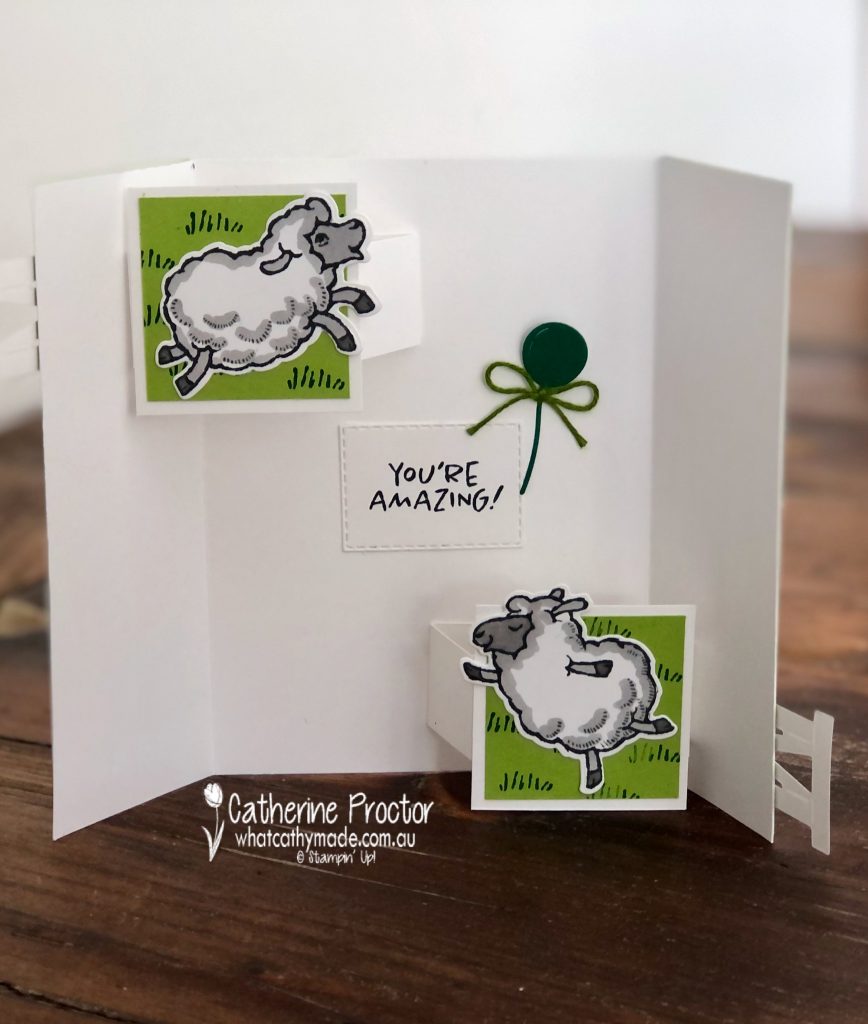
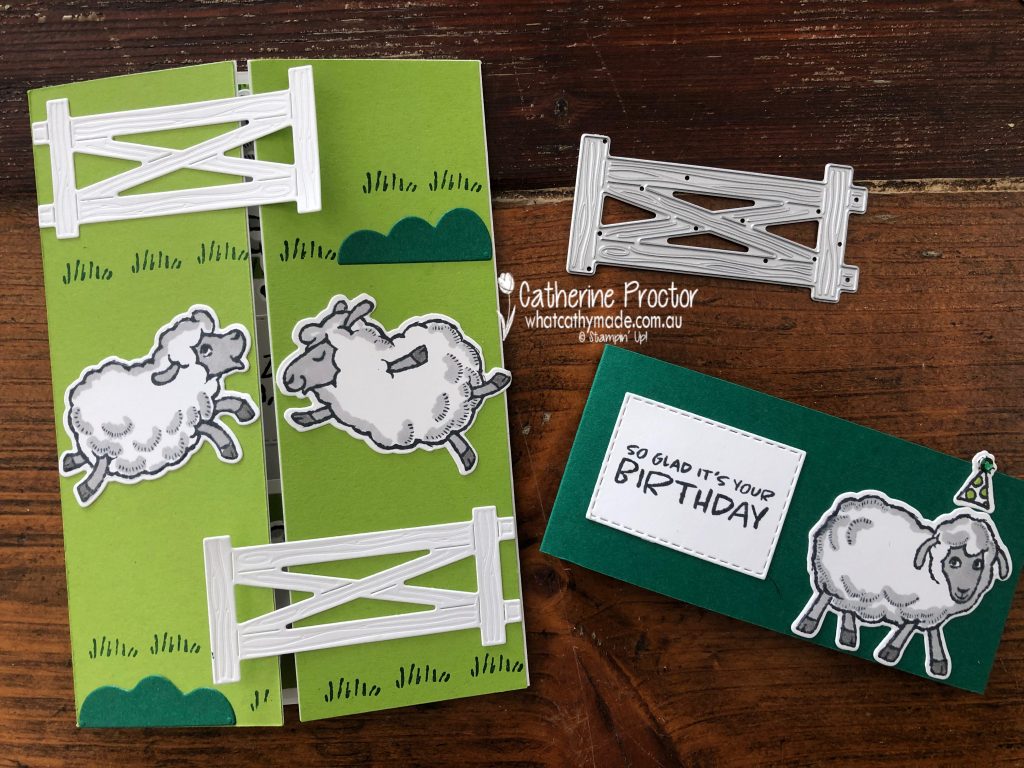
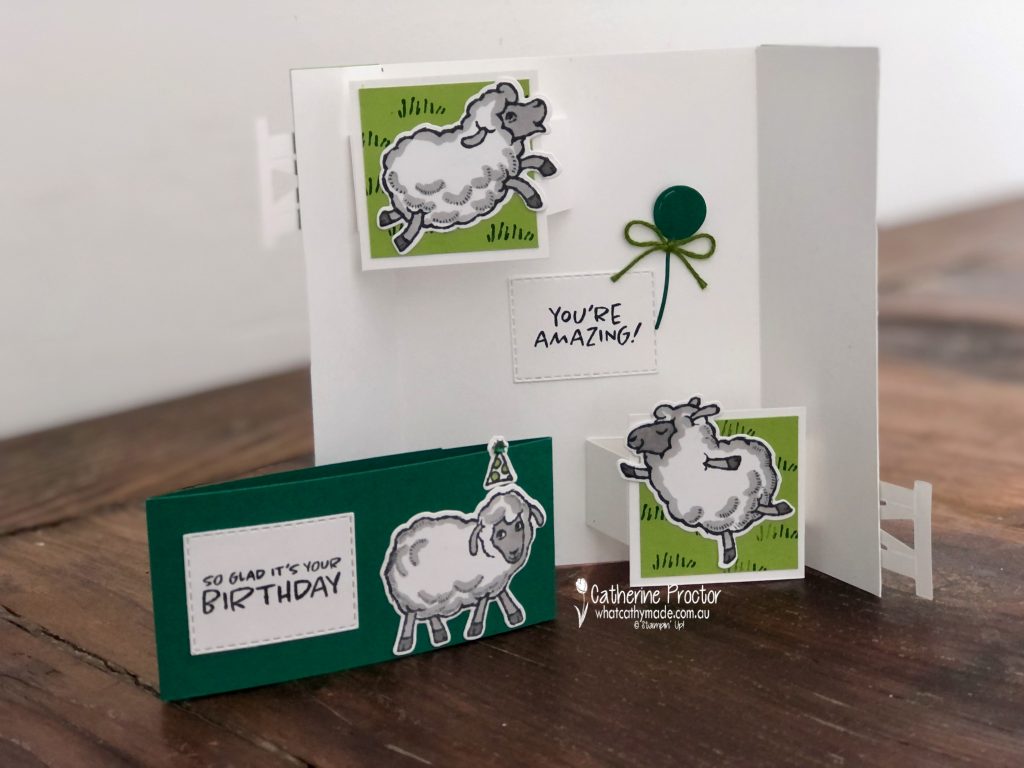
For this card I’ve used two FREE SALE-a-bration products: the Counting Sheep stamp set and the coordinating Sheep Dies. These adorable sheep are the perfect size for a Floating Gatefold Card. You could also use the penguins from the Penguin Place bundle or even the Peaceful Deer Bundle.
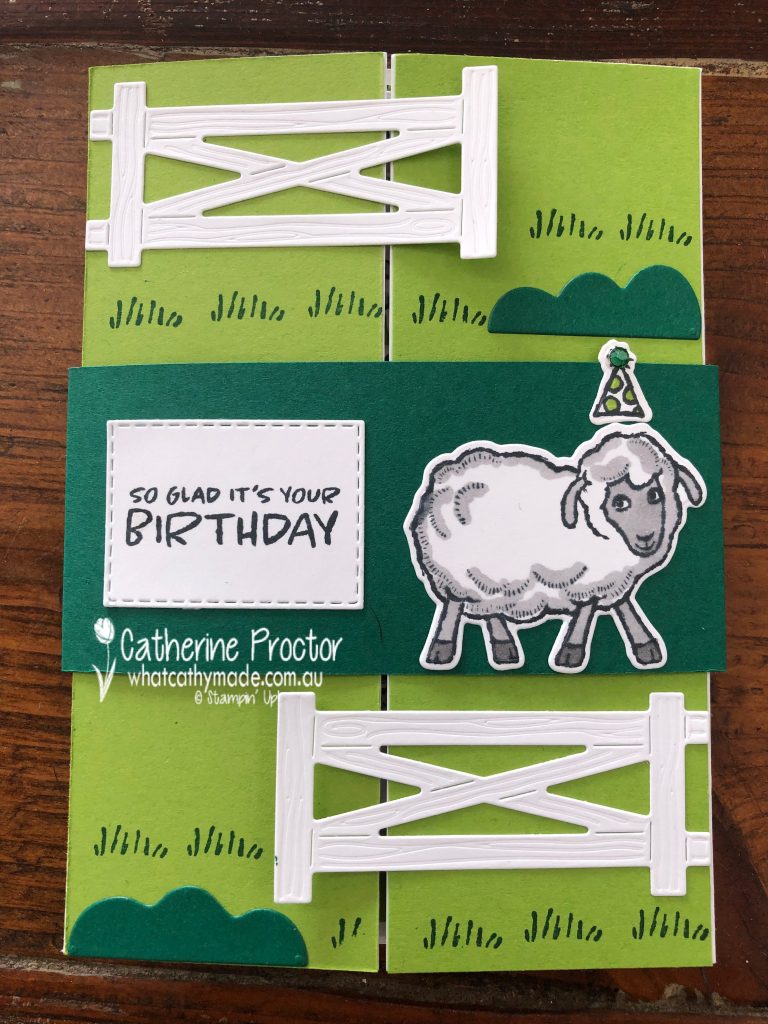
Here’s what the card looks like when closed with the belly band on (left photo) as well as on the inside of the card with the sheep popping up (right photo).
Because this card has pop up elements inside it is hard to keep it flat when the card is closed, which is why I decided to create a belly band. This card will easily fit into an standard envelope for posting but it was tricky to photograph it closed without the belly band on!
And here is another look at the inside. Because this is quite a busy card on the inside I’d probably write on the back panel instead.
Don’t these sheep just make you laugh!
If you would like the instructions on how to make this card, they are in the August Tutorial bundle, are available on my tutorial page.
Thanks for visiting my blog today. I’ll be back this week with some more Heart of Christmas inspiration and our weekly AWH Colour Creations Showcase on Wednesday.
If you live in Australia, you can find and purchase all these products in my Stampin’ Up! Online Store. Don’t forget to use my monthly Host Code (if your order is between $50 – $250) and I will send you a thank you gift the following month. If your order is over $250 don’t use the host code because you will qualify for your own stamping rewards.
My September Host Code is WVX3UYCR and it is valid until midnight September 30.
In the meantime, wherever you are in the world, stay safe, stay calm … and keep on crafting xxx
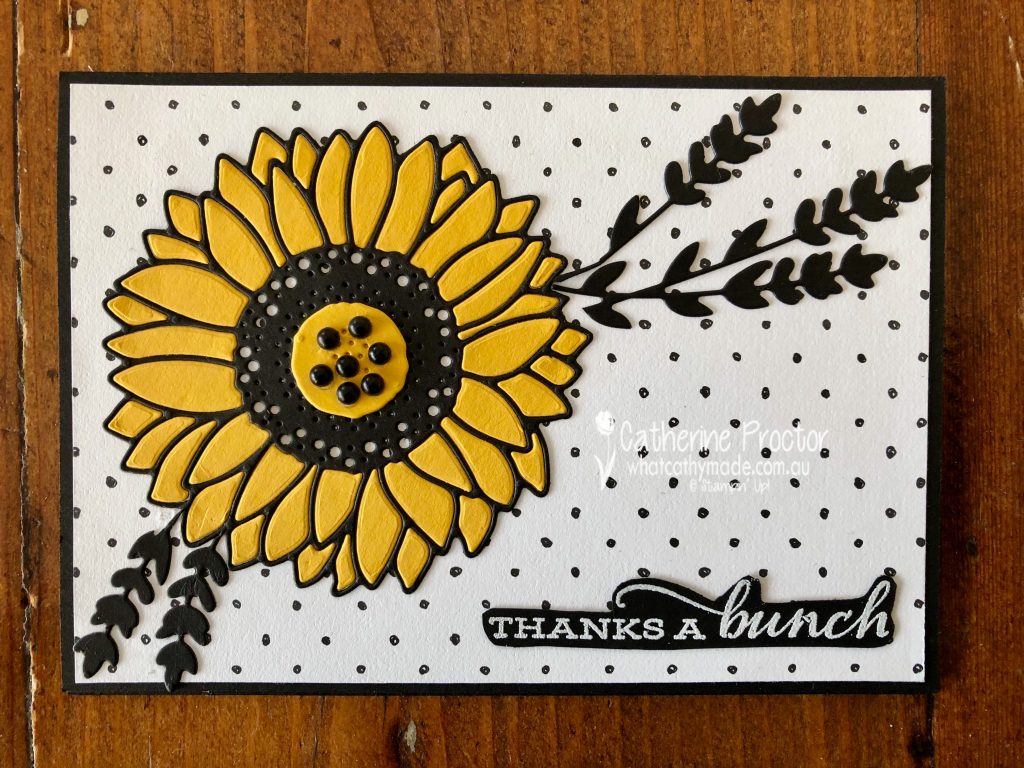
Welcome to week 14 of our 2021-22 Colour Creations blog hop! Tonight we are showcasing Crushed Curry, a rich bold yellow from the Regals colour collection.
Do you have any colours that you rarely use, but when you do, you wonder why you don’t use them more often? Crushed Curry is one of those colours for me.
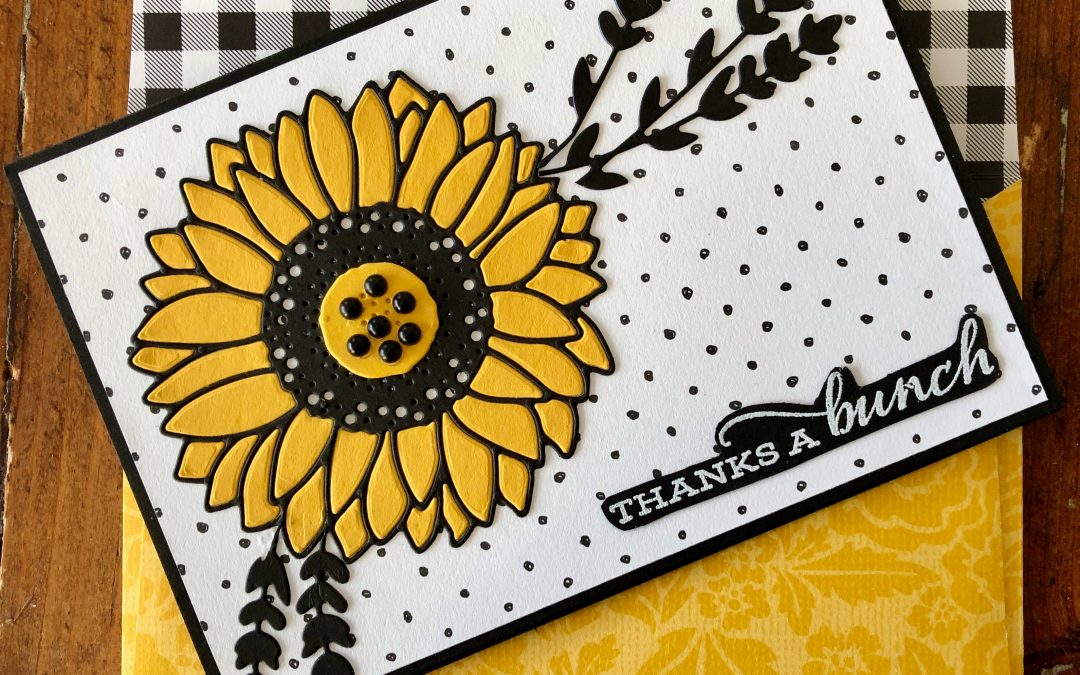
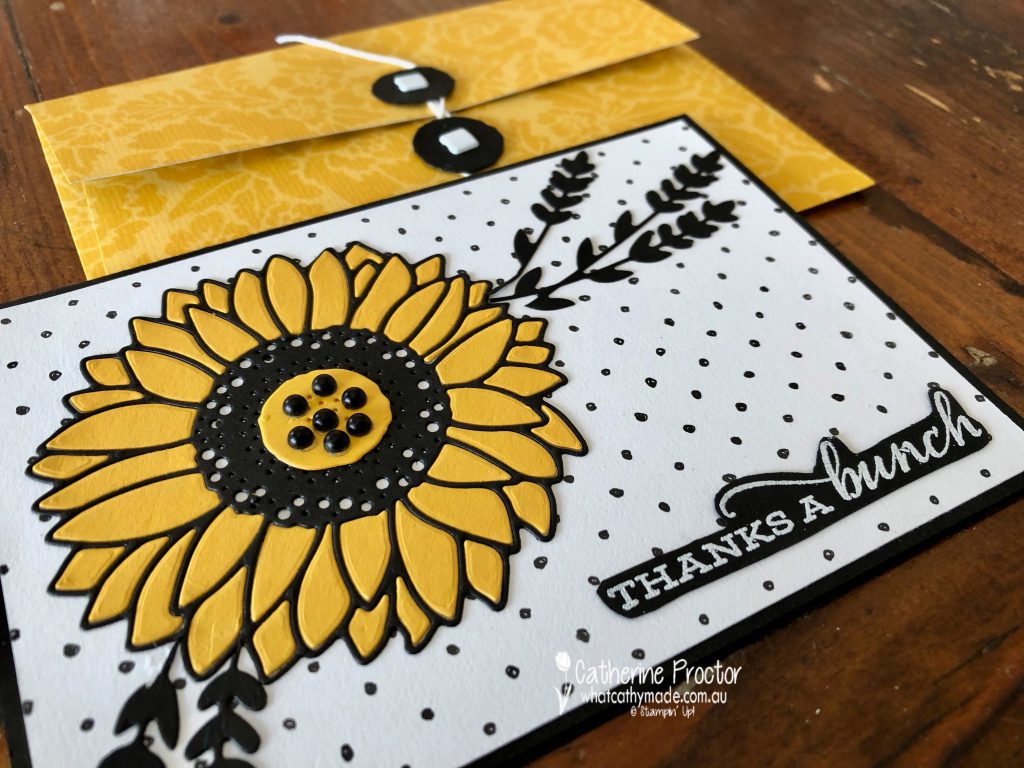
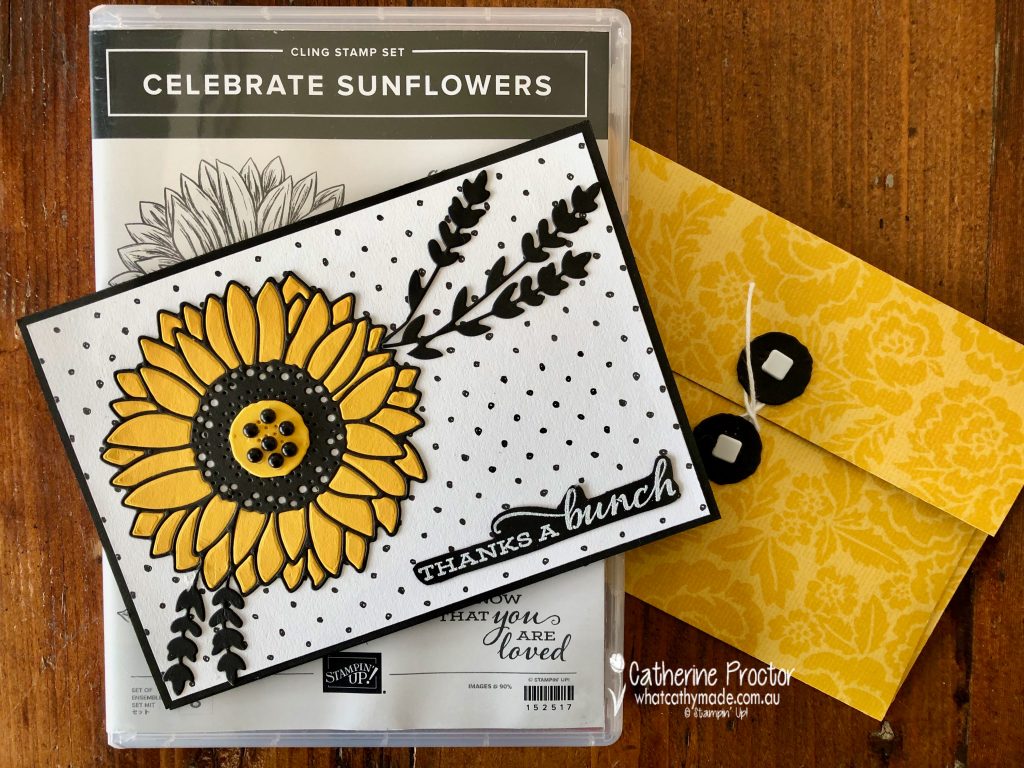
Crushed Curry is so vibrant, it immediately draws your eye and it demands your attention. And as today is the first day of spring here in Australia, I decided to celebrate the arrival of spring with a Crushed Curry sunflower card.
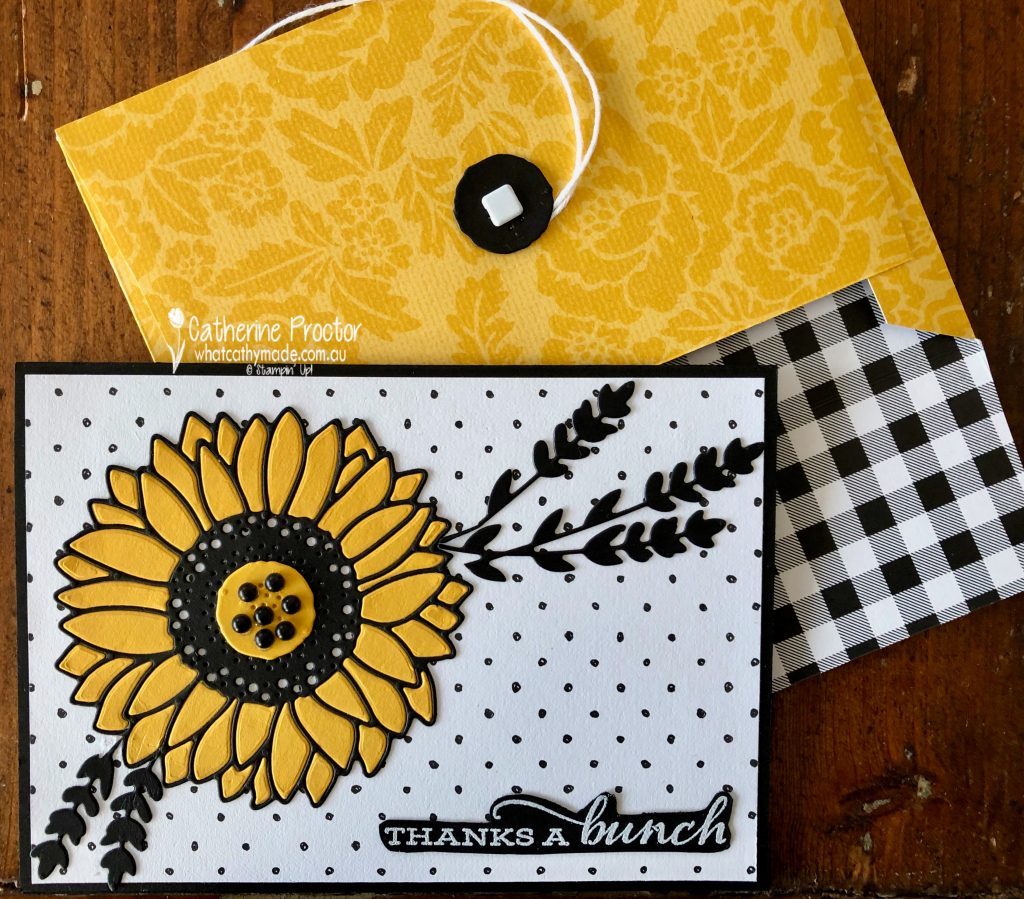
This card uses a favourite technique of mine: the die inlay technique. I highly recommend die inlay to anyone who enjoys doing jigsaws. It’s not a technique for fast mass production but it’s not hard to do either, and the extra time it takes is so worth it for the effect it gives.
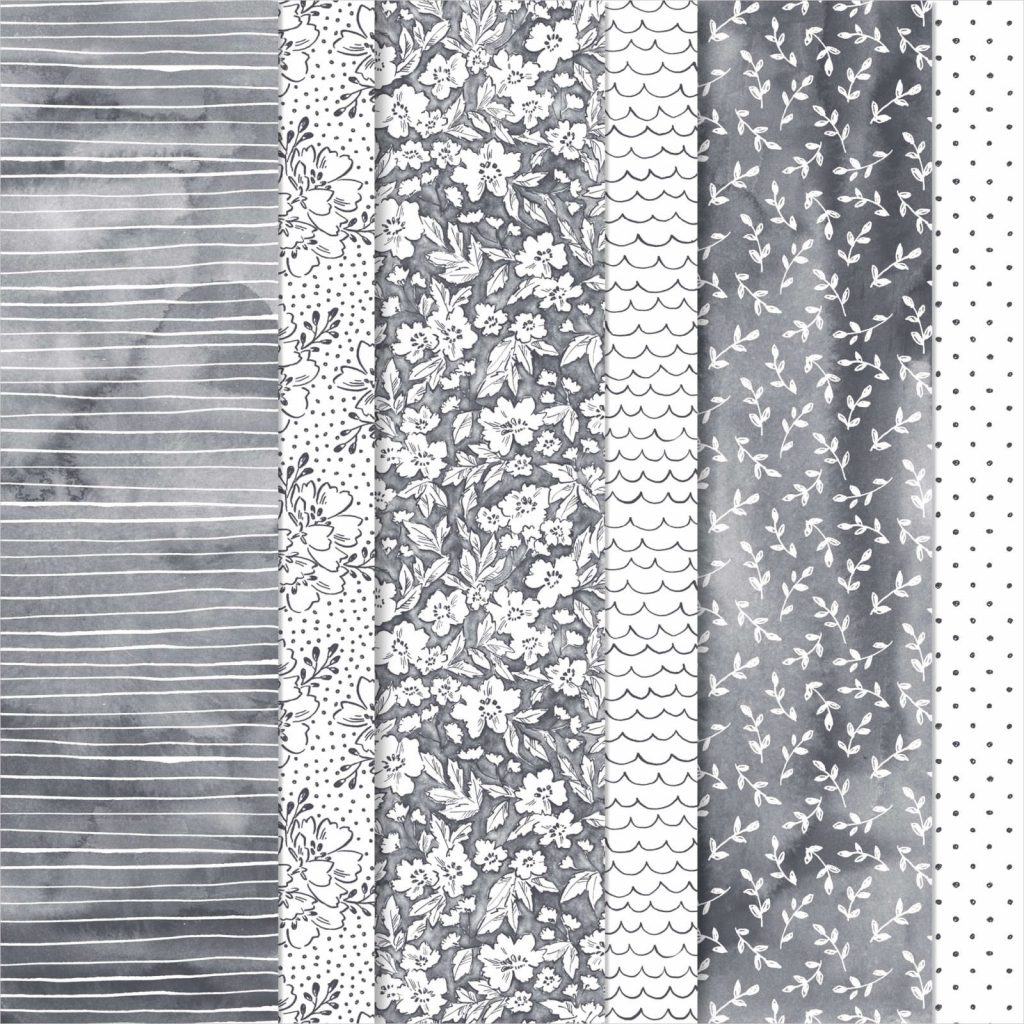
Did you notice the background spotted DSP? It’s from the FREE SALE-a-bration Beautifully Penned 12″ x 12″ Designer Series Paper.
Once you’ve layered the spotty DSP onto the Basic Black card base, it’s time to create the die inlay sunflower. The die inlay technique works best if you adhere a piece of adhesive sheet to the back of the Crushed Curry Cardstock and Basic Black Cardstock BEFORE you die cut them.
After you’ve die cut the Crushed Curry Cardstock be careful to keep all of the die pieces together on the cutting platform and use your Take Your Pick Tool to remove the adhesive sheet from the back of the petal pieces and place them into the correct position.
The “Thanks a Bunch” sentiment from Celebrate Sunflowers has been stamped in Versamark and heat embossed in white emboss powder before fussy cutting it out.
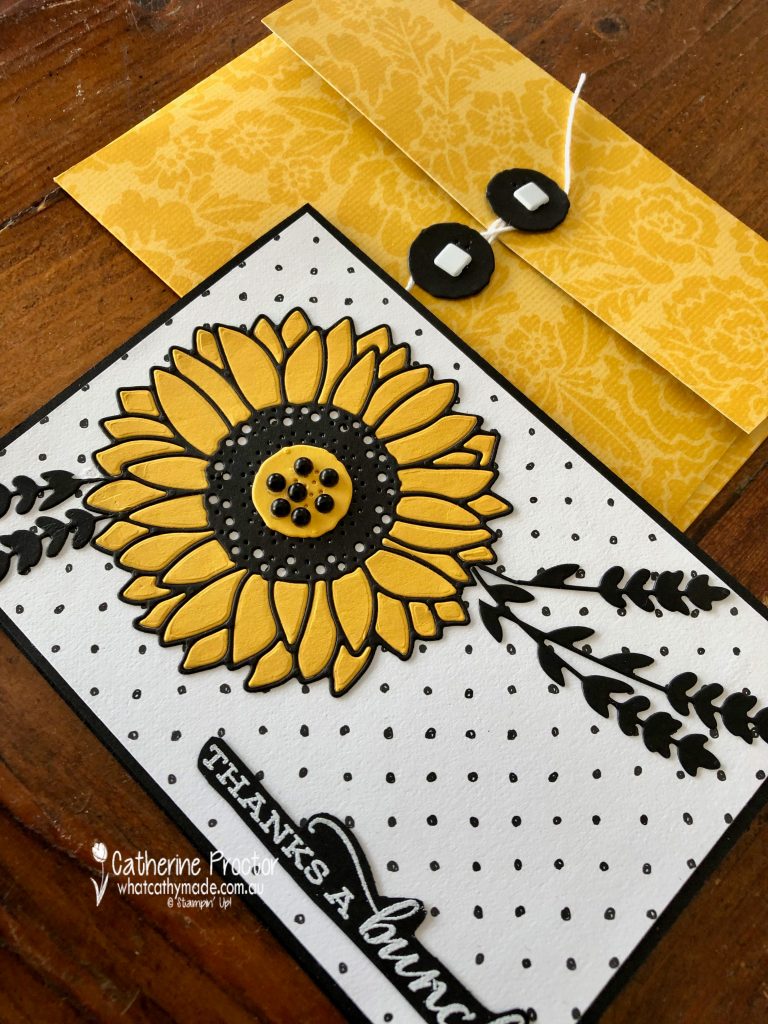
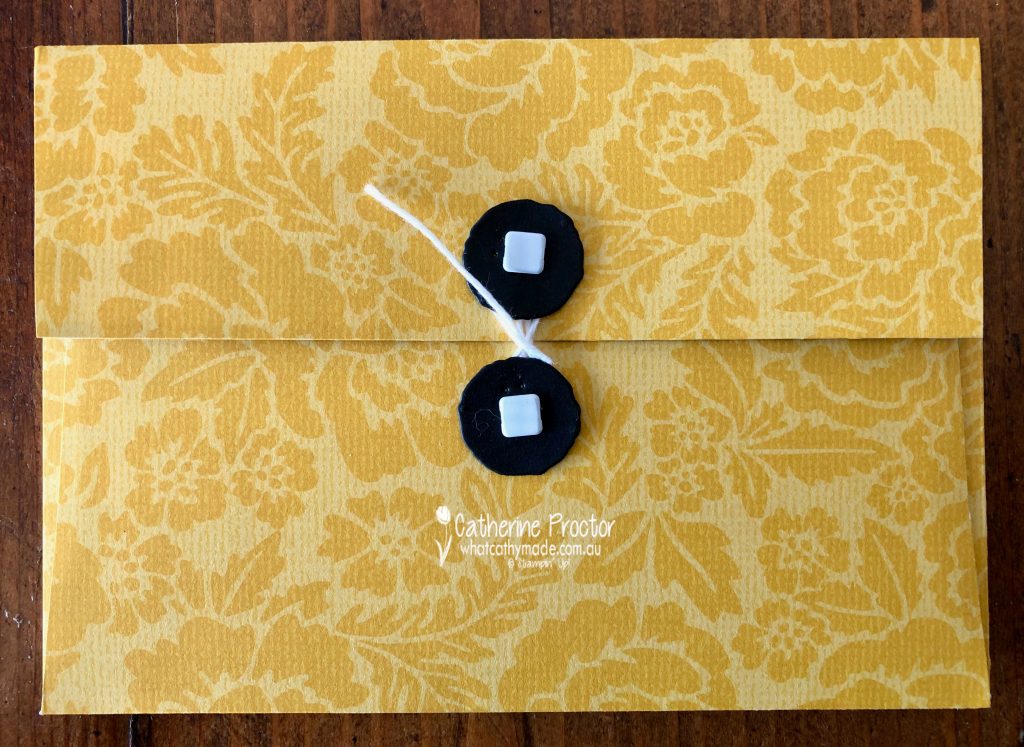
The other great pop of Crushed Curry colour is the handmade matching envelope. Isn’t this DSP pattern just gorgeous? It’s from a host set called Pattern Party Designer Series Paper, which has black and white patterns on one side and vibrant colours on the other side.
The envelope closure was made using the same die I used for the centre of the sunflower. I cut two of these dies in Basic Black and attached them to the envelope with white square brads. White bakers twine twists around the closures to open and close the envelope.
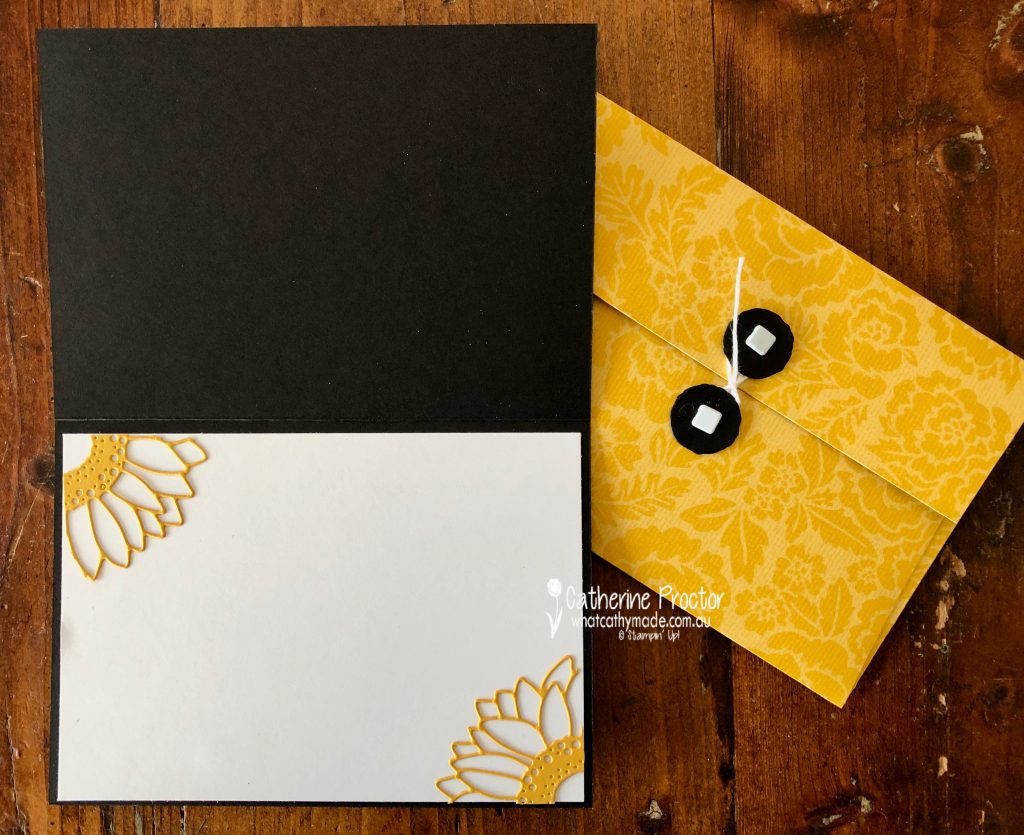
The inside of the card was easy to decorate with leftover Crushed Curry die pieces.
Now it’s time to hop on over to our next participant, the very talented Caroline Manwaring. I can’t wait to see what she’s made this week!
If you find a broken link or have come to this blog hop from a different entry point, you can view the the full list of participants below: