Welcome to week five of our Art With Heart 2023-24 Colour Creations blog hop!
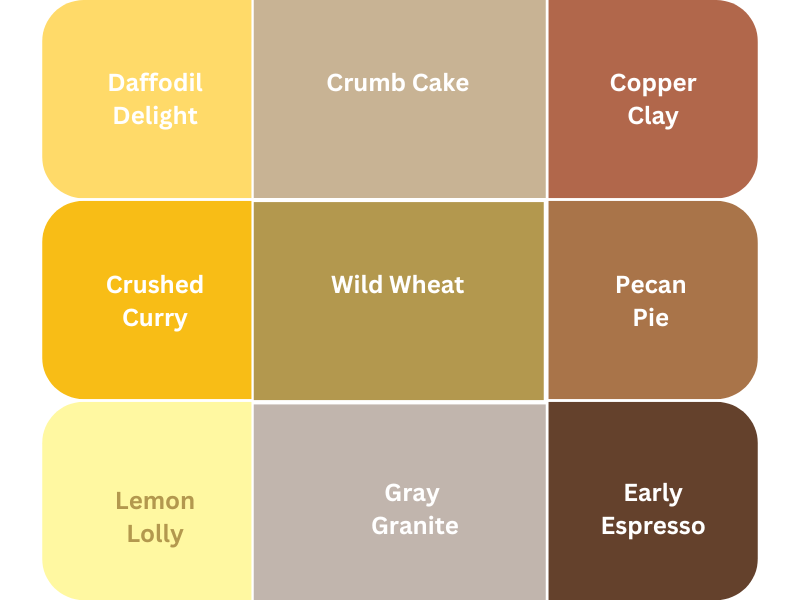
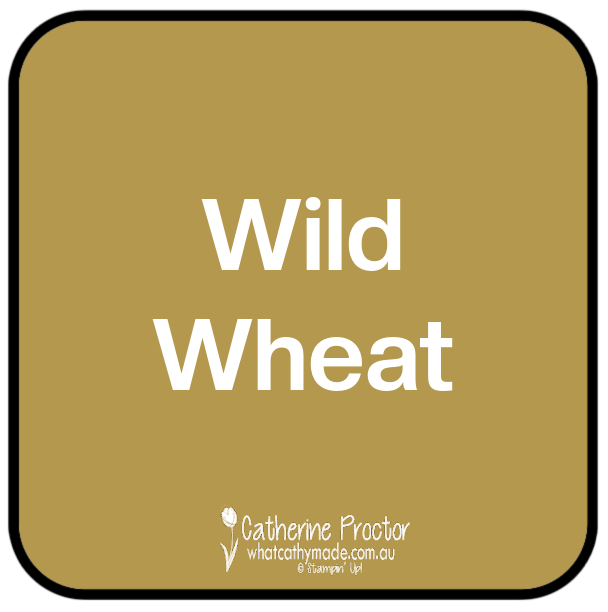
This week we are showcasing our fifth 2023-25 In Colour: Wild Wheat. Wild Wheat is a warm mustard gold colour, similar to a previous In Color, Delightful Dijon.
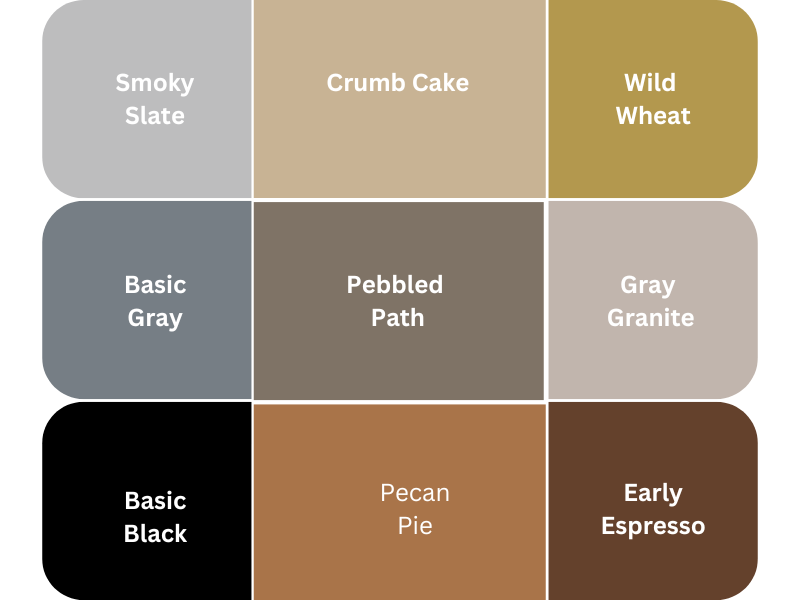
Here’s how Wild Wheat compares to the other current Stampin’ Up! yellows and browns.
Although I love shades of mustard when used as an accent colour for homewares, leather shoes and bags, I must admit I found Wild Wheat challenging at first to craft with … especially as I’m a 7 hour drive away from home this week and I packed the wrong supplies!!!!
Luckily, I’d packed some of my 2023–2025 In Color 6″ x 6″ (15.2 x 15.2 cm) Designer Series Paper as well as my specialty paper share, which included Wild Wheat in the 2023–2025 In Color 12″ x 12″ (30.5 x 30.5 cm) Luster Specialty Paper and the “oh so fabulous” More Dazzle 6″ x 6″ (15.2 x 15.2 cm) Specialty Paper.
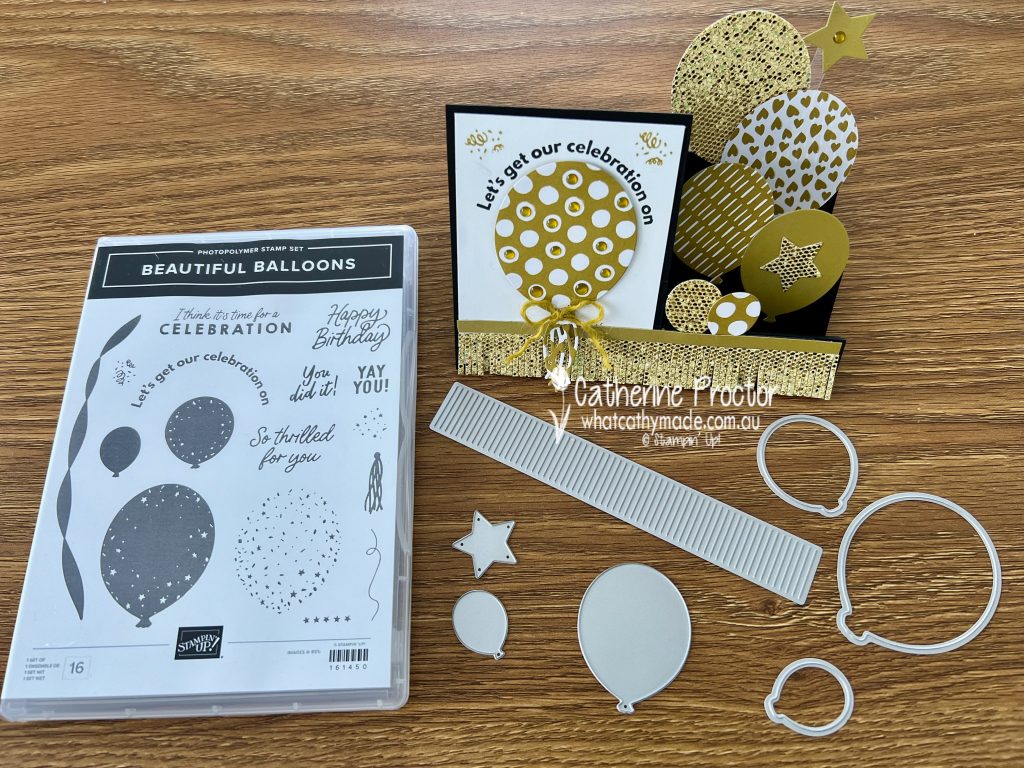
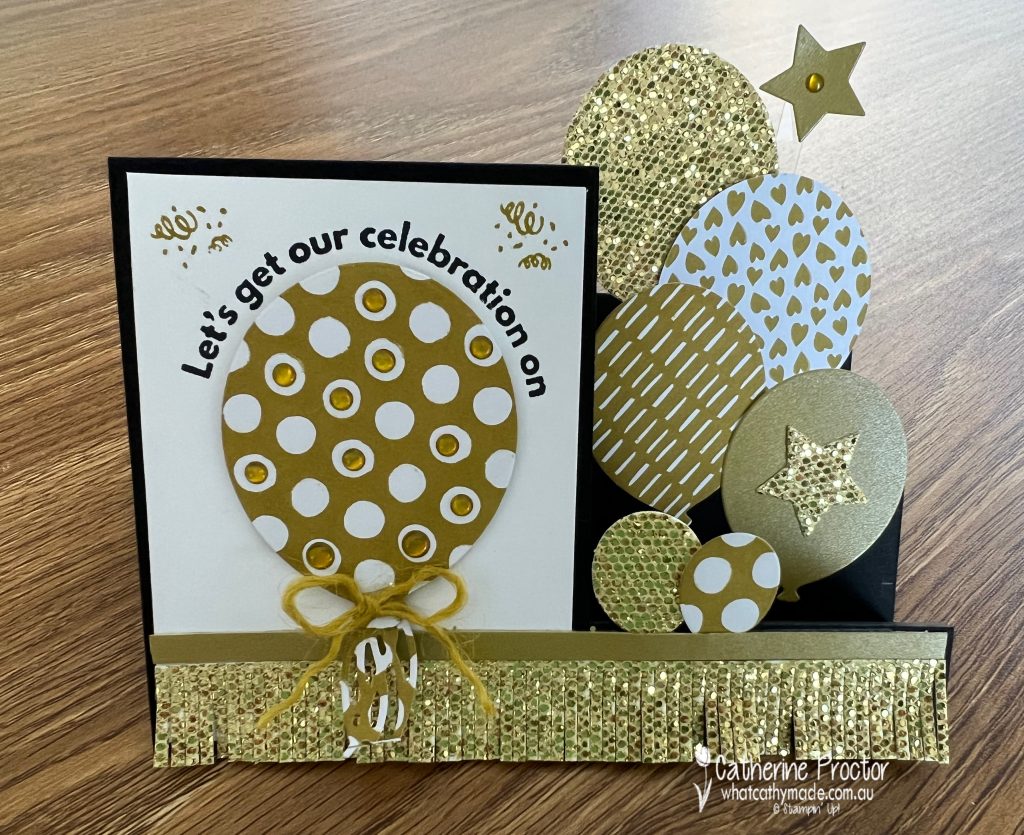
I’d also packed the Beautiful Balloons bundle to make a card for next week’s blog, but decided to use it this week instead to make a side stepper/side step card.
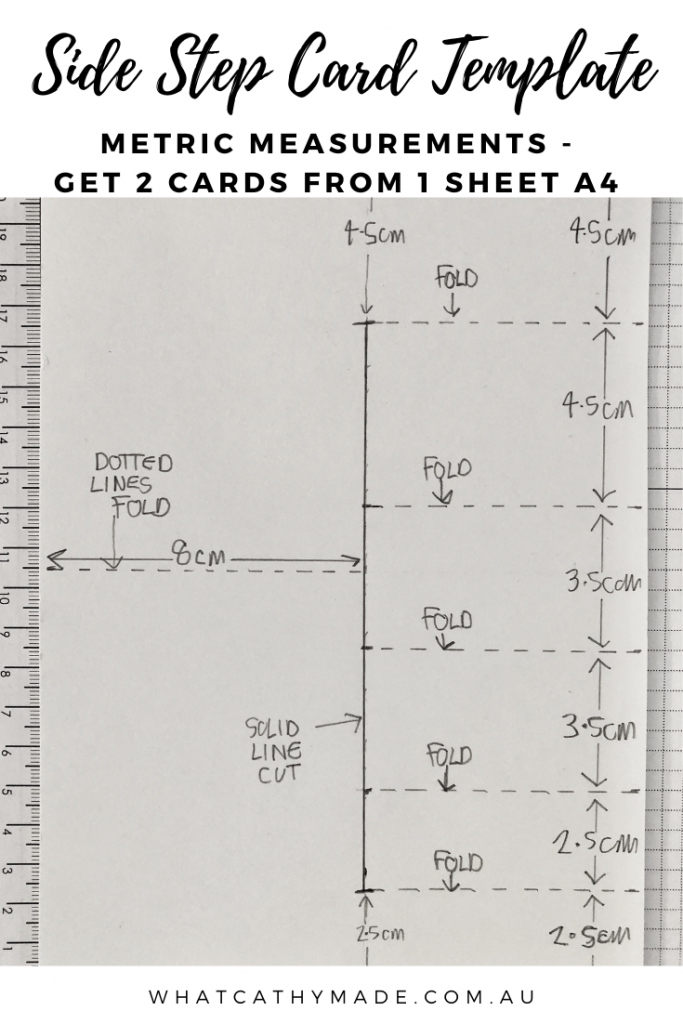
Making a side step card is quite simple – there is only one single cut and a few folds. One sheet of A4 paper is enough for 2 card bases, each measuring 14.8cm x 21cm each.
Use your paper trimmer to cut your A4 card stock in half and then cut and score as per the template below – the fold on the left hand side of the card is at 10.5cm.
Side Step Card Template
Measure in 8cm from the left on the 14.8cm side of your card base and draw a pencil line from top to bottom.
Along this line measure down 4.5cm from the top of the card stock and measure up 2.5cm from the base of the card stock. The solid line in between these 2 measurements is your only cutting line for this card- I’ve marked this as a solid black line in my template.
Cut along this solid line, being very carful not to cut above or below this line.
All the other dotted lines are fold lines – measure and score these with your paper trimmer.
Once you’ve scored these lines, rub out the pencil mark along your cut line and fold the score lines so the side folds of your card look like this.
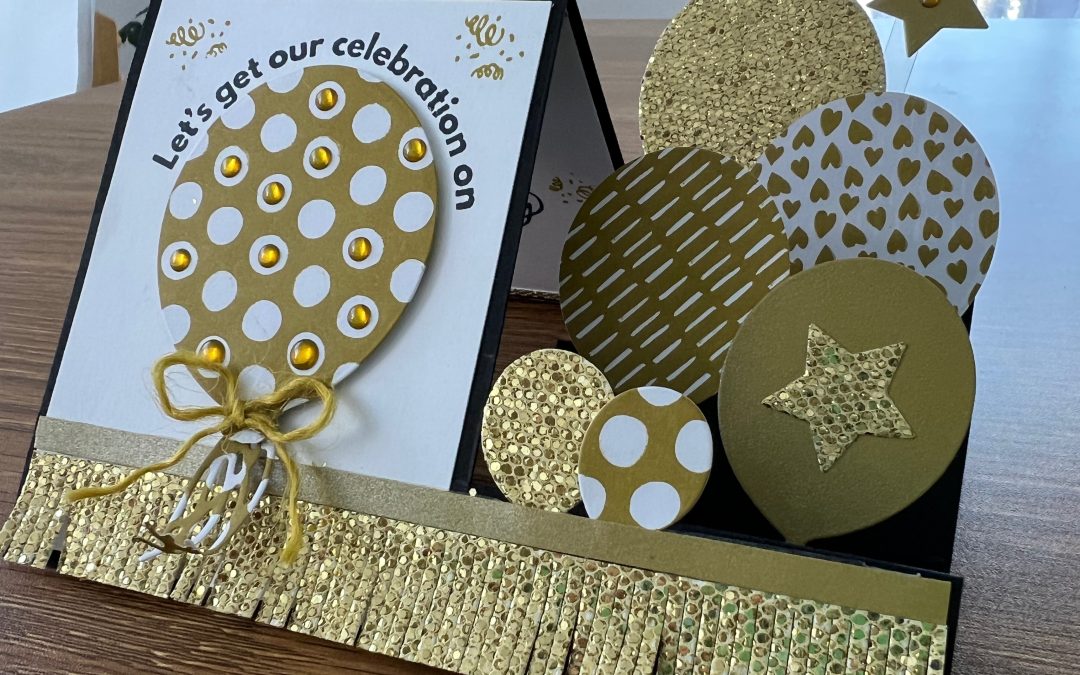
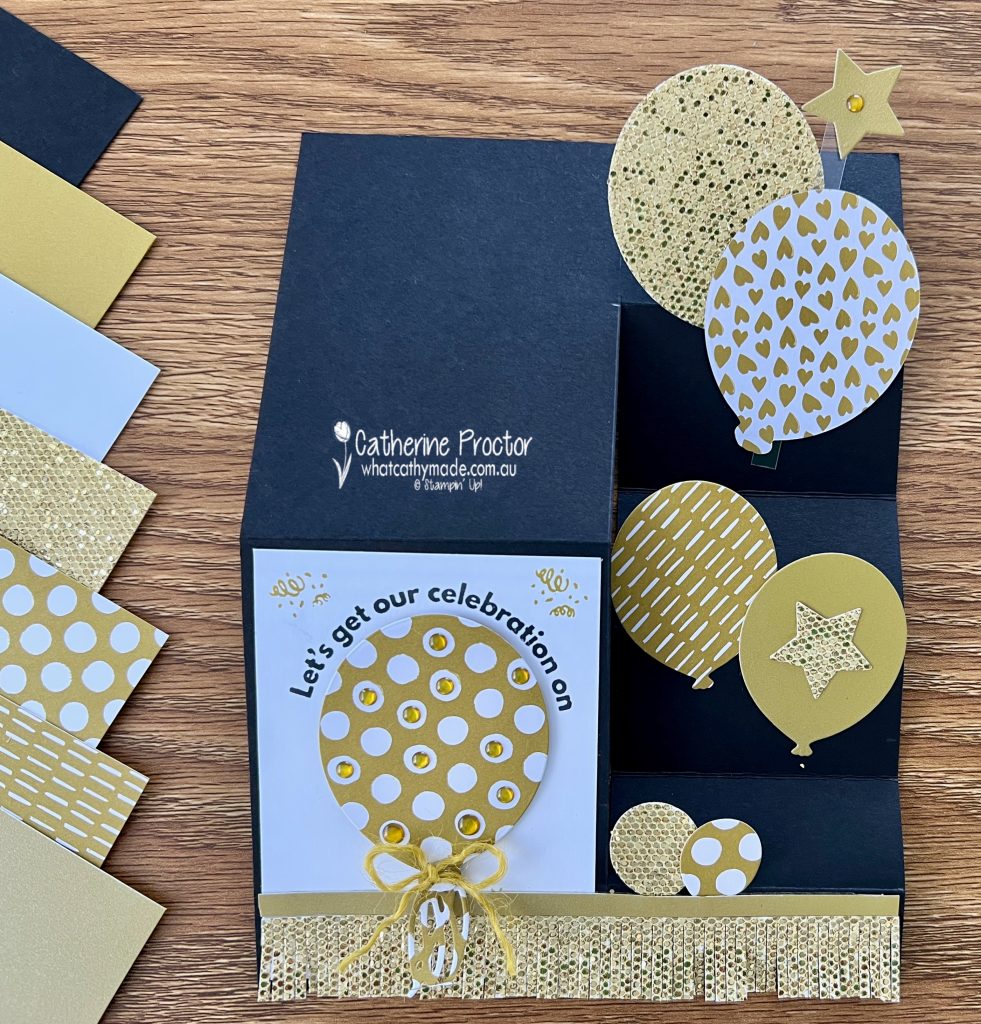
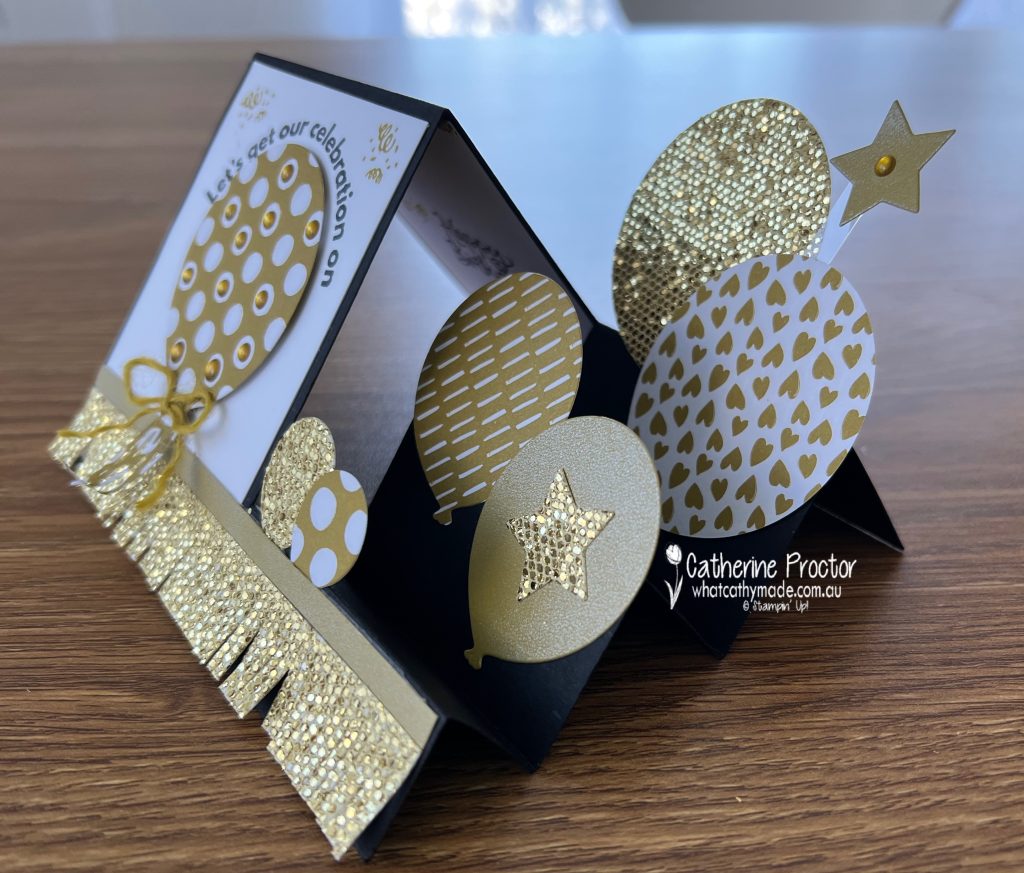
I’ve paired Wild Wheat with black, white and gold as it really looks like a kind of fools gold, especially in the Luster Specialty Paper. Here’s what the side step card looks like when laid flat.
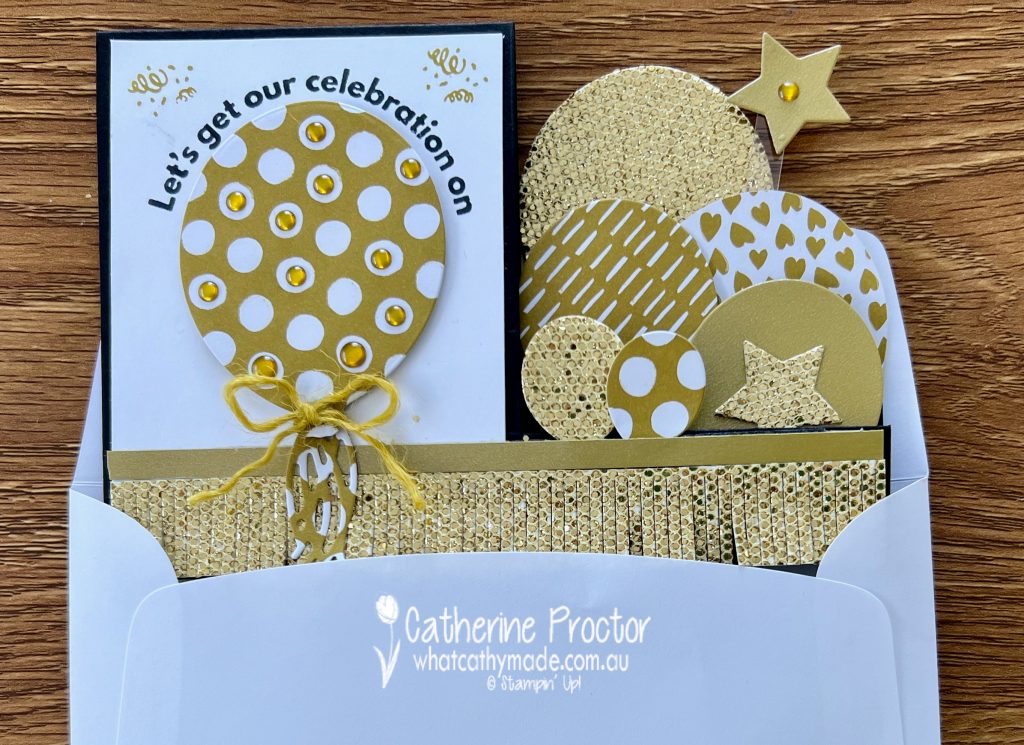
Here’s what it looks like correctly folded and in an envelope.
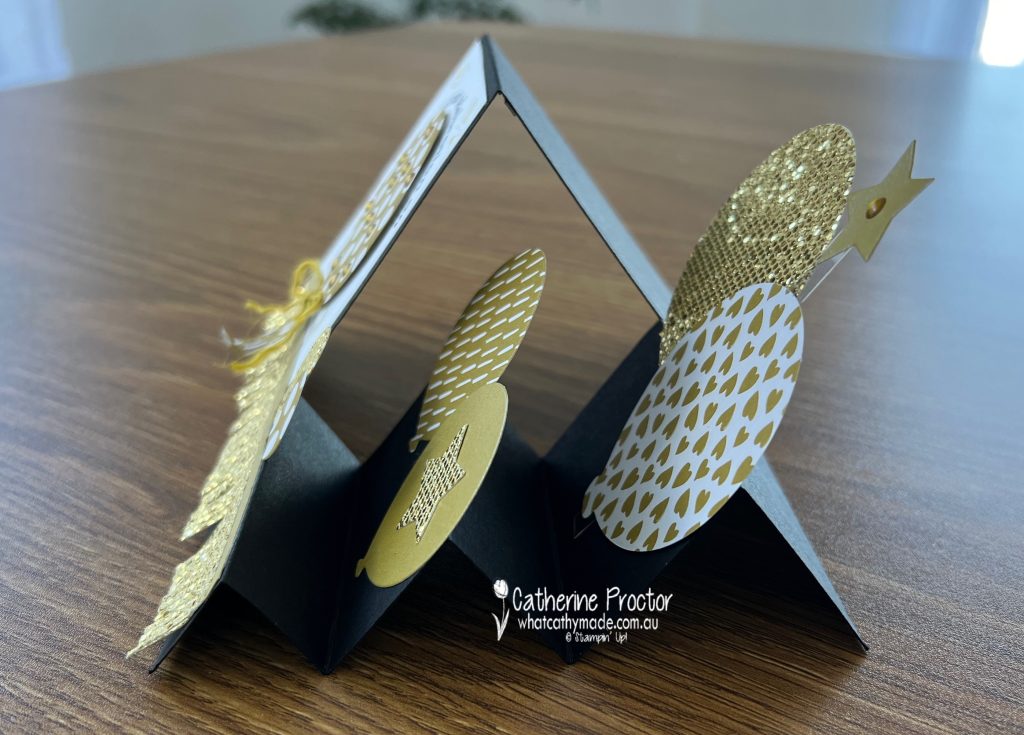
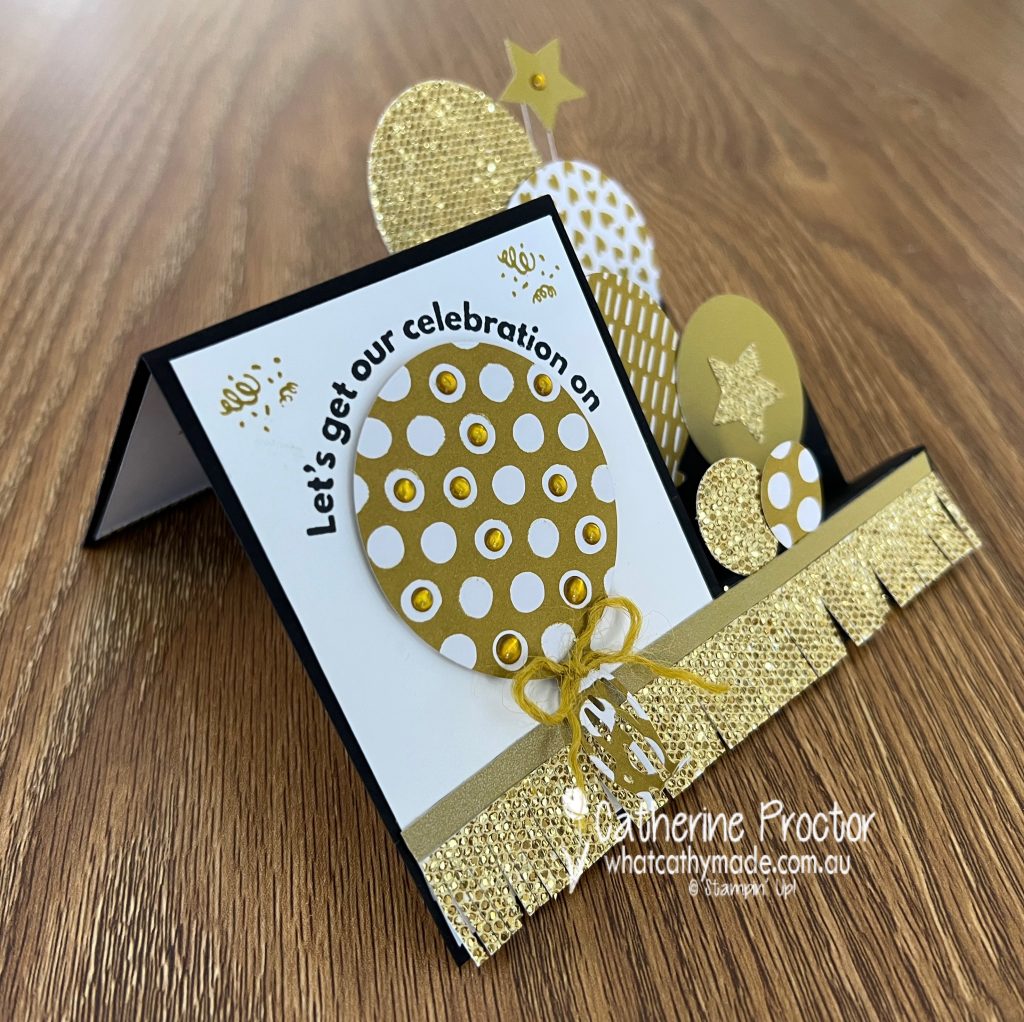
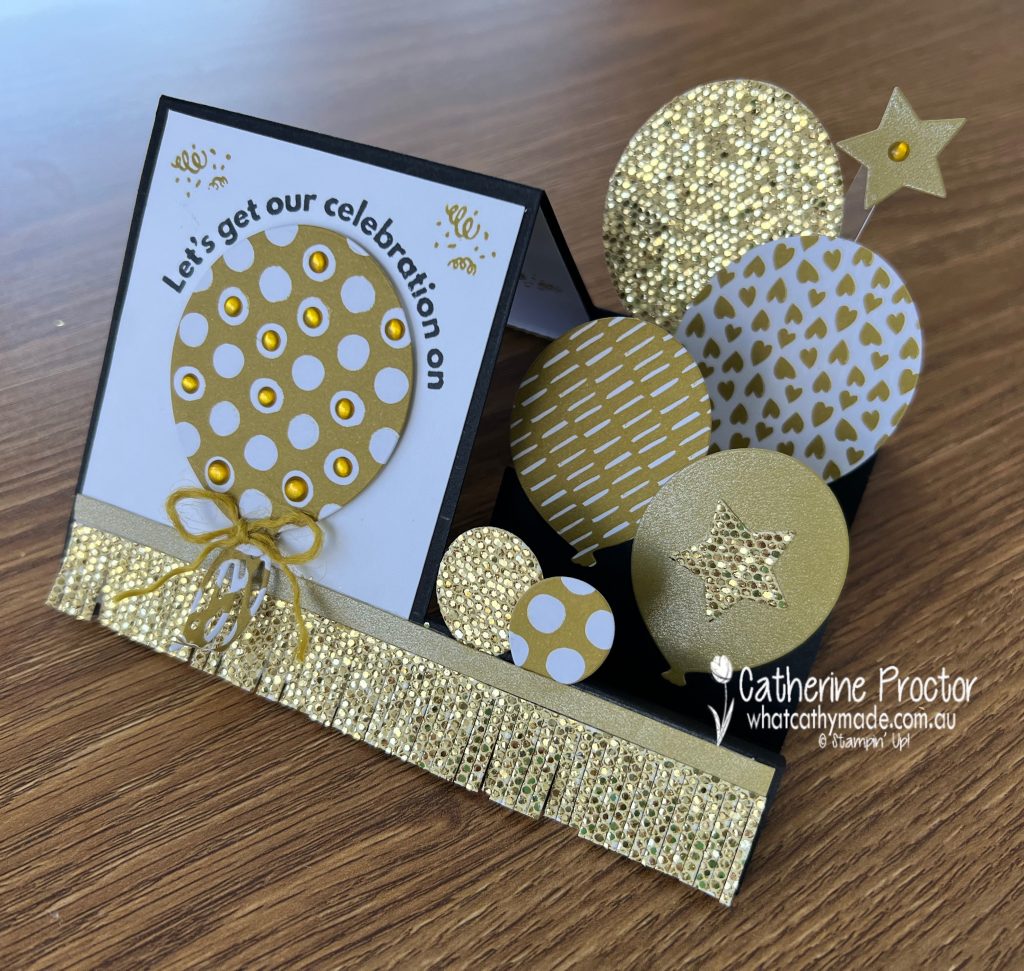
Here’s what it looks like from the right side when sitting up for display.
And from the left side.
Did you notice the frill on the bottom of the card? It’s a long die from the Beautiful Balloon dies that I used to die cut the More Dazzle specialty paper. I trimmed one end off to make a long frill.
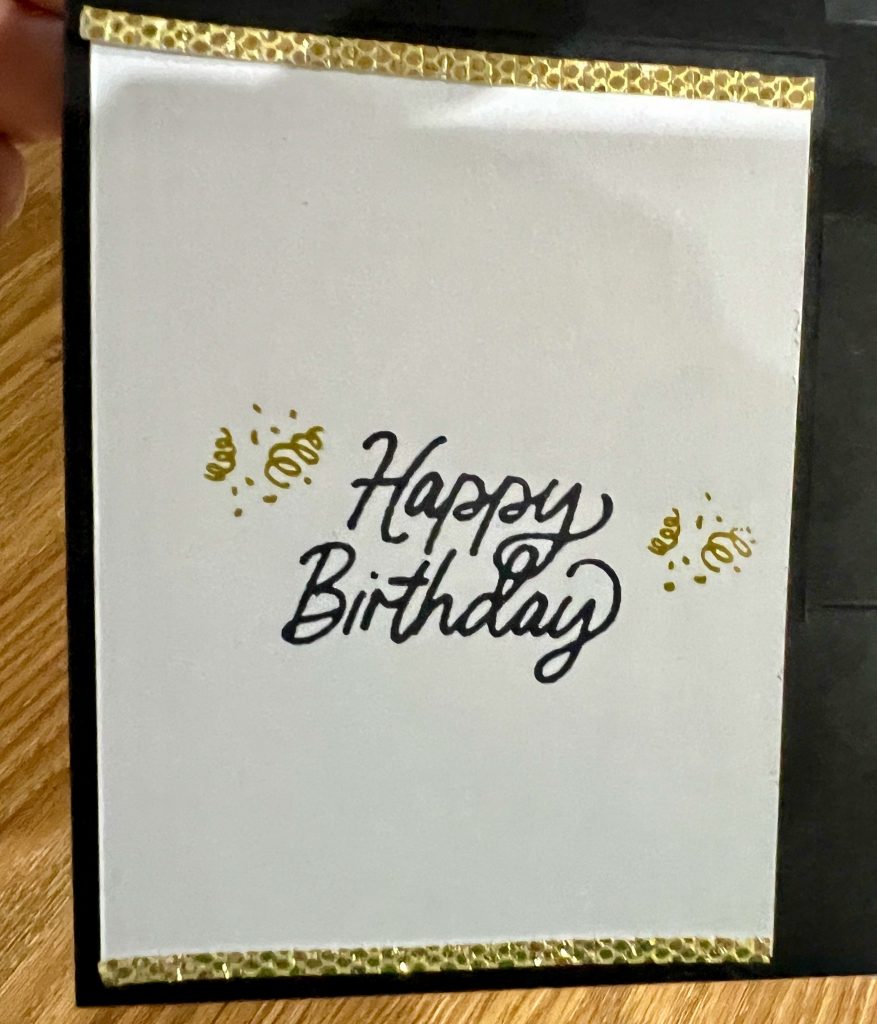
The offcut side from the long fringe was used to decorate the inside of the card.
The front of the side step card was embellished with a bow of the Wild Wheat 2023–2025 In Color Jute Trim and Wild Wheat 2023–2025 In Color Dots on the largest balloon.
Now it’s time to hop on over to our next participant, the lovely Christine Blain – I can’t wait to see what Christine has made this week!
If at any time you find a broken link, you can find the complete list of all participants below.
From next Wednesday, June 7, we’ll be showcasing our core colours in alphabetical order. Our core colours include new colours and returning colours and we’ll start with a brand new colour, Azure Afternoon.
Welcome to week four of our Art With Heart 2023-24 Colour Creations blog hop!
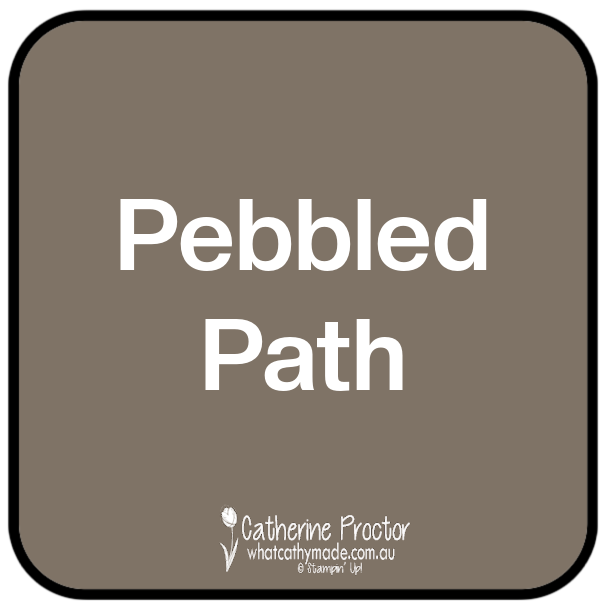
This week we are showcasing another brand new 2023-25 In Colour: Pebbled Path. Pebbled Path is a warm mid-tone gray, similar to a previous In Color, Tip Top Taupe.
Here’s how Pebbled Path compares to the other current Stampin’ Up! grays and browns. It really sits in between the grays and the browns.
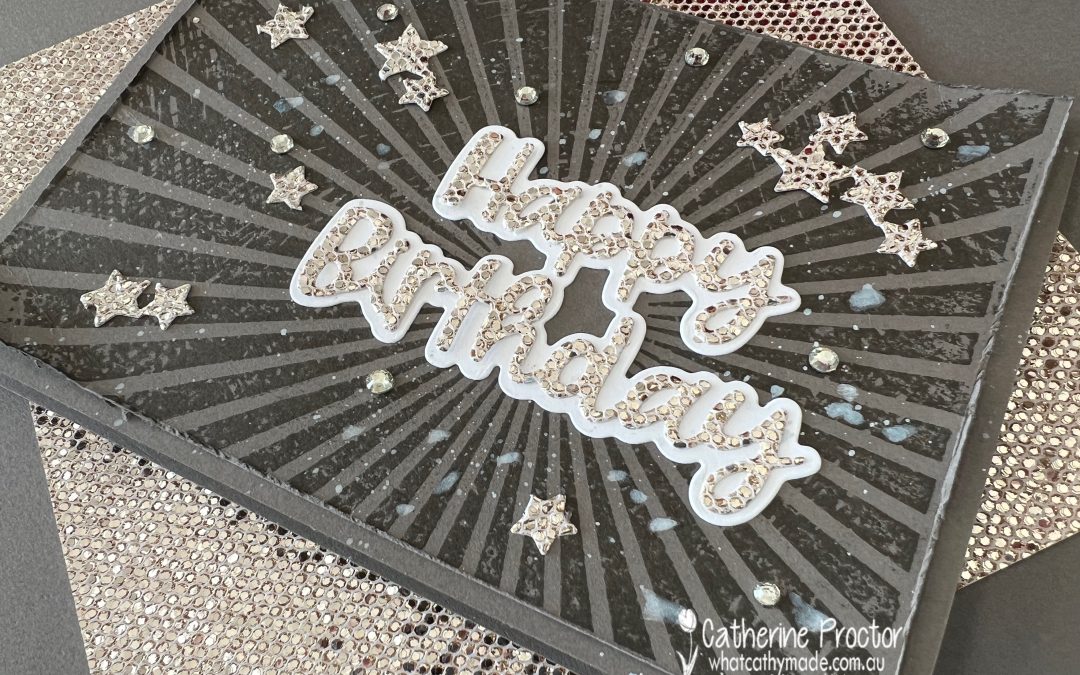
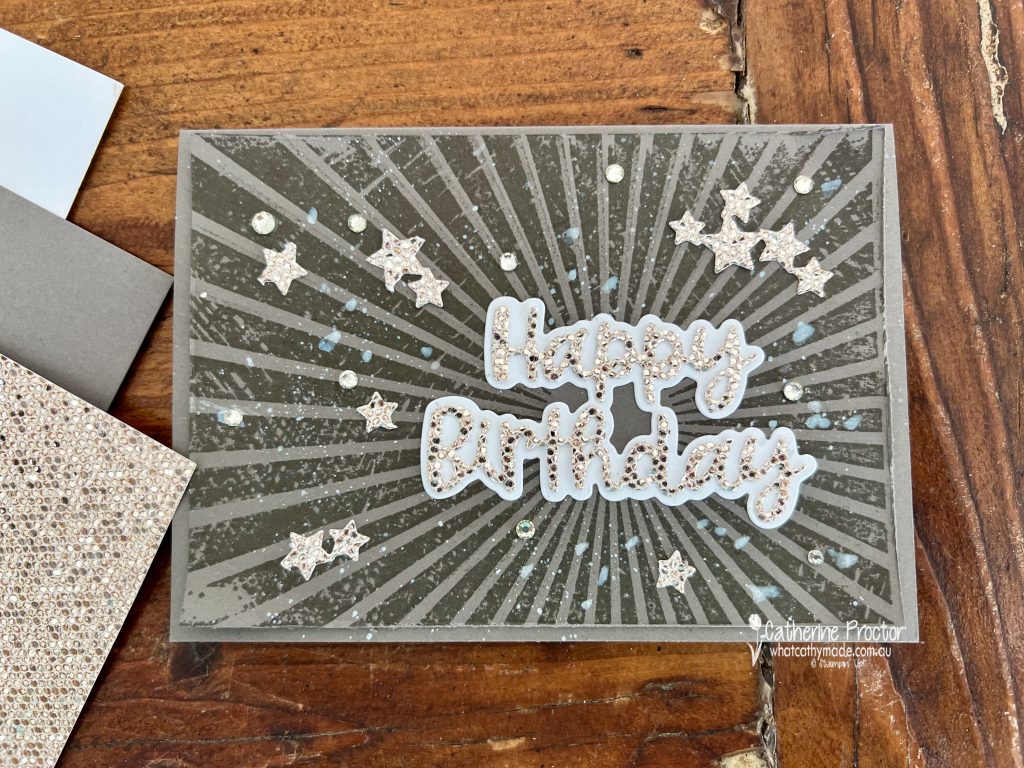
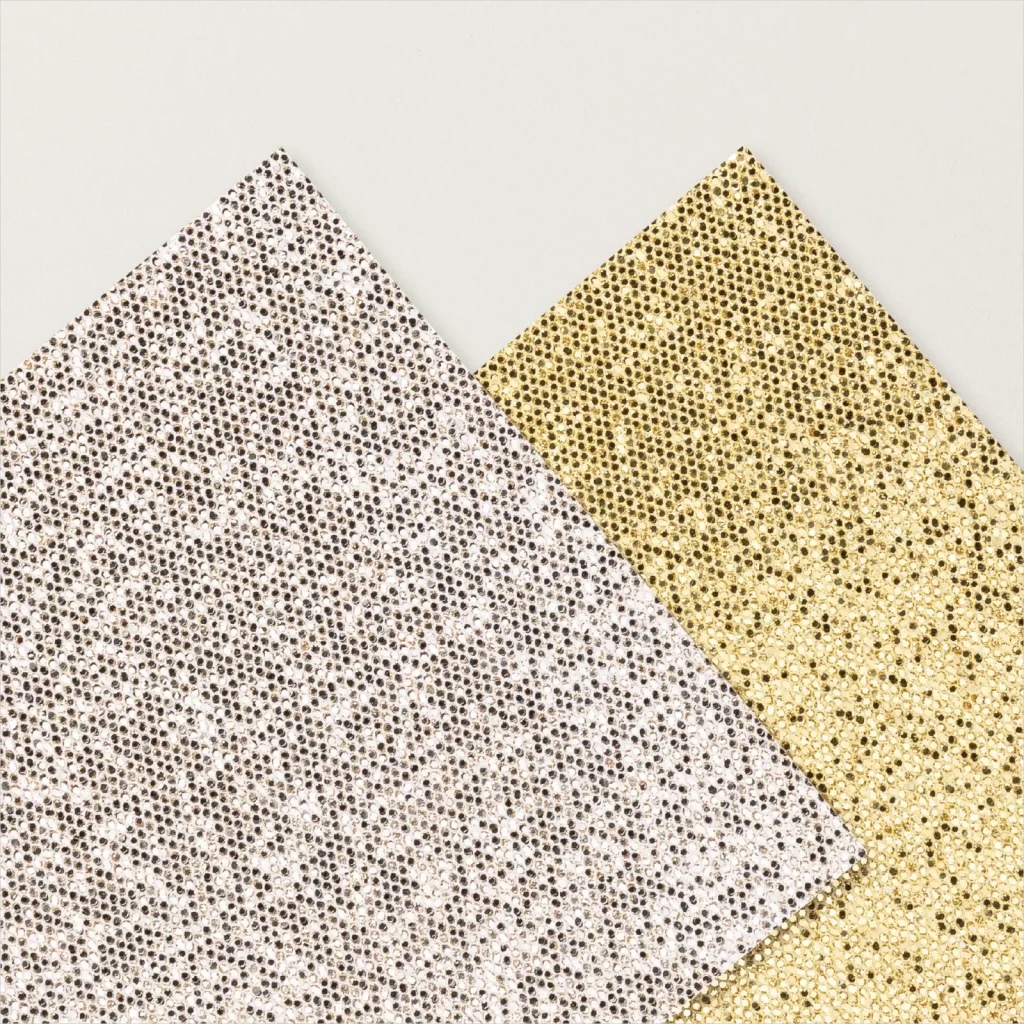
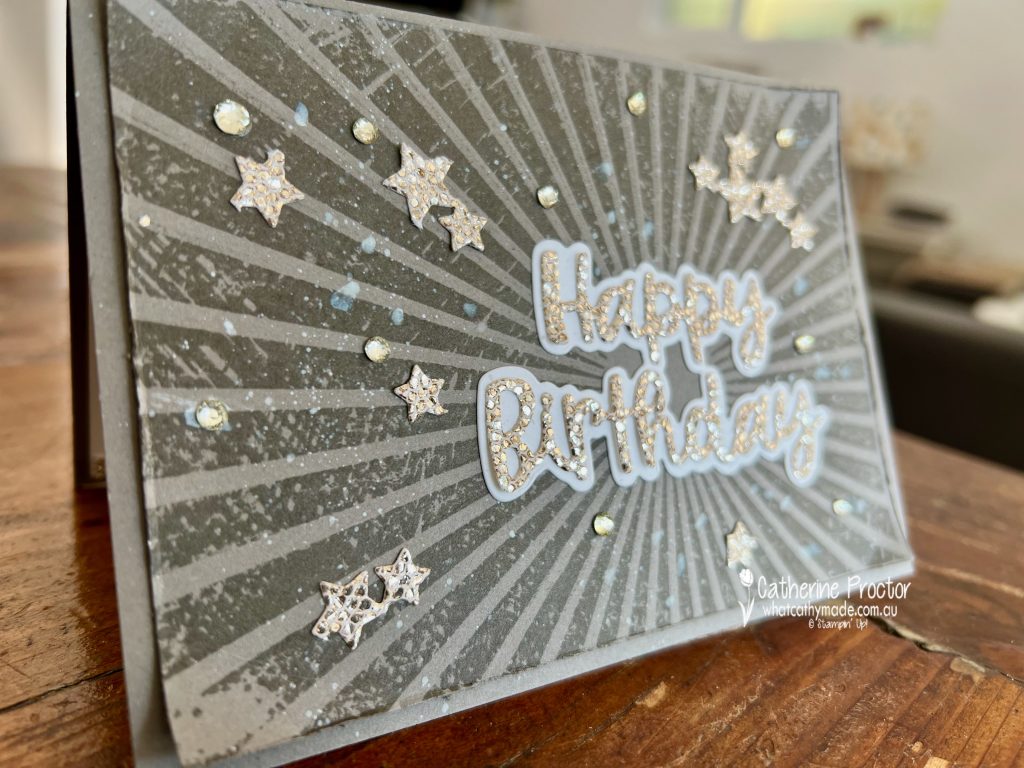
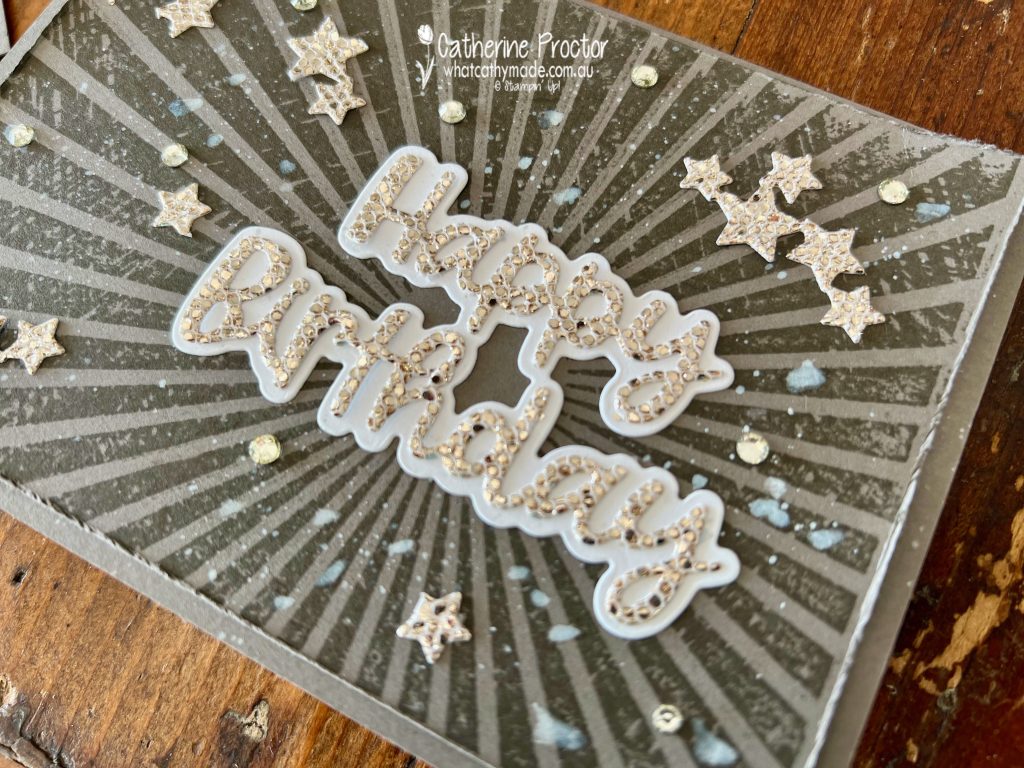
I’ve paired Pebbled Path with Basic White and this stunning Champagne coloured More Dazzle 6″ x 6″ Specialty Paper.
This specialty paper adds so much “wow” factor to your cards – I can’t wait to use this for my Christmas cards too.
The only downsides of this incredibly sparkly specialty paper are that it is hard to photograph and it can also be tricky to die cut – you’ll need to run it back and forth in your cut’ n’ emboss machine a few extra times.
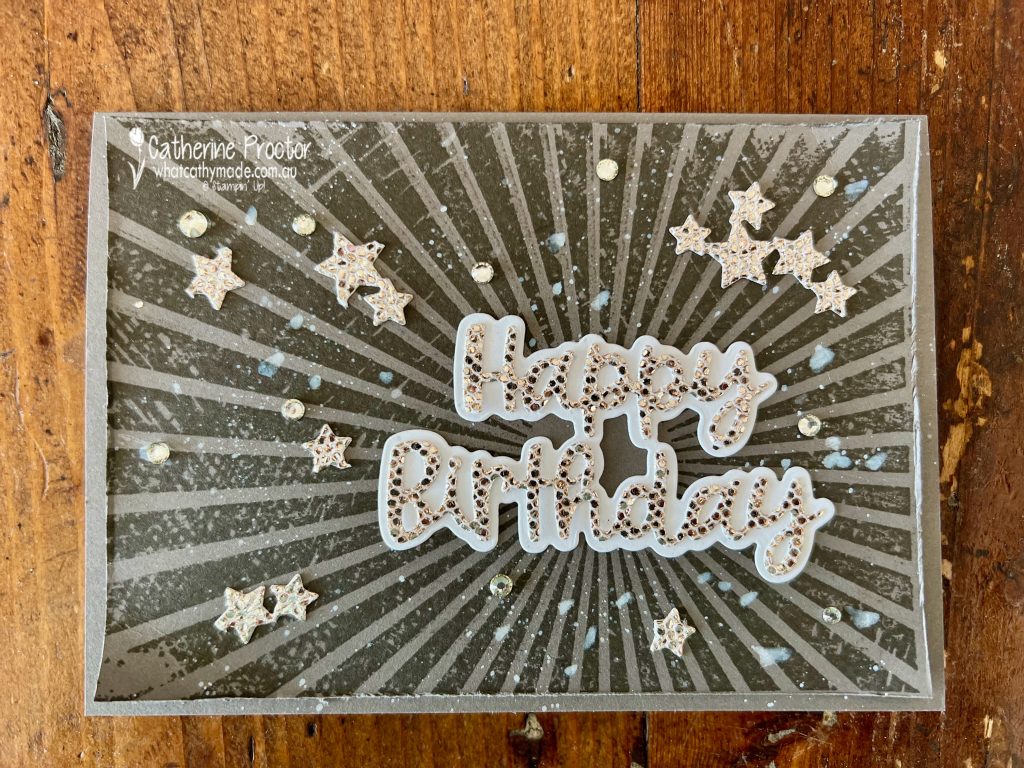
Apart from stamping the Rays of Light background stamp in Pebbled Path ink onto the Pebbled Path cardstock, there is actually no other stamping on this card.
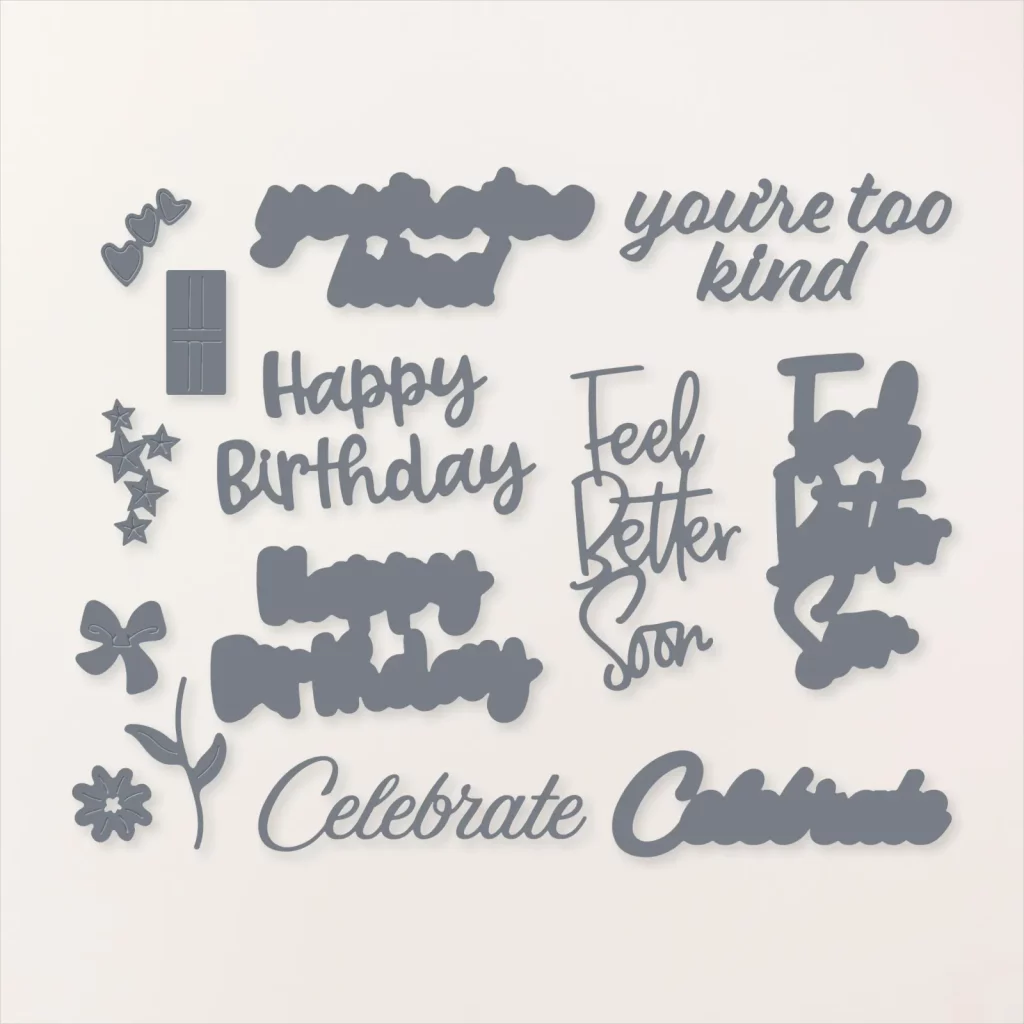
The Wanted to Say Dies do all the hard work for you and they have a sentiment for most occasions as well as die cut decorations that include stars, hearts, a flower, a stem and leaf and a bow.
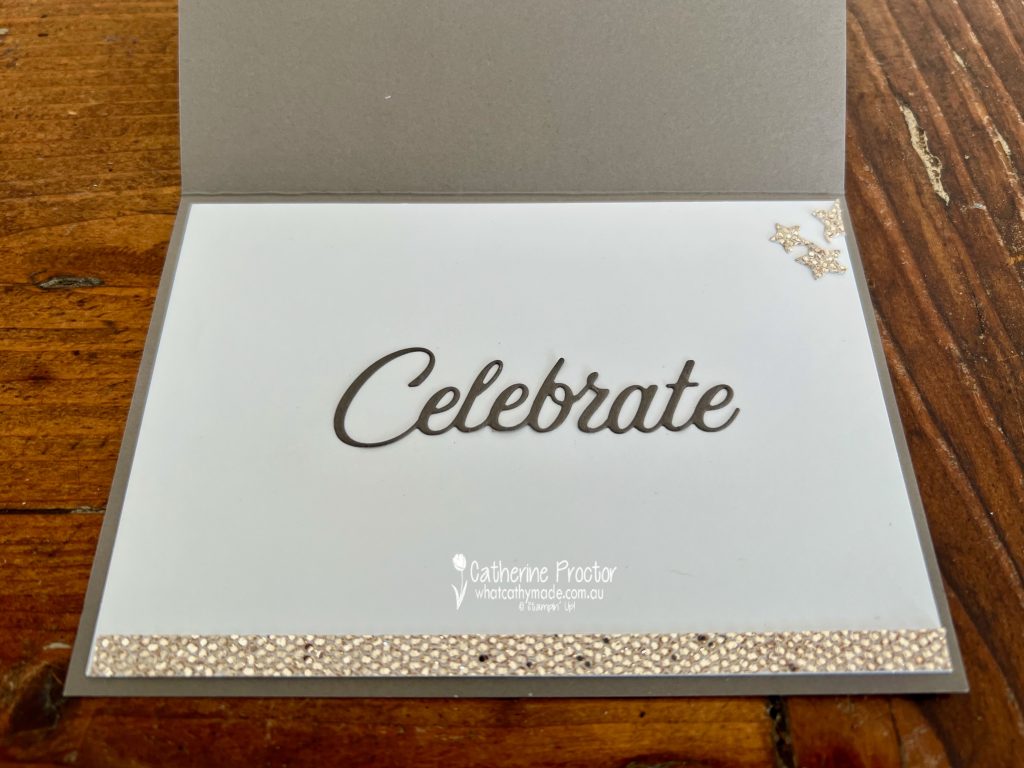
The Wanted to Say Dies also include a layer for all the sentiments so you can either use the sentiment with a layer behind it or on its own, as I’ve done here on the inside of my card.
TOP TIP for using these dies – adhesive sheets applied to the specialty paper and the cardstock BEFORE you die cut are a must for this type of card!
I’ve splattered some white craft ink with a water painter (I definitely need to practise my technique, LOL!) and added a few Rhinestone Basic Jewels to embellish my card.
Now it’s time to hop on over to our next participant, the lovely Vicki Boucher – I can’t wait to see what Vicki has made this week!
If at any time you find a broken link, you can find the complete list of all participants below.
Welcome to week three of our Art With Heart 2023-24 Colour Creations blog hop!
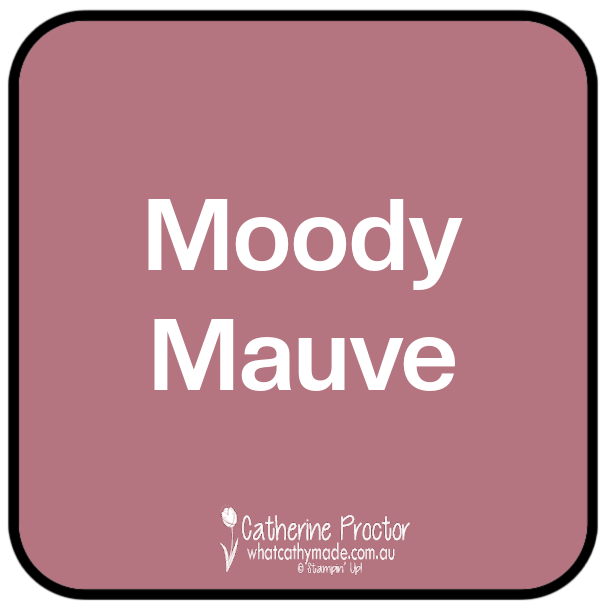
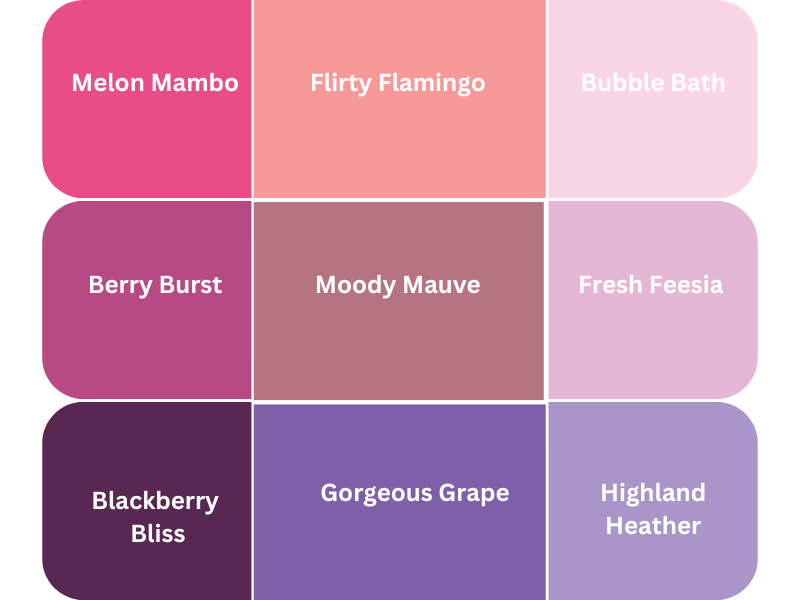
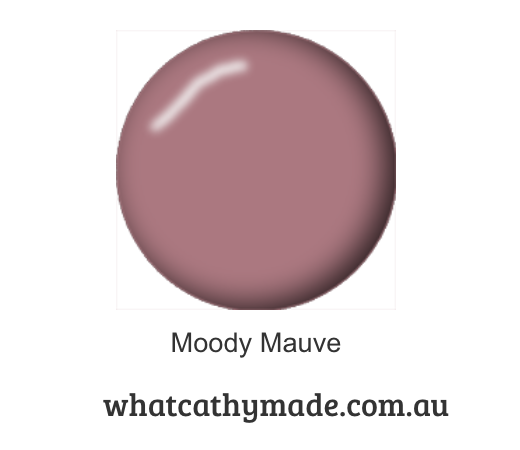
This week we are showcasing another brand new 2023-25 In Colour: Moody Mauve. Moody Mauve is a warm, soft dusky pink with a slightly purple undertone, similar to a previous In Color, Rococo Rose.
Here’s how Moody Mauve compares to the current Stampin’ Up! pinks and purples.
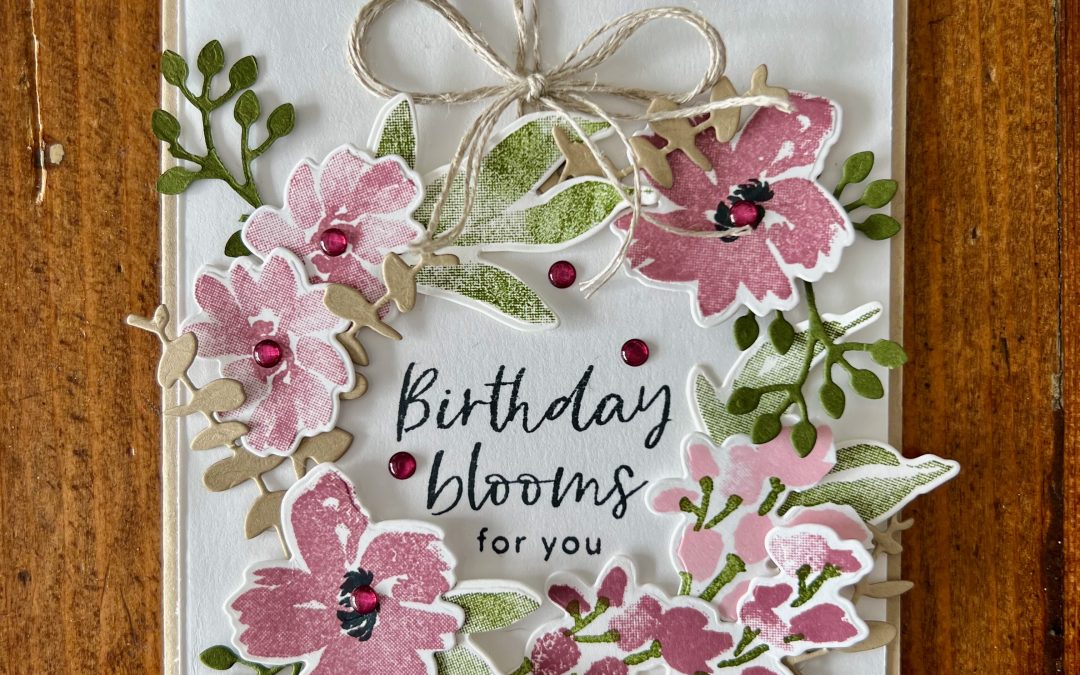
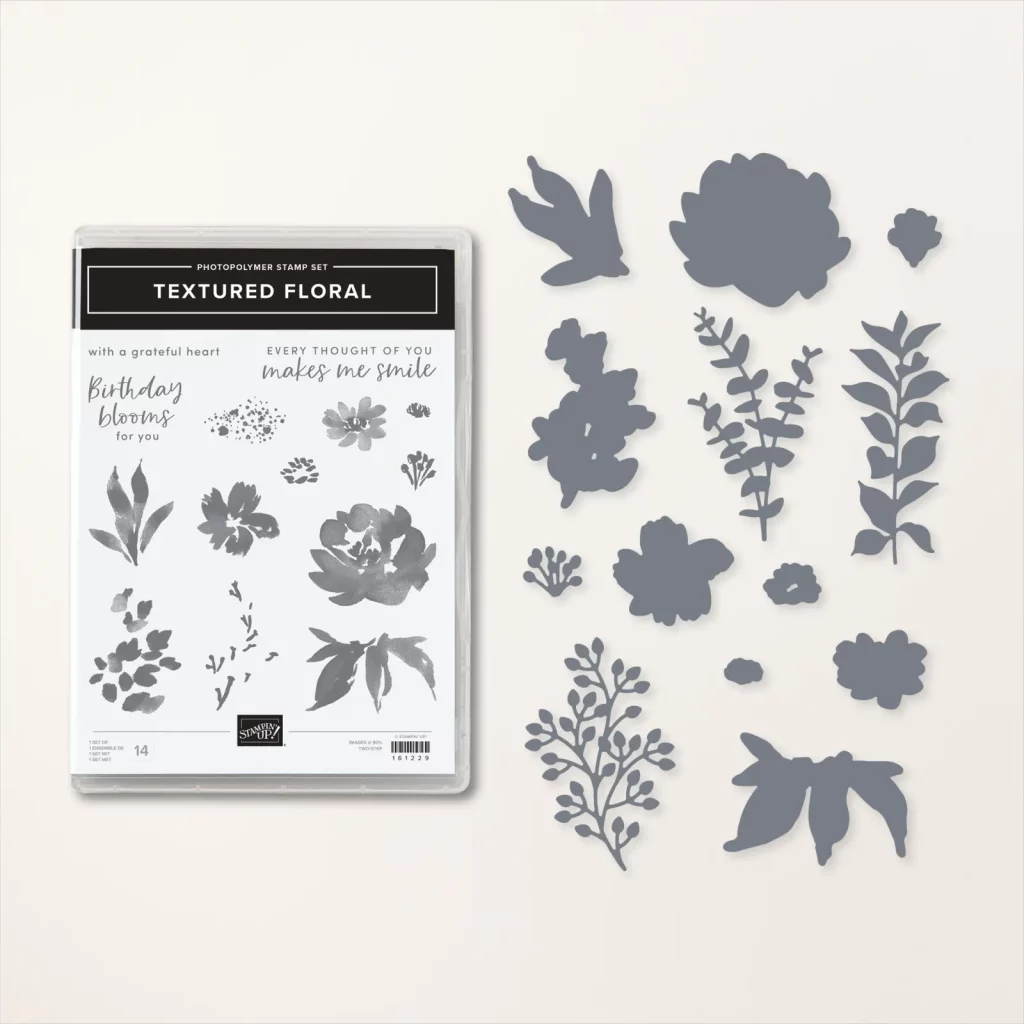
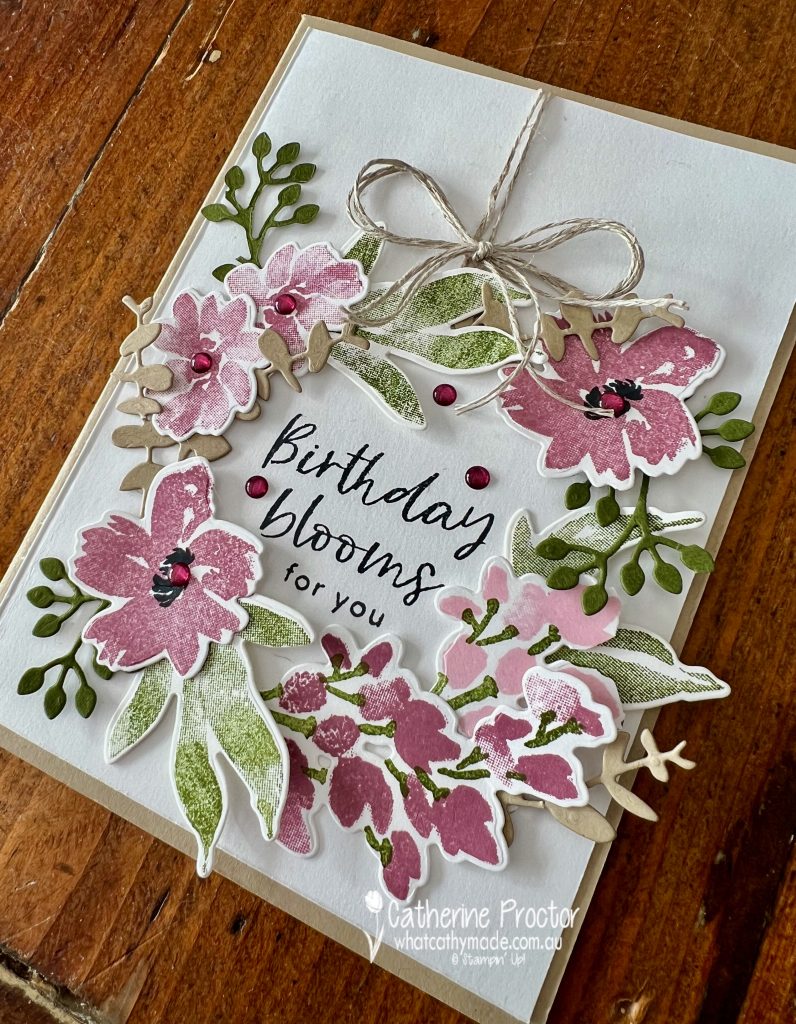
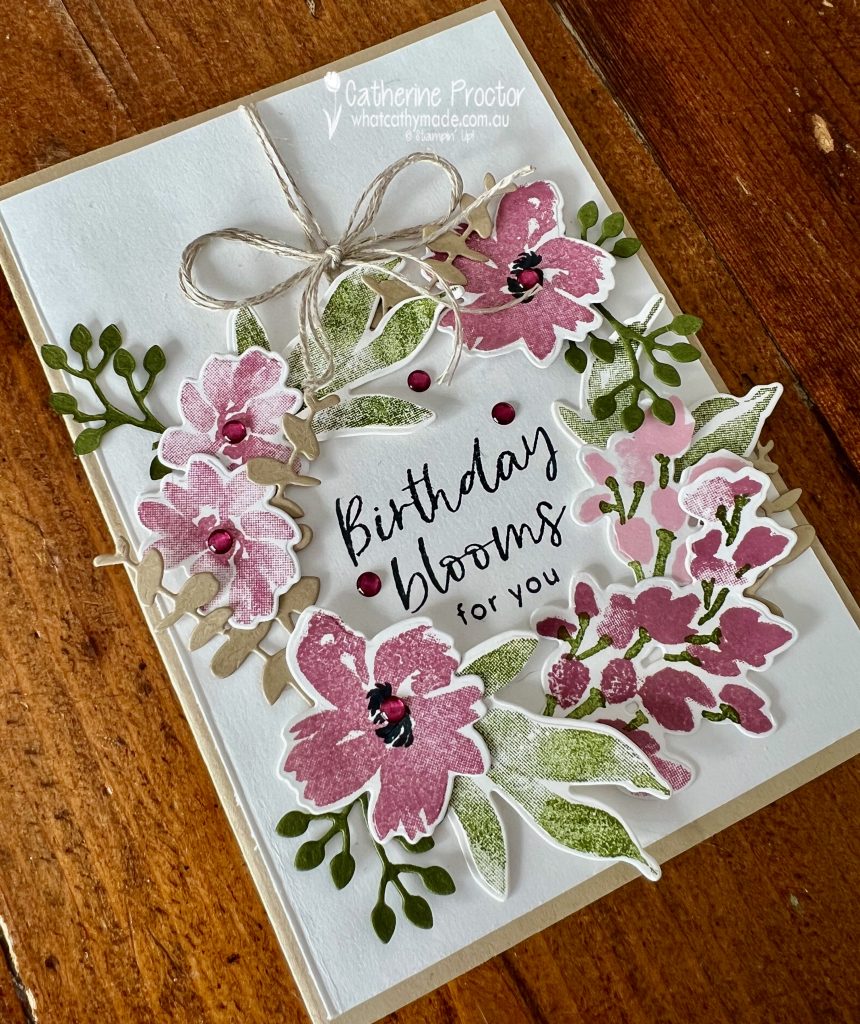
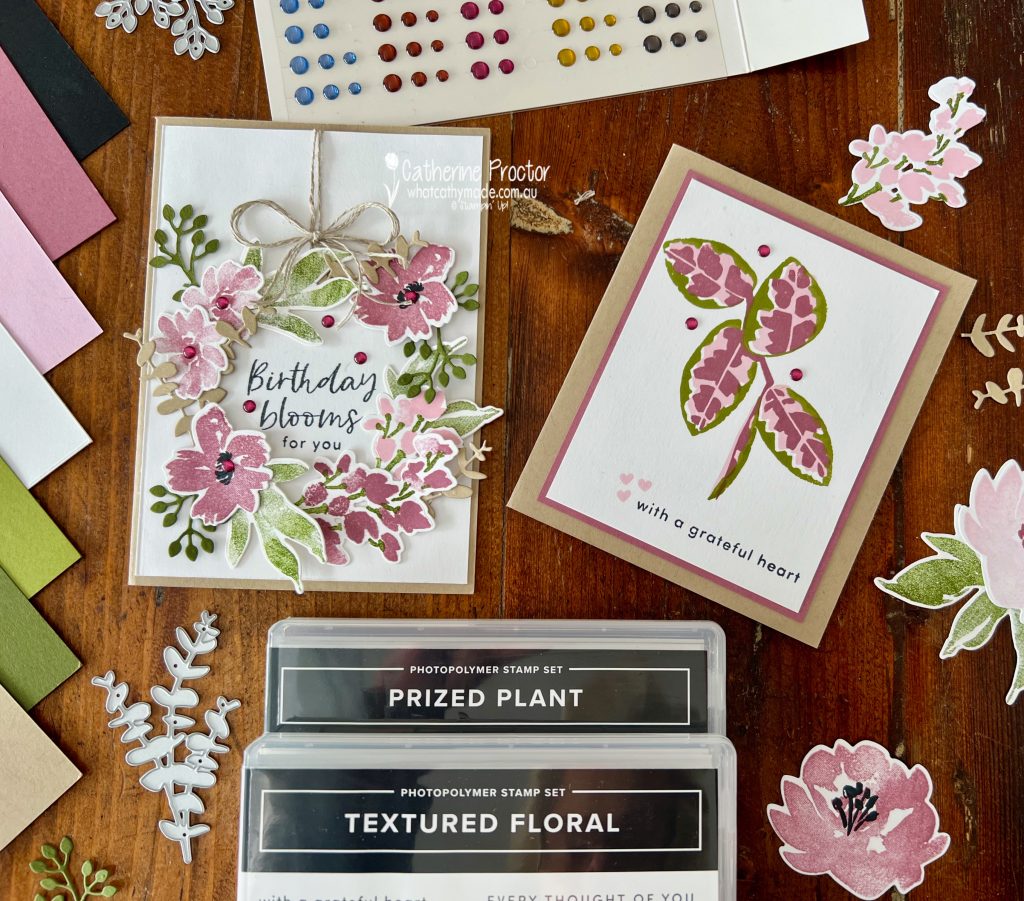
As I’ve made a lot of fancy folds lately and I didn’t have much time this week to create my Moody Mauve card, I’ve made a very quick floral wreath birthday card using products from a beautiful new bundle called the Textured Floral bundle.
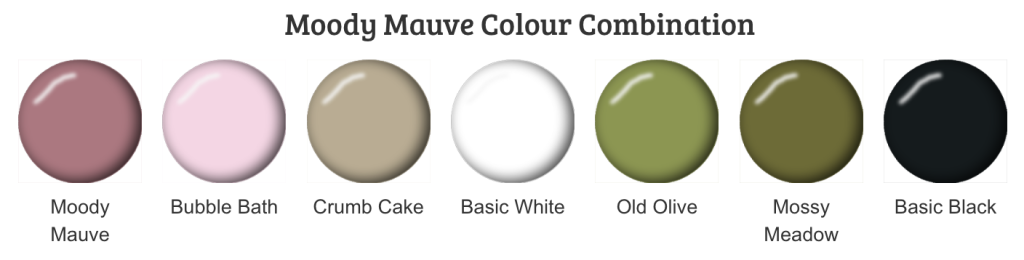
I’ve paired Moody Mauve with Bubble Bath, Crumb Cake, Old Olive and Mossy Meadow, stamping Moody Mauve and Old Olive both at full strength and stamped off once.
After stamping and die cutting different pieces I decided to arrange them into a wreath.
To create a wreath, stamp the sentiment first then arrange the foliage and flowers around the sentiment in a ring. A double row and a double bow of linen thread instantly transforms it into a hanging wreath.
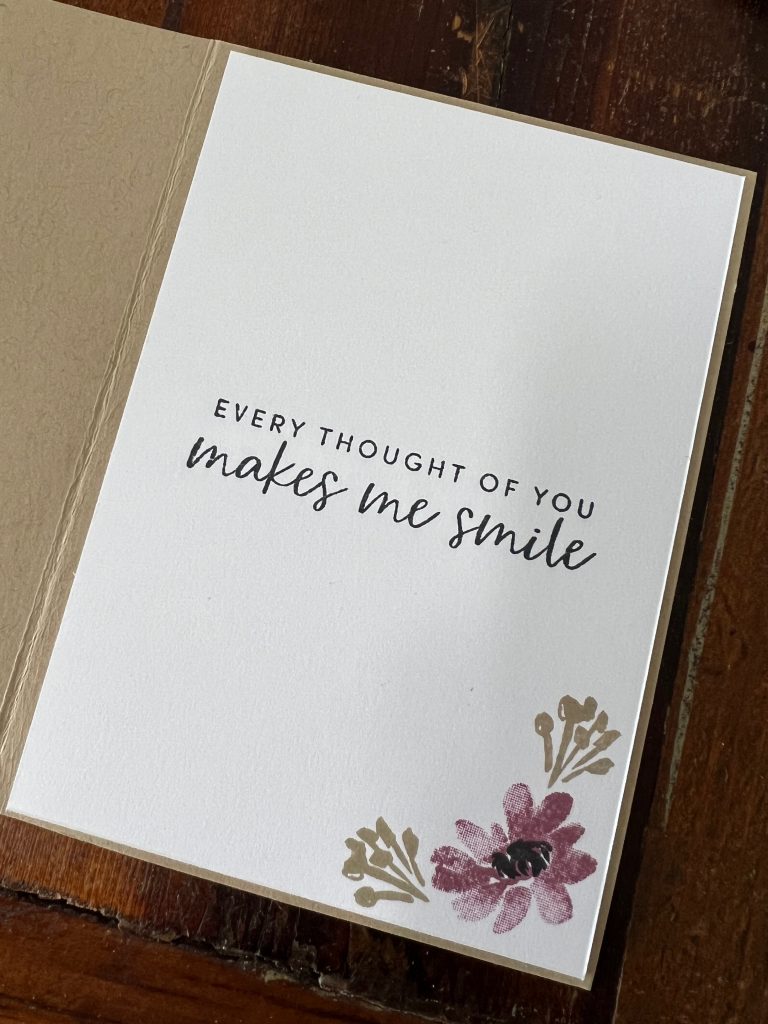
The inside of the card is stamped with another sentiment from the Textured Florals stamp set.
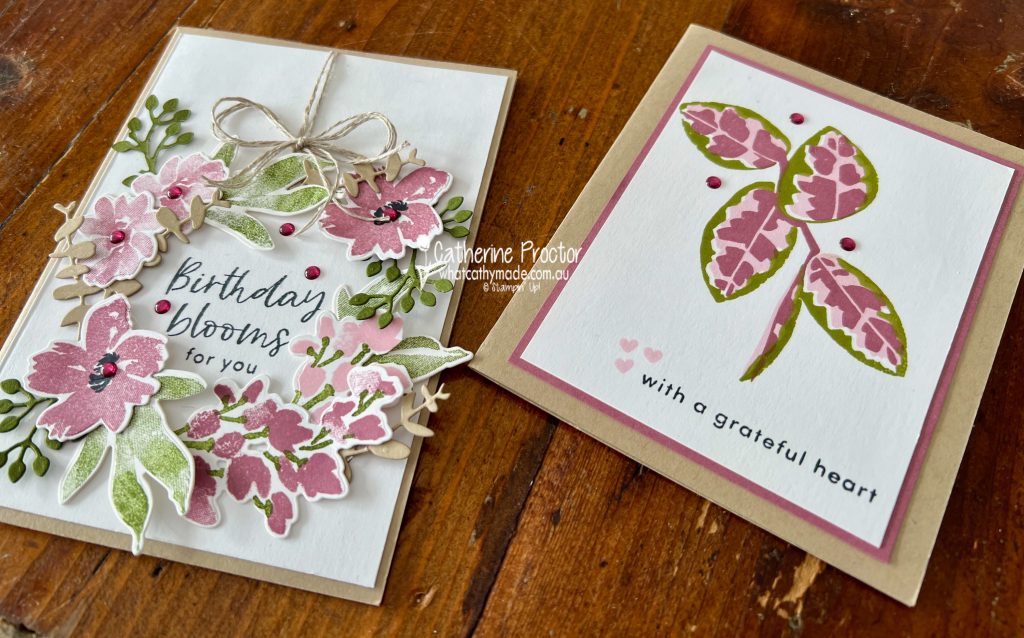
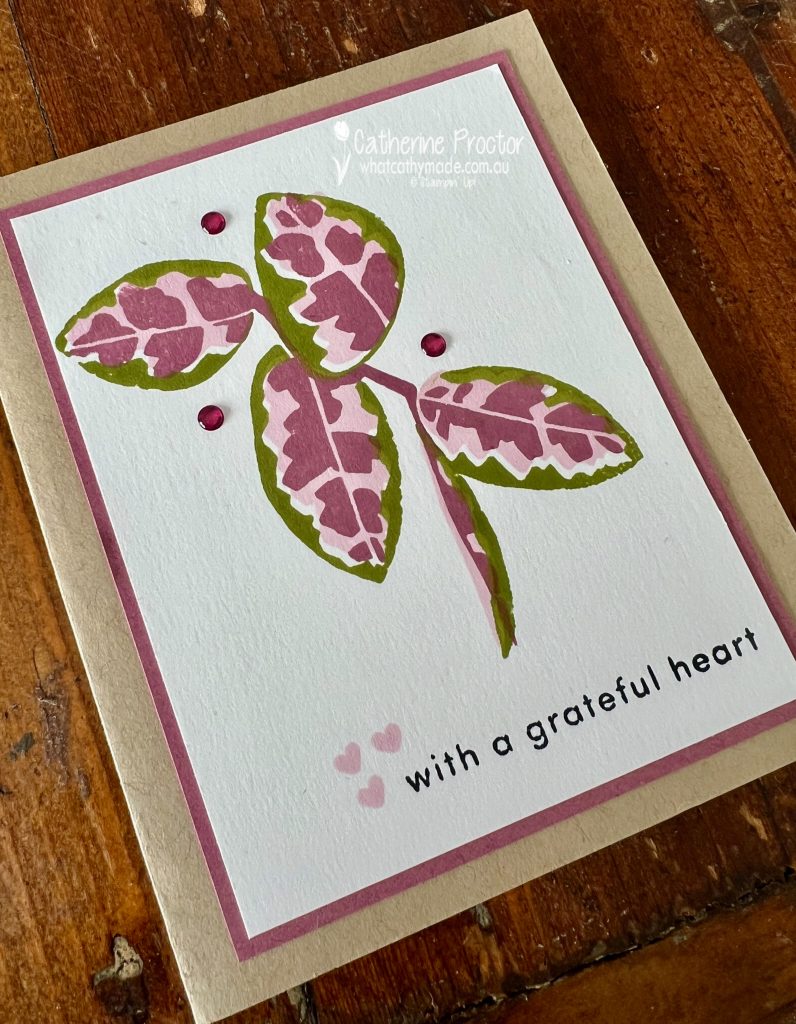
As I was making my wreath card I realised the colour combination I’d used would also be perfect for another new stamp set – the Prized Plant stamp set – so I quickly made another card.
I’m not sure what plant this stamp is – maybe a Caladium? I just love the different colouring options this stamp set offers with its 3-step photopolymer stamping.
Both cards have been embellished using the Moody Mauve dots from the 2023-25 In Colour Dots.
Now it’s time to hop on over to our next participant, the lovely Christine Blain – I can’t wait to see what Christine has made this week!
If at any time you find a broken link, you can find the complete list of all participants below.
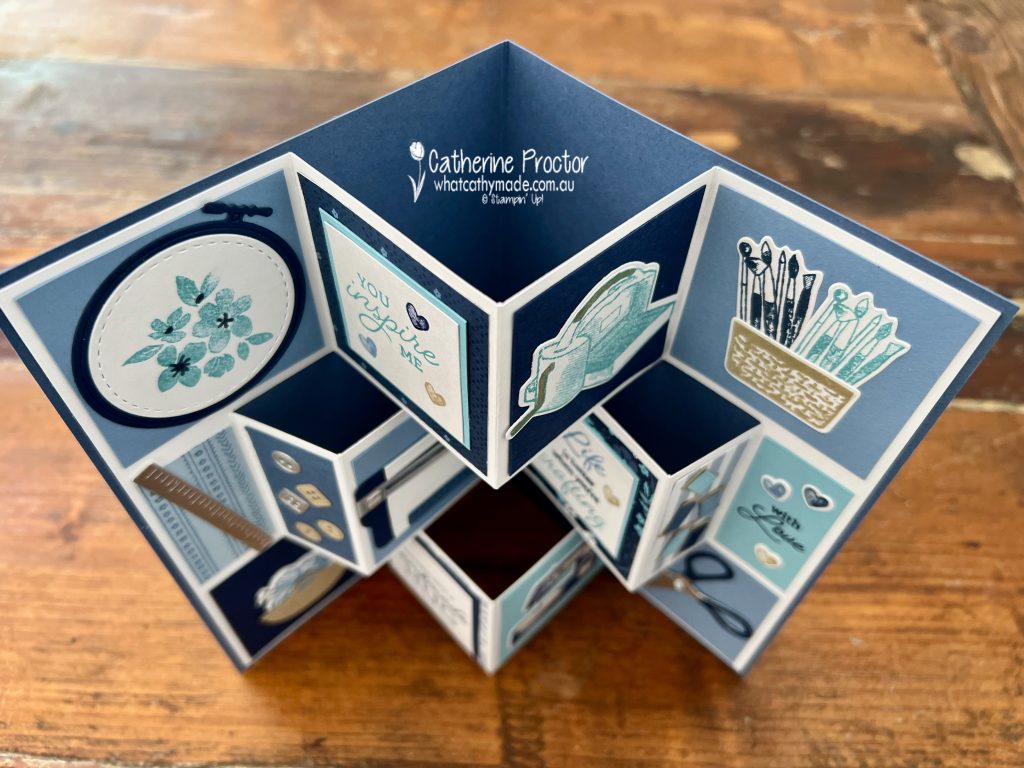
My mum is an amazing paper quiller, knitter and paper crafter so the new Crafting With You bundle was just perfect for making her Mother’s Day card this year.
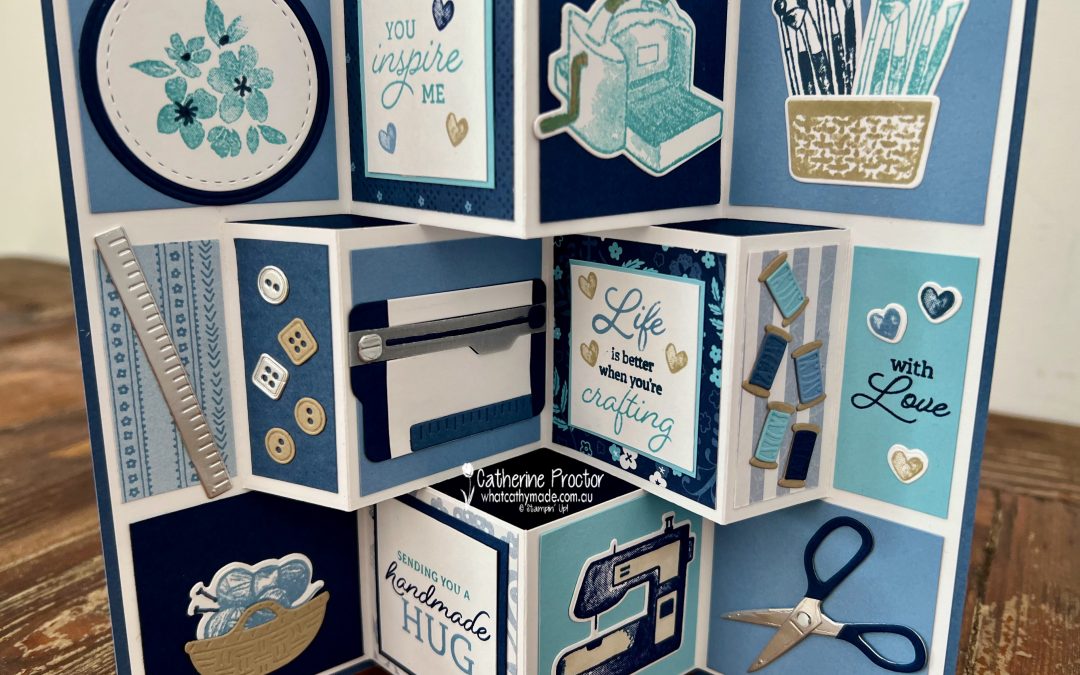
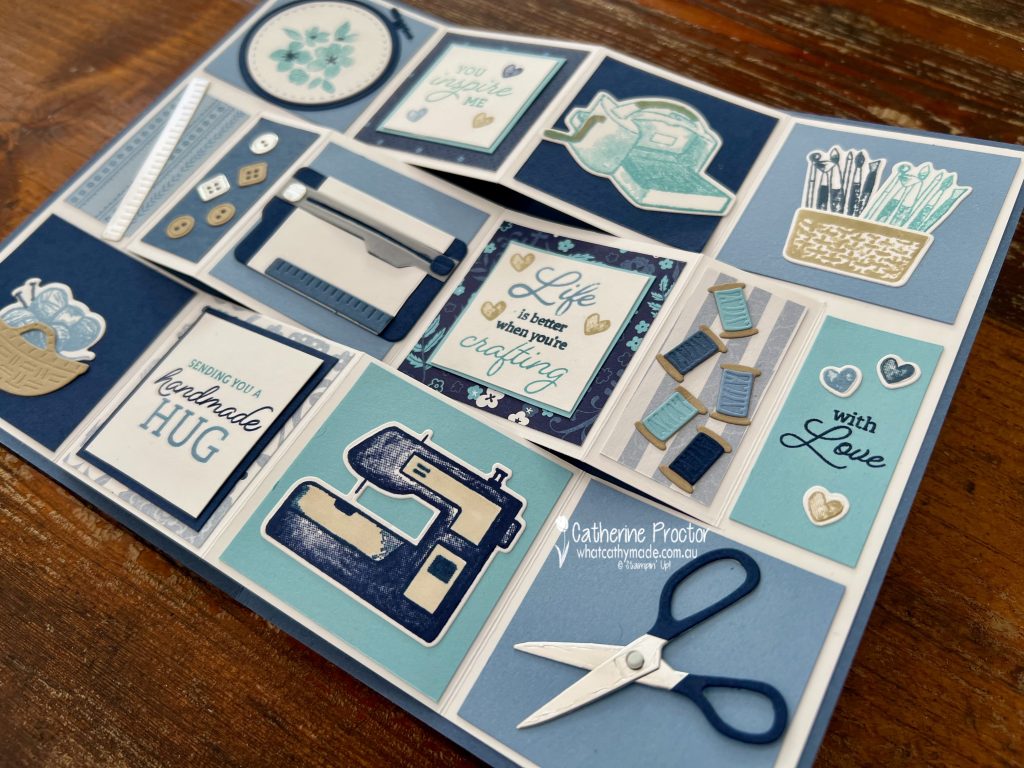
There are so many cute crafting elements in this stamp and die set. I wanted to include them all on the card so I made a Trifold Shutter Card.
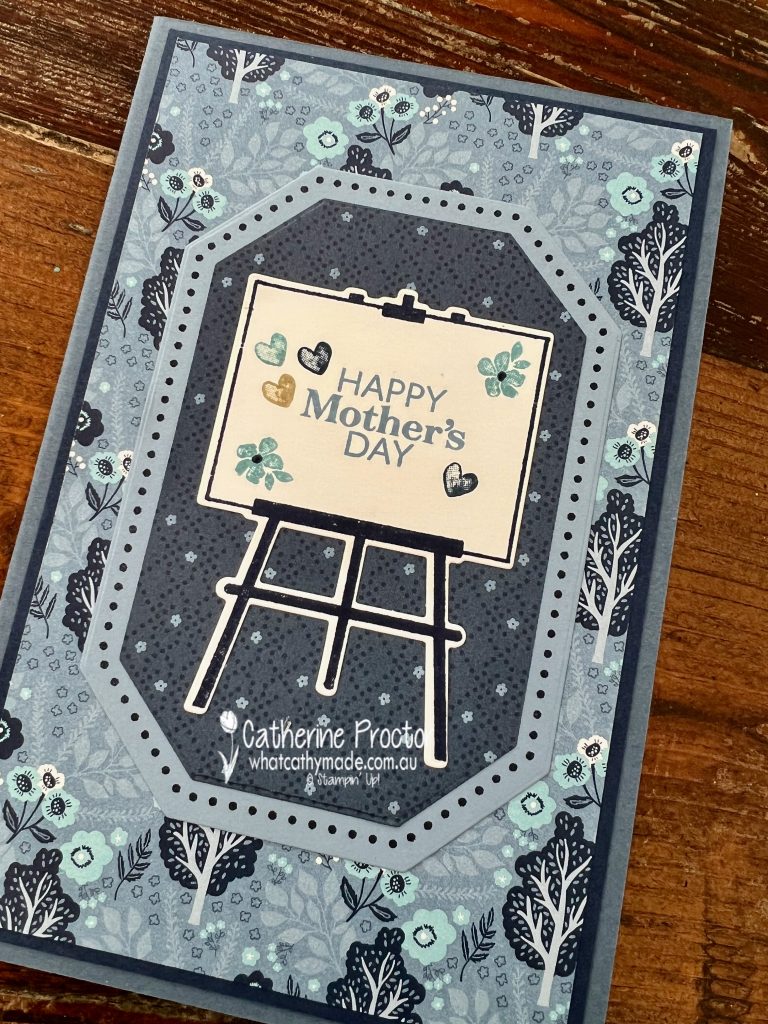
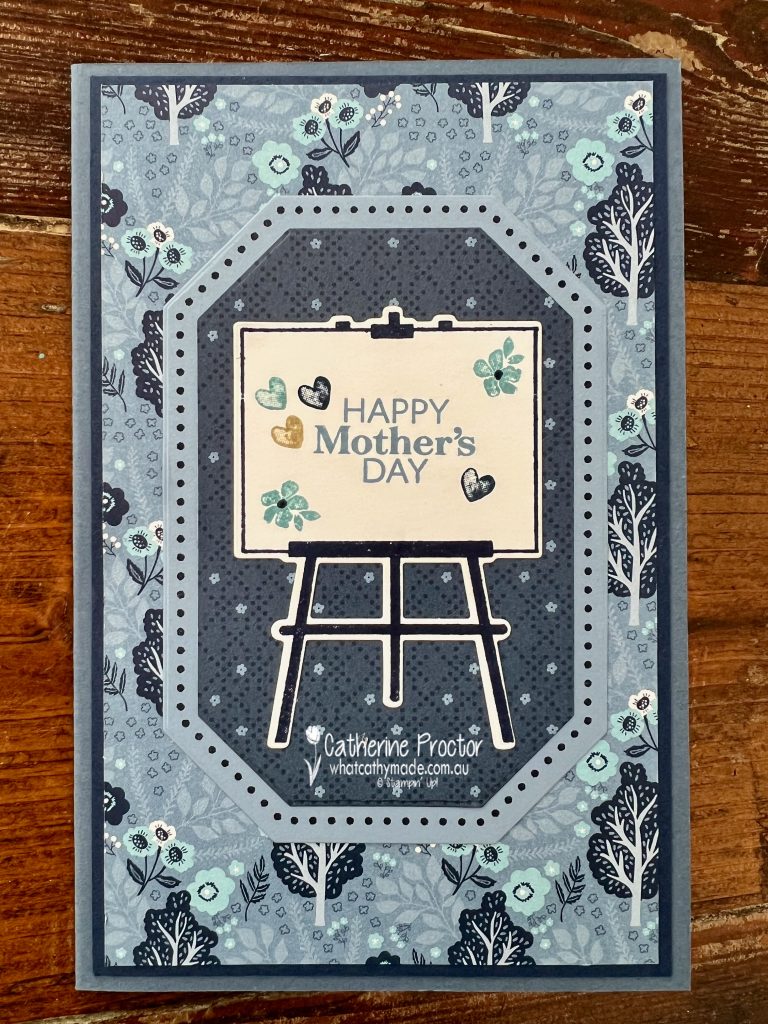
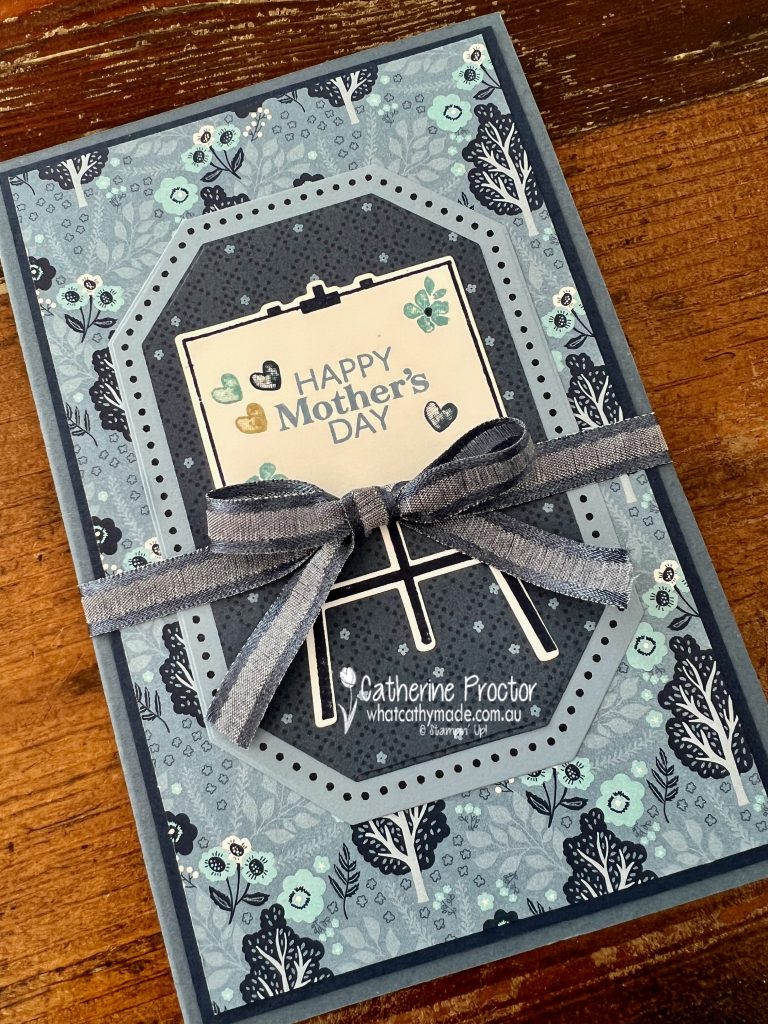
Here’s what it looks like closed.
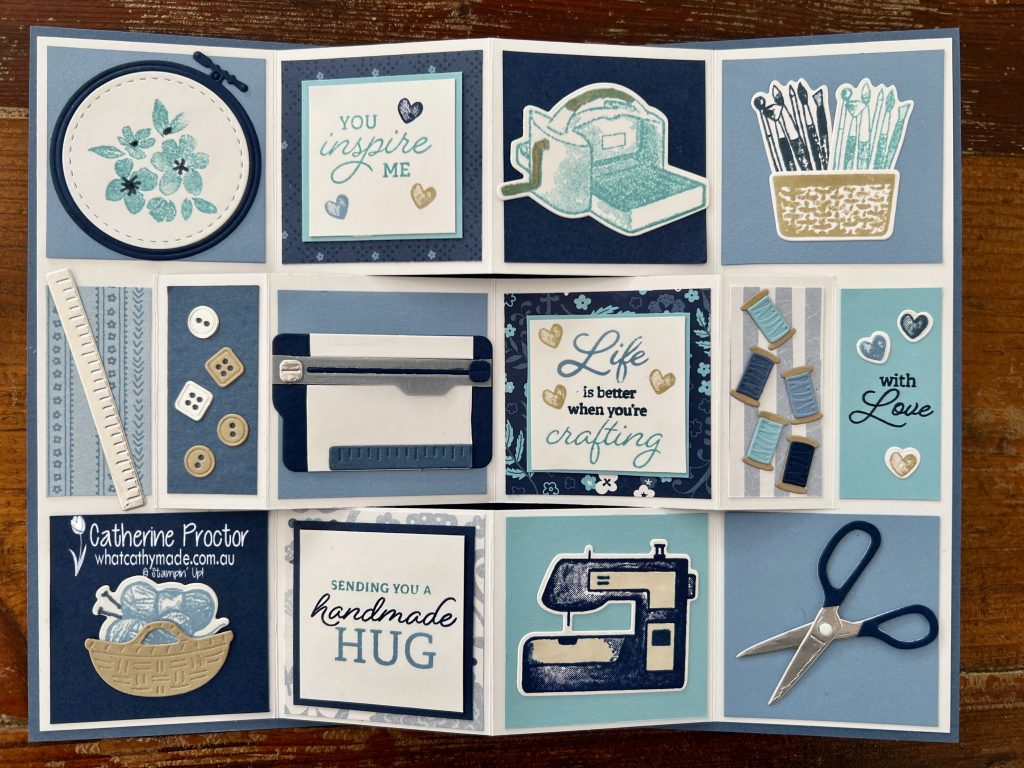
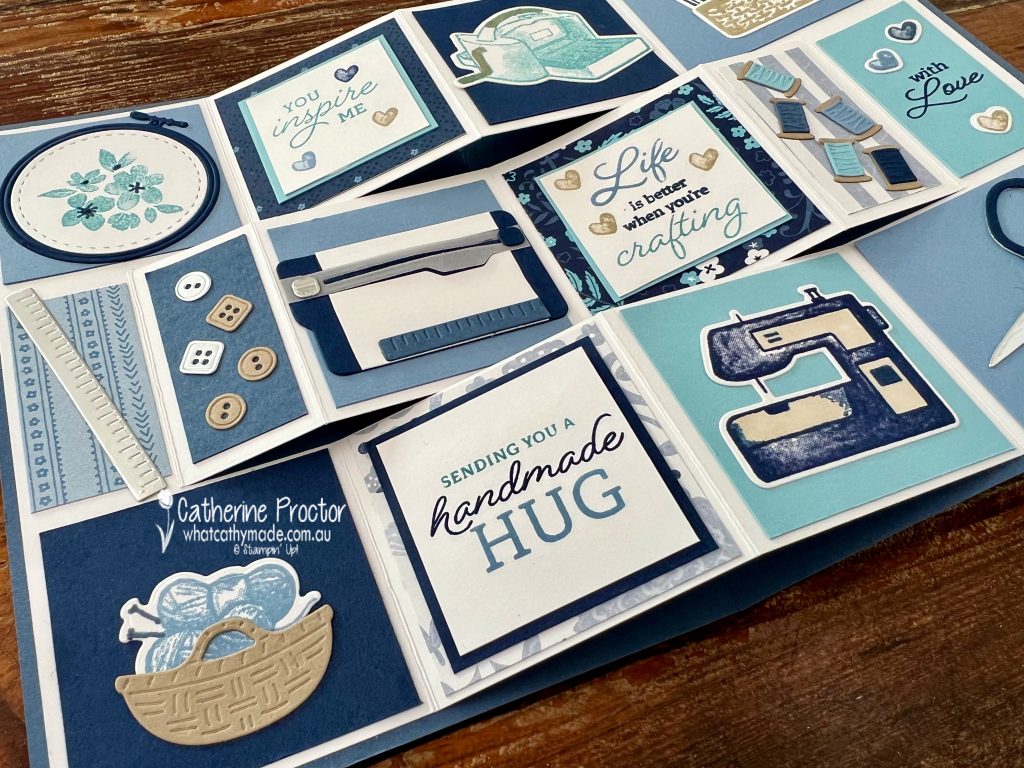
And here’s what it looks like inside the card!
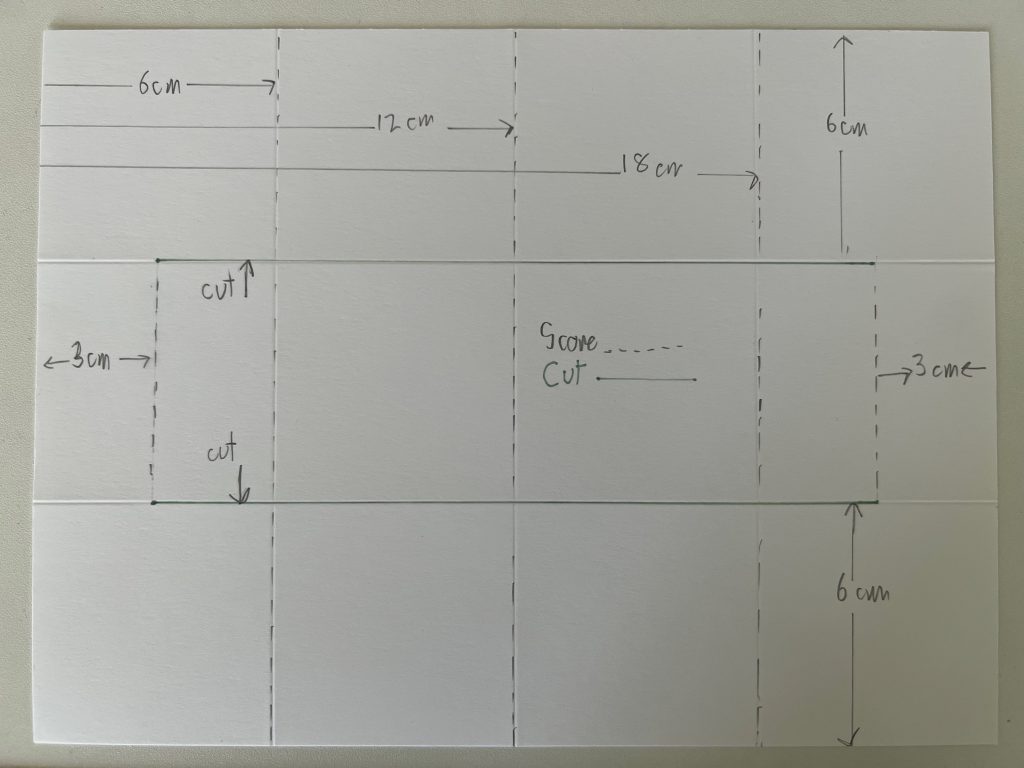
If you’ve never made a Trifold Shutter Card before, here’s a template I’ve created using metric measurements and A4 cardstock.
Trifold Shutter Card Template
Cut a piece of Misty Moonlight cardstock (this is the outside card base) 24.5 cm wide x 18.5 cm high.
Score the outer card base at 12.25 cm along the 24.5 cm side and then fold in half along this score line.
Cut a Basic White inner card base (for the fancy fold) 24 cm wide x 18 cm high.
Score the inner card base at 12.25 cm and then fold in half along the score line.
Measure and draw with a pencil the cutting lines as per the template diagram below then carefully cut along these cutting lines.
Now measure and score all of the fold lines and then rub out any pencil marks.
Decorate each panel as desired.
Here’s what the Trifold Shutter Card looks like from above so you can see the direction to fold the score lines.
After decorating the inside of your trifold shutter card, adhere it to the Misty Moonlight card base. Make sure you only adhere the left and right sections of your fancy fold to the inside of your card base so the middle section of your trifold shutter card can open and close.
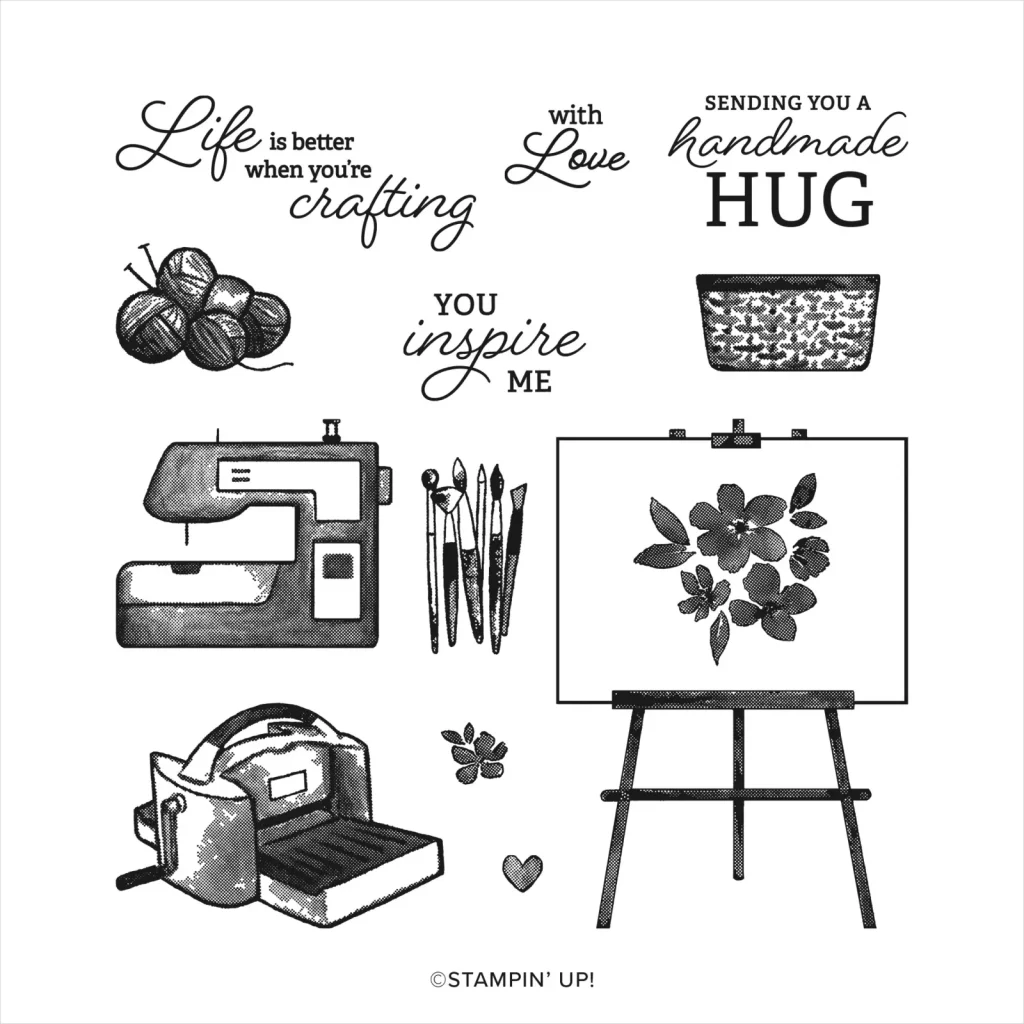
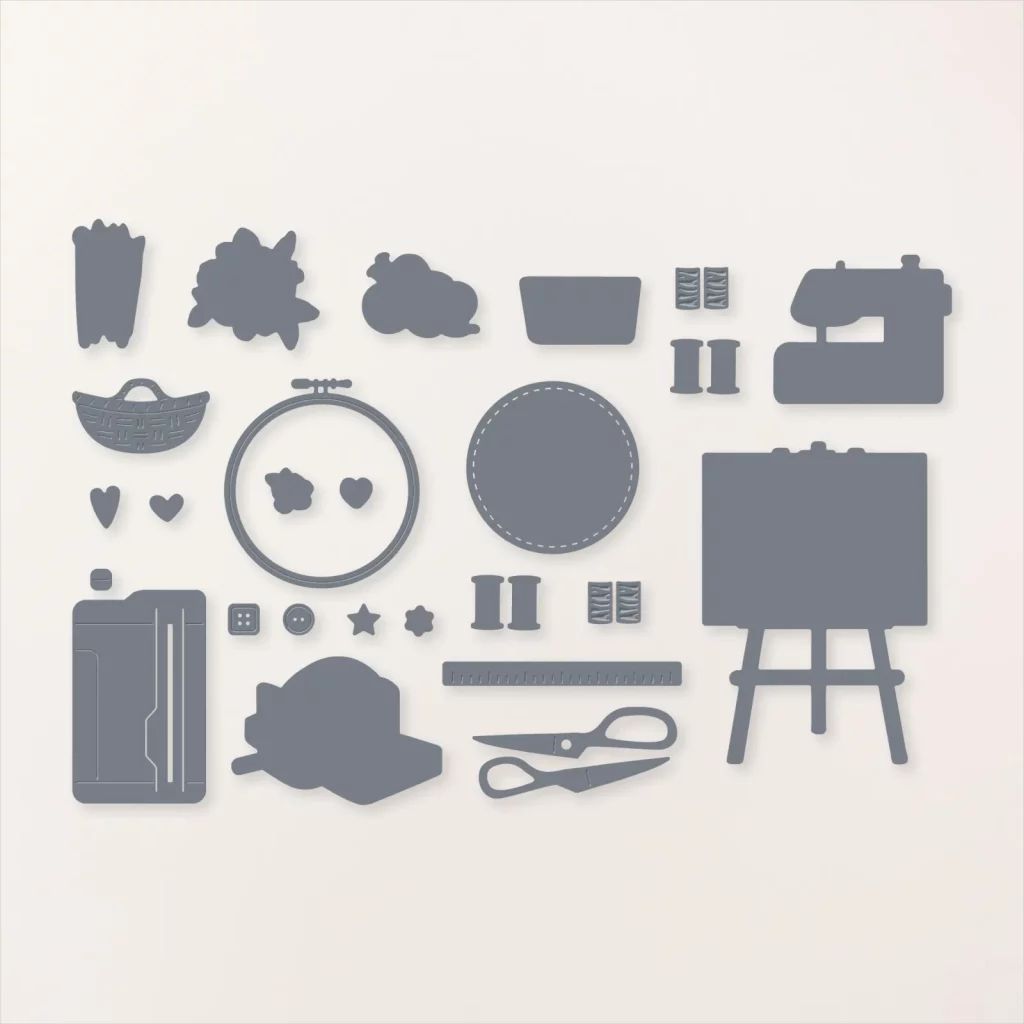
If you love crafting or miniatures you’re going to love the Crafting With You bundle. It includes stamps and/or dies for a Stampin’ Cut & Emboss Machine, a Paper Trimmer, a pair of scissors, embroidery hoop, ruler, spools of thread, knitting wool and needles, buttons, a sewing machine, paint brushes, baskets and more!
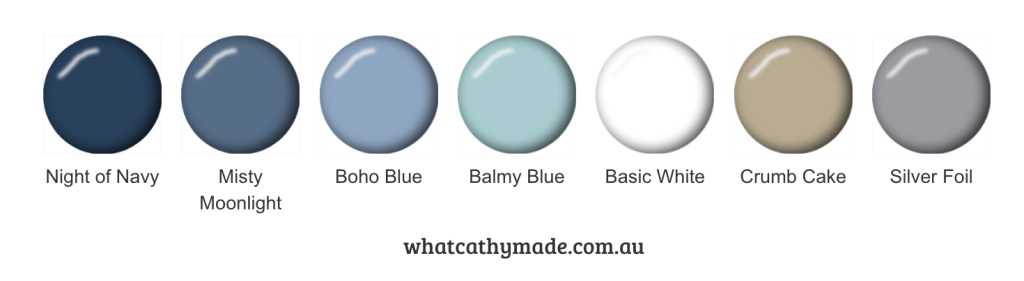
The colours in my card are the assorted blues used in the stunning Countryside Inn DSP, as well as Crumb Cake and silver foil. These are some of Mum’s favourite colours.
The front of the card features the Countryside Inn DSP, and the Countryside Corners bundle (stamps and dies). I used the art easel from the Crafting With You bundle to display my sentiment.
Don’t forget to use the stamp sets that come in kits on your other cards too. This “Happy Mothers Day” stamp is from the stamp set included in the Sentimental Rose All-Inclusive Card Kit.
As I was giving the card to my mum in person and it is so big, instead of making an envelope I simply tied a bow of the Night of Navy 3/8″ (1 cm) Bordered Ribbon around the card. This ribbon also helps to keep the card closed.
Using Post It notes to mask off sections of my stamps as I inked them up (you then remove the Post It note before stamping), allowed me to stamp some of the sentiments inside the card in a mix of blues.
It also allowed me to fit the “life is better when you’re crafting” sentiment onto one of the flaps of the fancy fold.
I’m so grateful for so many things about my mum, but especially for free rein she gave me from a very young age to pursue all my creative endeavours – cooking, sewing and any type of crafting!
I’ll be back on Wednesday night with our weekly AWH Colour Creations blog. This week we are showcasing one of the new 2023-25 In Colours – Moody Mauve.
Welcome to week two of our Art With Heart 2023-24 Colour Creations blog hop!
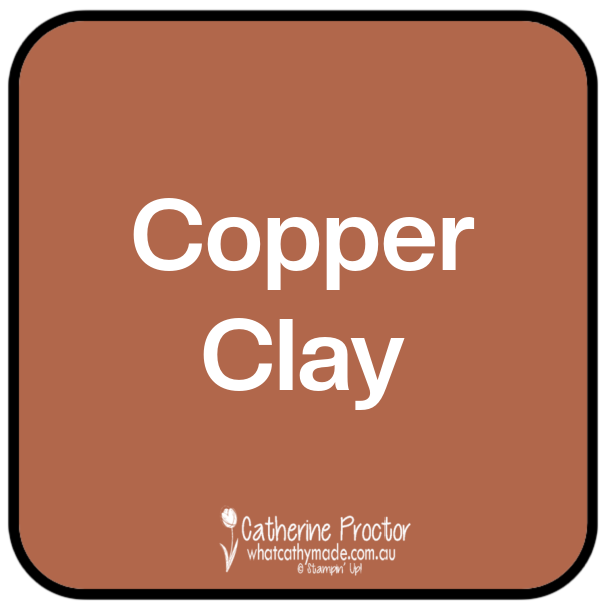
This week we are showcasing another brand new 2023-25 In Colour: Copper Clay. Copper Clay is a rich copper brown, similar to the 2020-2022 In Color, Cinnamon Cider.
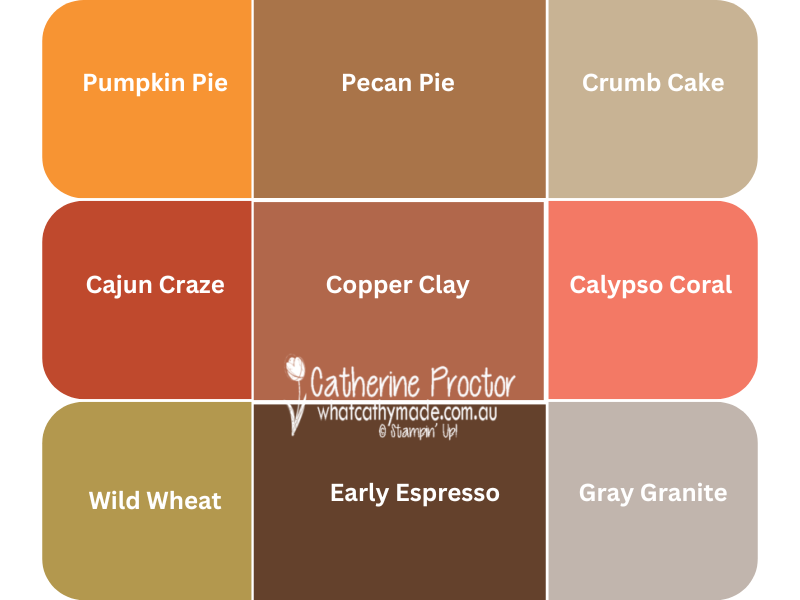
Here’s how Copper Clay compares to the current Stampin’ Up! browns, oranges and other neutral colours. It has red and pink undertones, which is why I’ve included Cajun Craze and Calypso Coral in this chart.
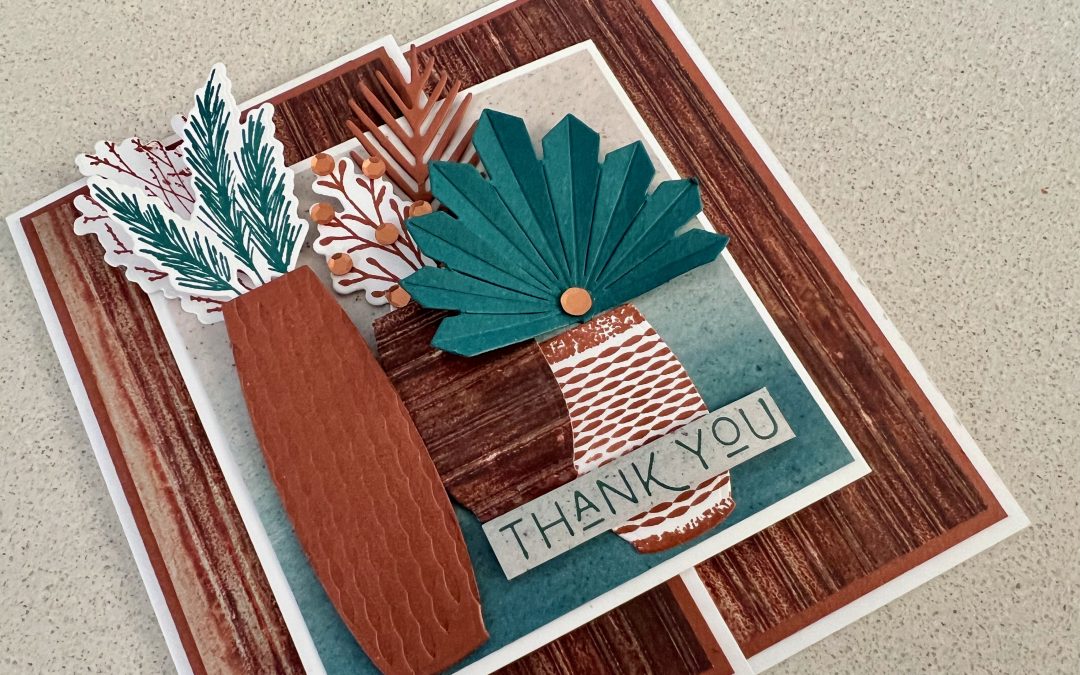
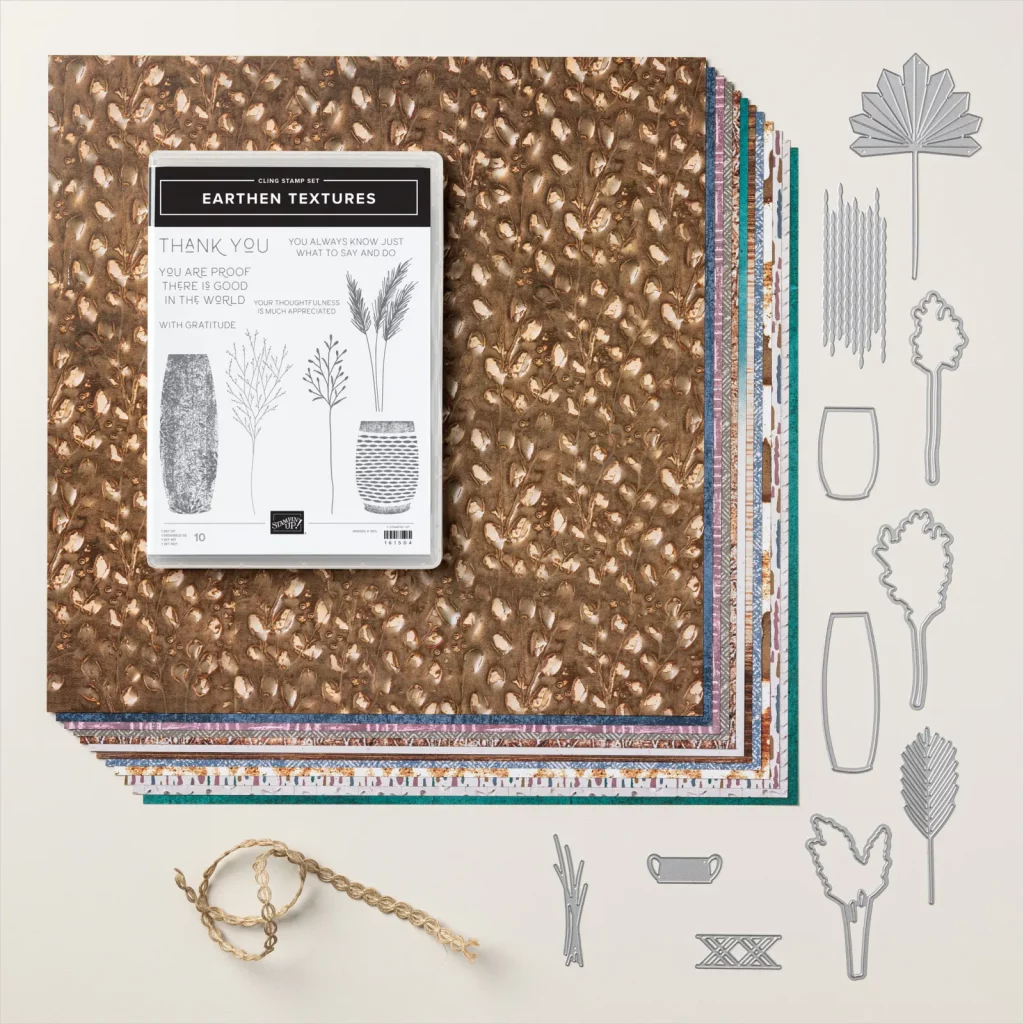
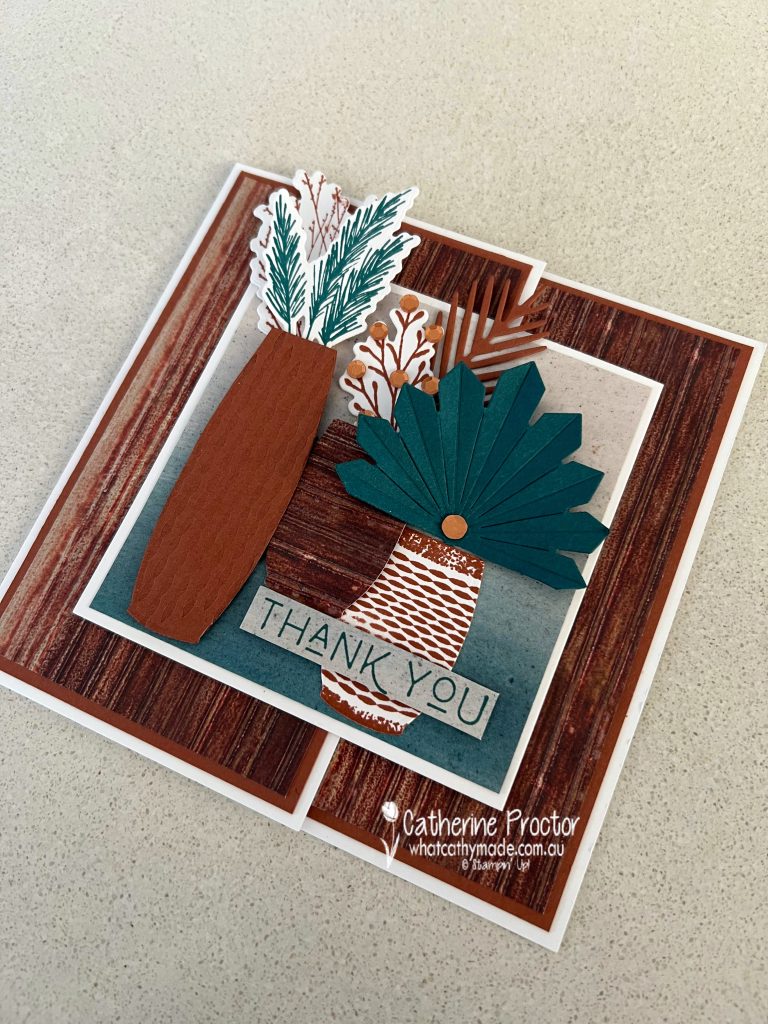
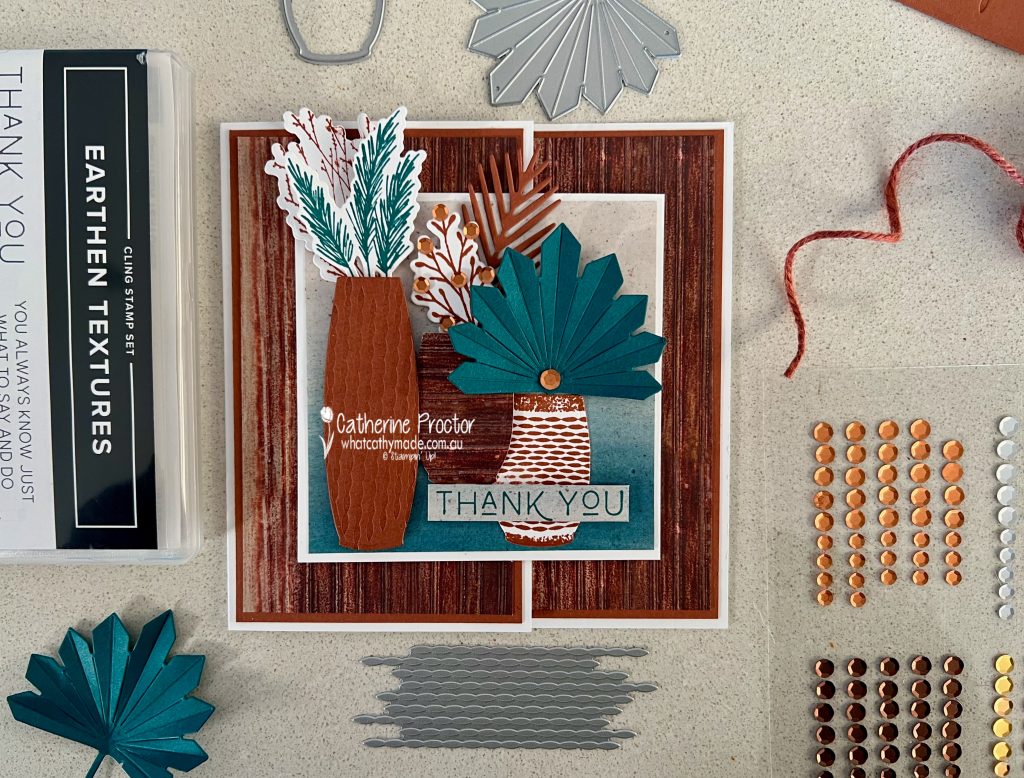
For my Copper Clay card today I couldn’t resist using products from an exciting new suite called the Earthen Elegance Suite Collection.
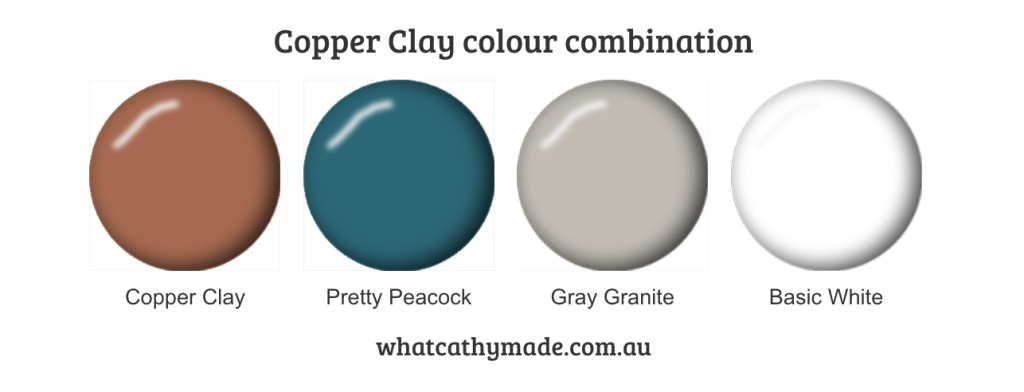
Copper Clay is an earthy terracotta colour and its complimentary colour on the colour wheel is teal, which is why Pretty Peacock works so well with Copper Clay. I’ve also added a touch of Gray Granite (in the DSP pattern) to my card and it has a Basic White card base.
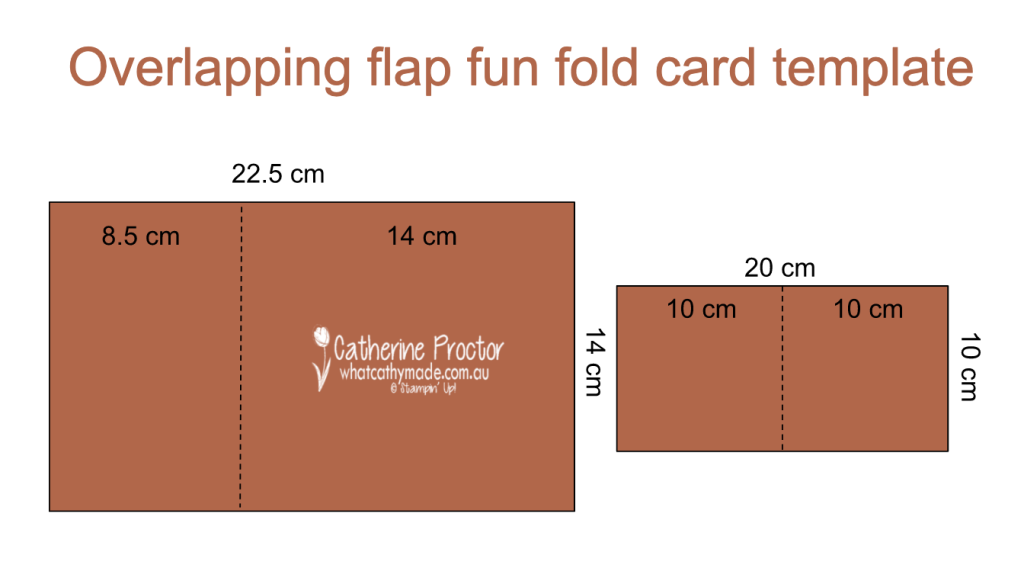
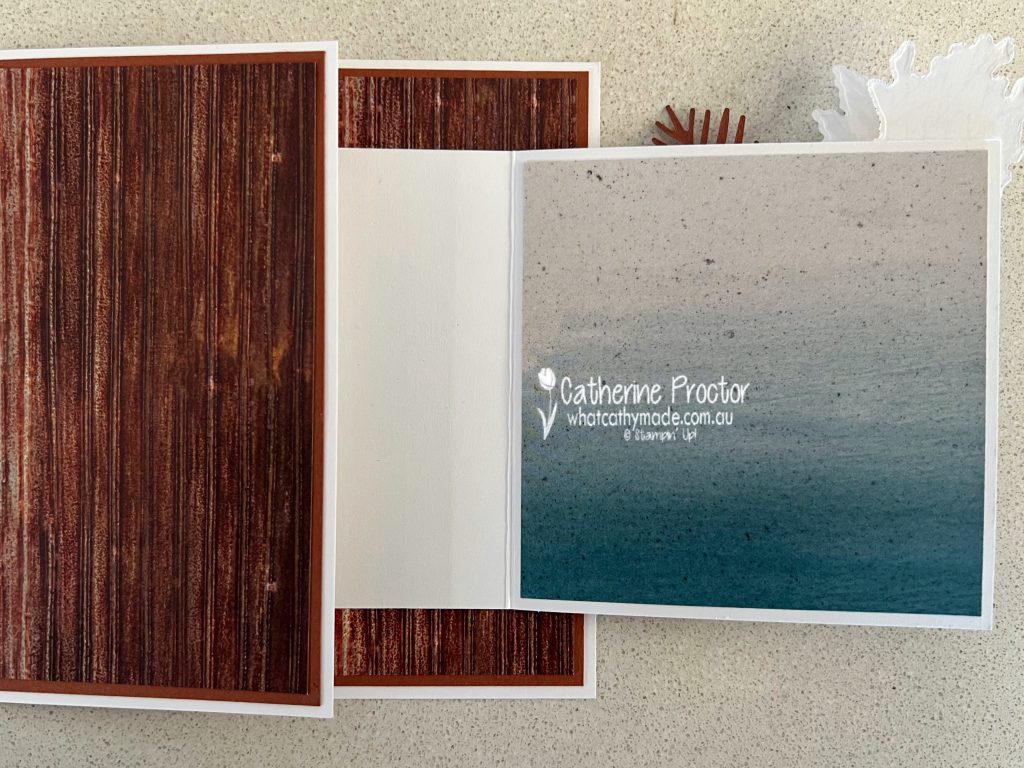
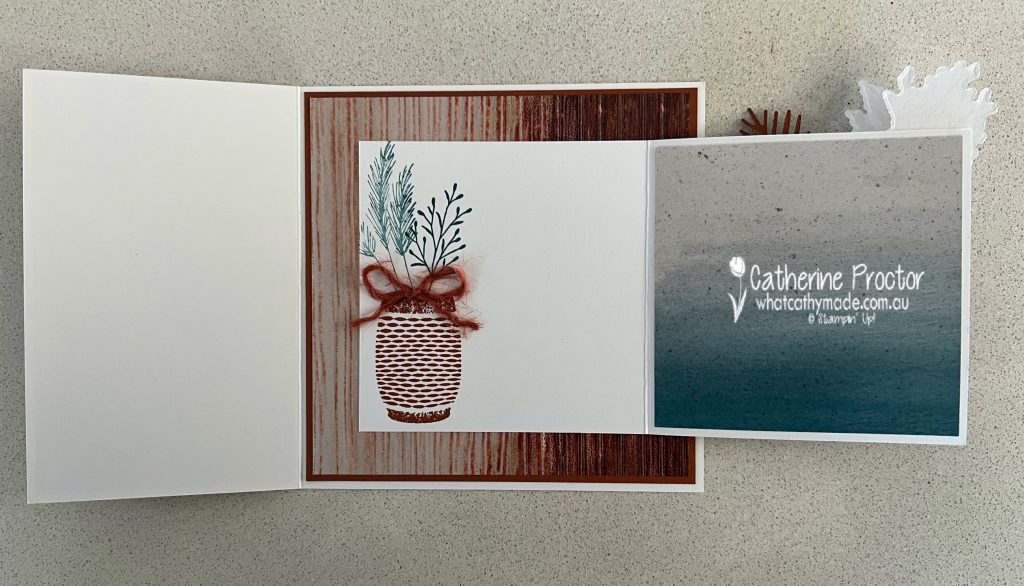
My overlapping fancy fold card really is one of the simplest fancy fold cards you can make. It’s basically two single fold cards of different sizes with their bases adhered together and their spines facing in opposite directions, making the front flaps overlap.
You can make this type of fancy fold in so many different sizes and shapes – here’s the template I’ve created for the card base I’ve used today. Add as many layers as you want – simply subtract 5 mm from the top and side measurements of each additional layer.
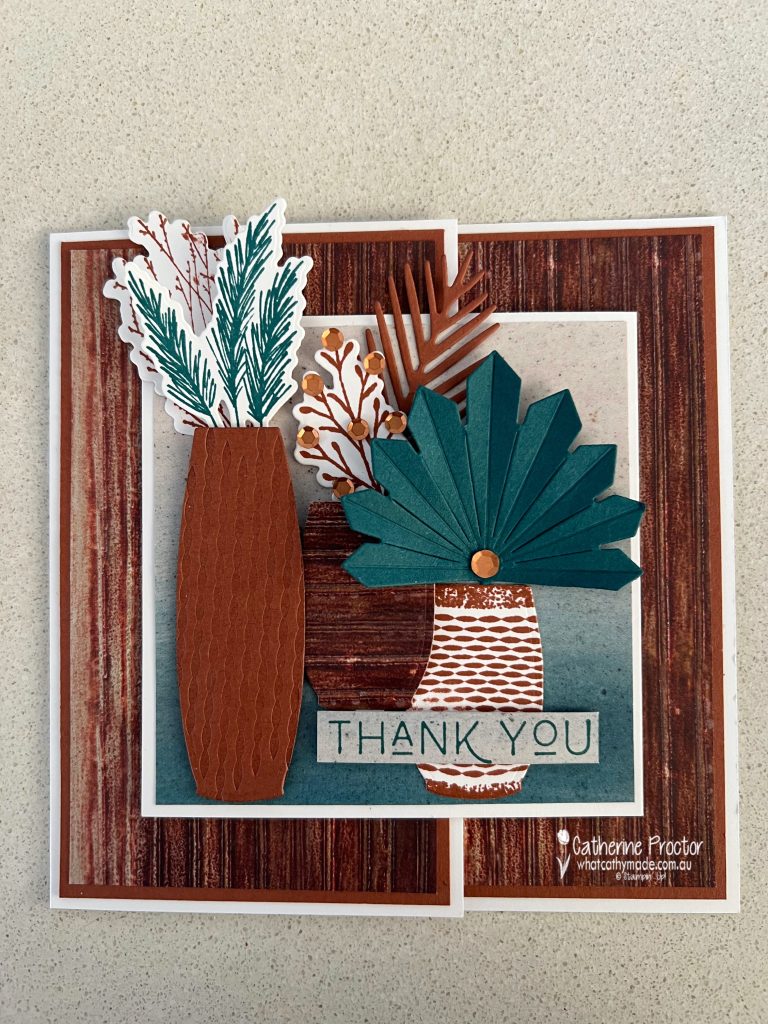
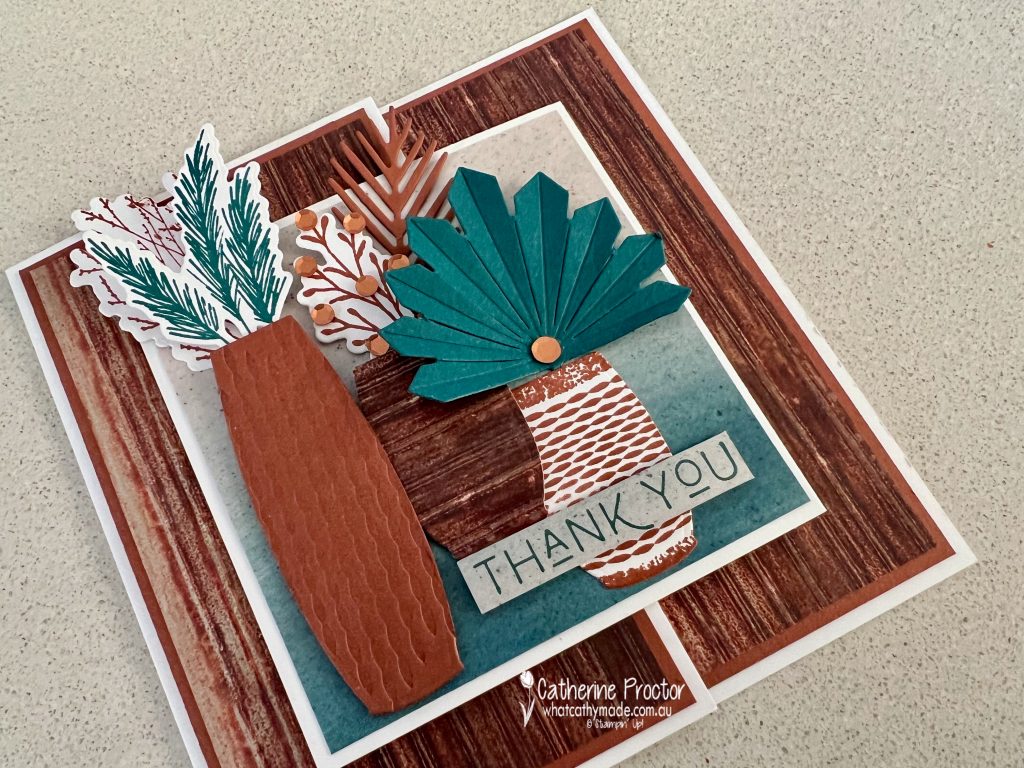
The front of my card has a layer of Earthen Elegance DSP (9.5 x 9.5 cm), decorated with a trio of vases and pots.
The tallest pot on left was embossed and die cut using dies from the Earthen Textures dies
The middle pot is die cut from the same Earthen Elegance DSP pattern I’ve used on the card base and left flap
The right pot is stamped in Copper Clay ink on Basic White card stock and die cut using a pot die – both stamps and dies from the Earthen Textures bundle
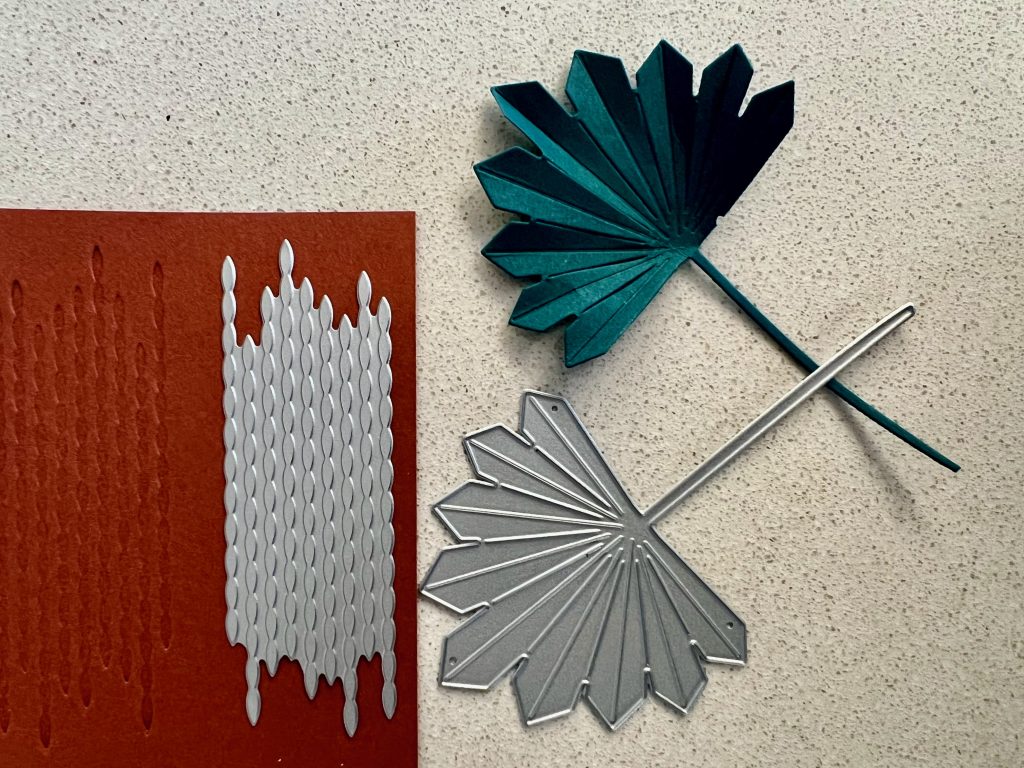
In the photo below, you can see two of the Earthen Textures dies in greater detail.
The die on the left embosses the card stock, but does not cut it – I used this die to add texture to the tallest vase. The die on the right cuts and scores fold lines in a palm (not sure if this is a Chinese fan palm or a sun cut palm leaf?) – you fold along these scored lines with your fingers to add dimension.
Here’s the card photographed from different angles so you can see how the fancy fold opens up. When laid flat and closed…
Right front flap opened…
Fully opened up…
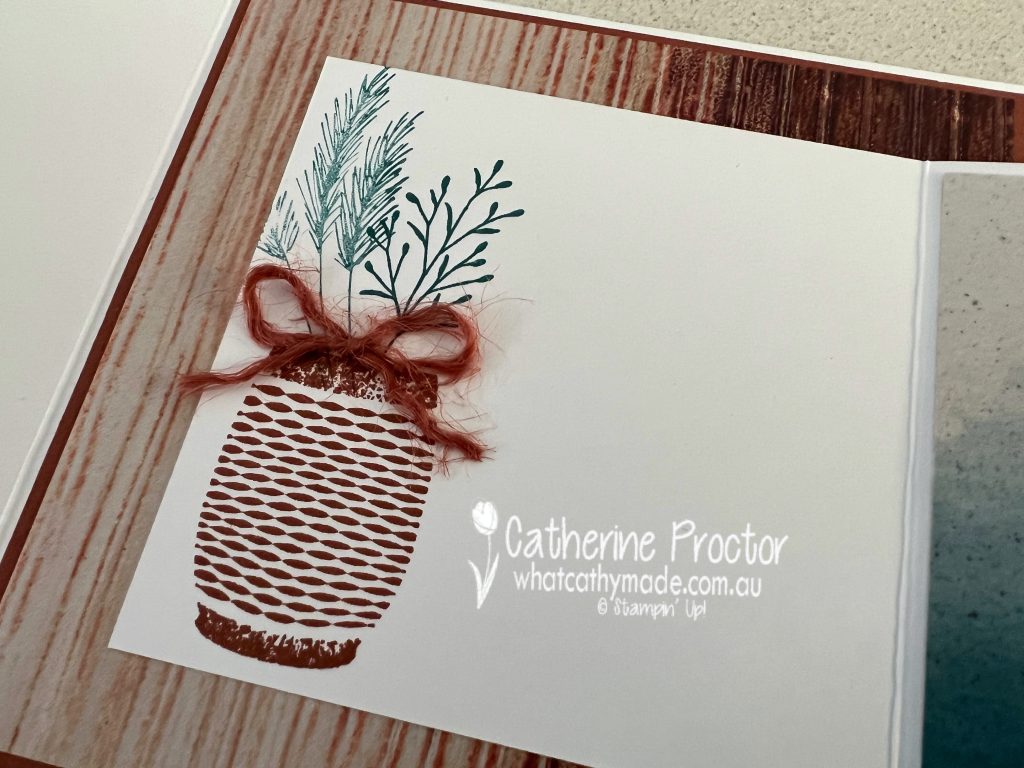
I’ve used the Copper Clay 2023–2025 In Color Jute Trim inside the card – I simply cut this jute to length, unraveled it and tied one strand into a bow.
The sentiment on the front of the card is from the Earthen Textures stamp set, stamped in Pretty Peacock onto the same Earthen Elegance DSP design that is on the front of the card.
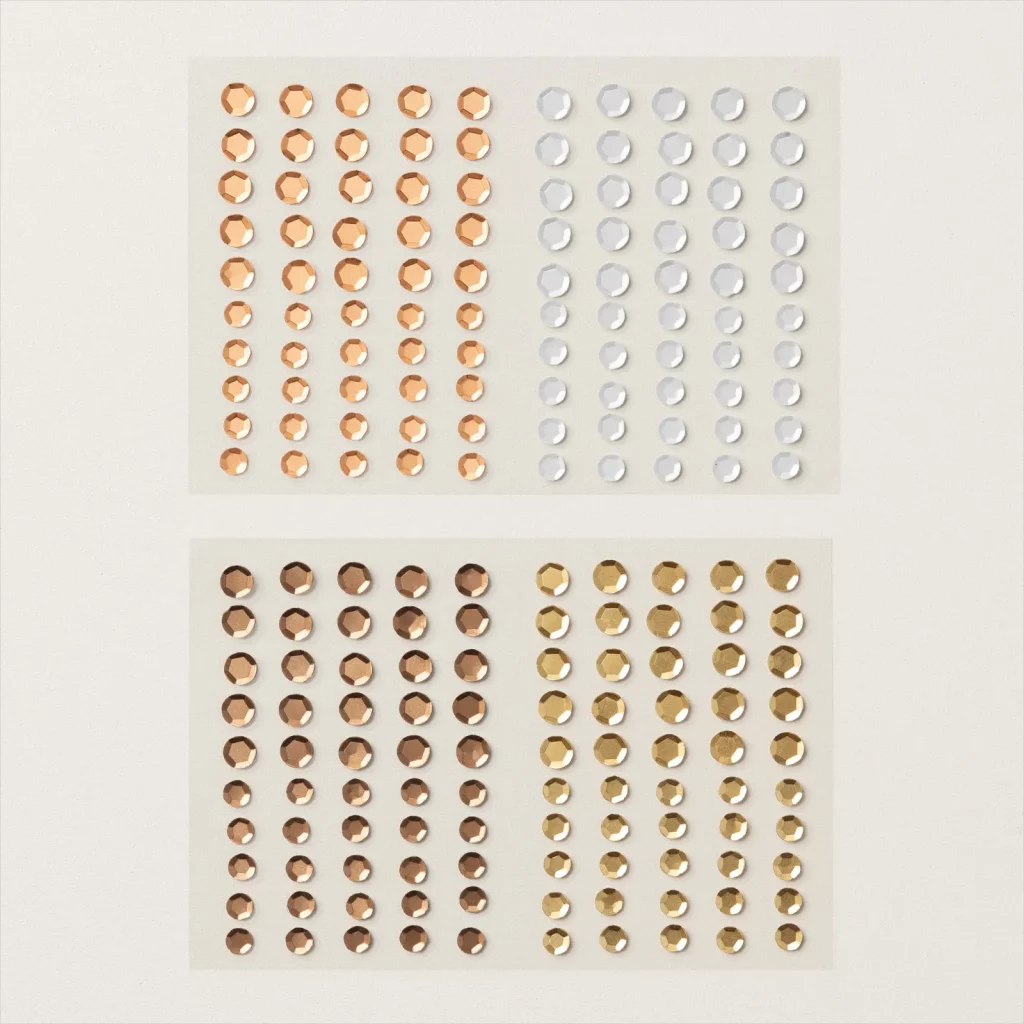
Did you also notice the copper sequin embellishments on the front of my card? These are from the new Neutrals Adhesive-Backed Sequins, especially useful for cards using neutral colours.
Now it’s time to hop on over to our next participant, the lovely Andrea Sargent – I can’t wait to see what Andrea has made this week!
If at any time you find a broken link, you can find the complete list of all participants below.
Welcome to week one of our Art With Heart 2023-24 Colour Creations blog hop!
We have a brand new blog hop header and next blog button – thank you to my friend Sharon Davern for creating these for our AWH Colour Creations 2023-24 blog hop!
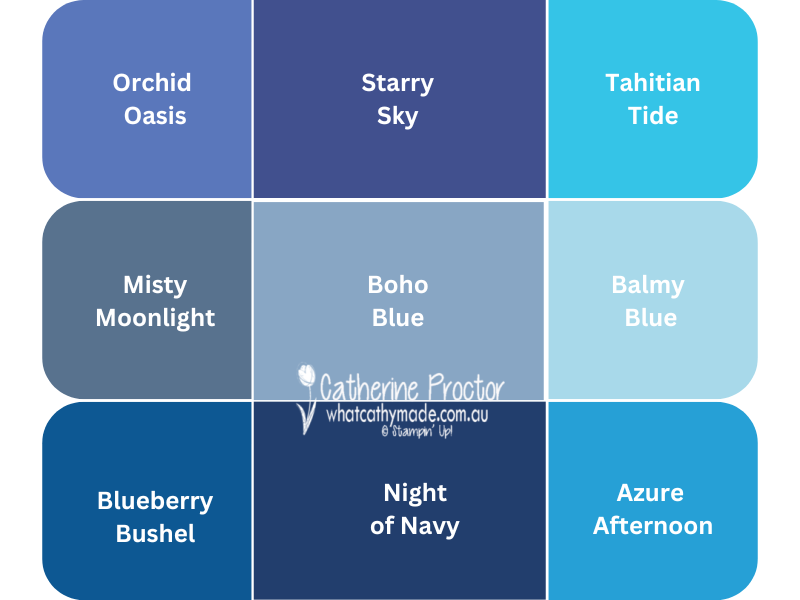
This week we are showcasing a brand new 2023-25 In Colour: Boho Blue. Boho Blue is such a beautiful soft blue – I know I will use this one a lot. Here’s a chart I created to show you how Boho Blue compares to the other current Stampin’ Up! blues.
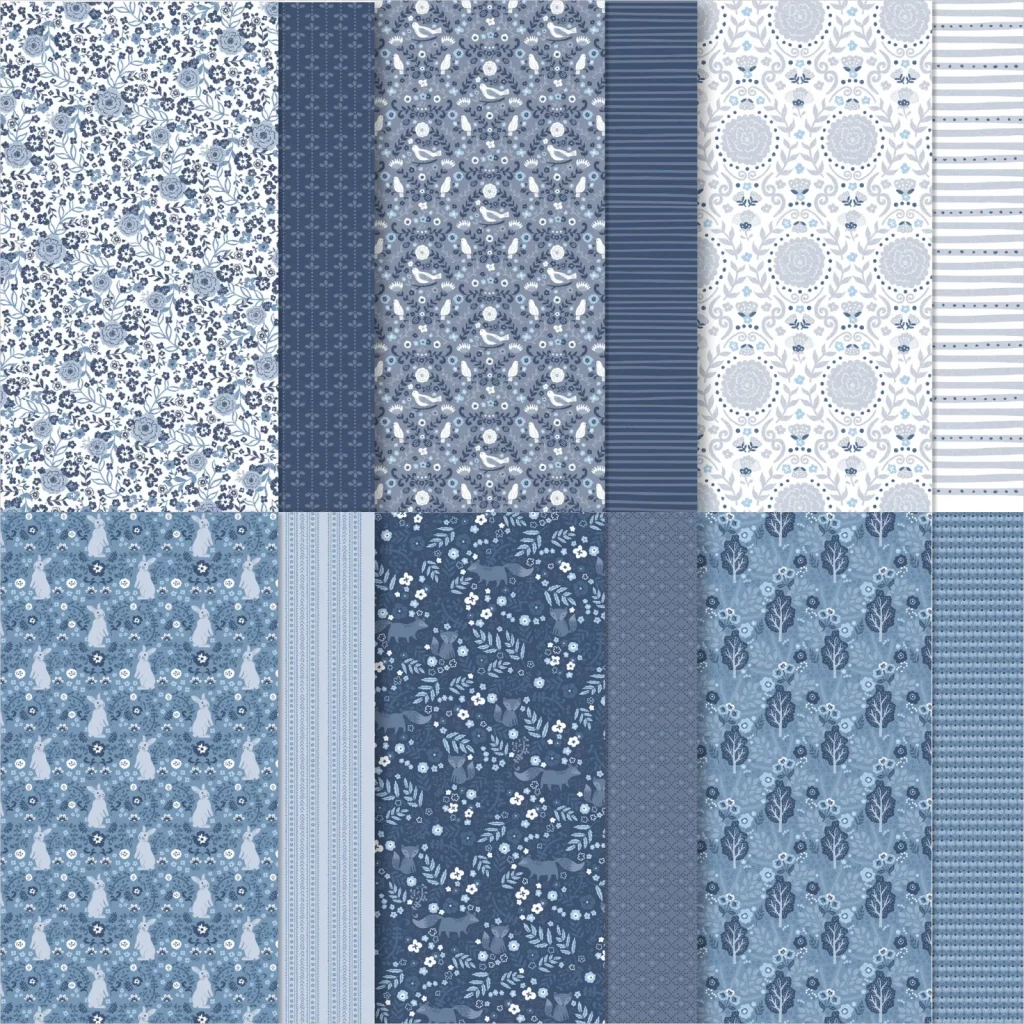
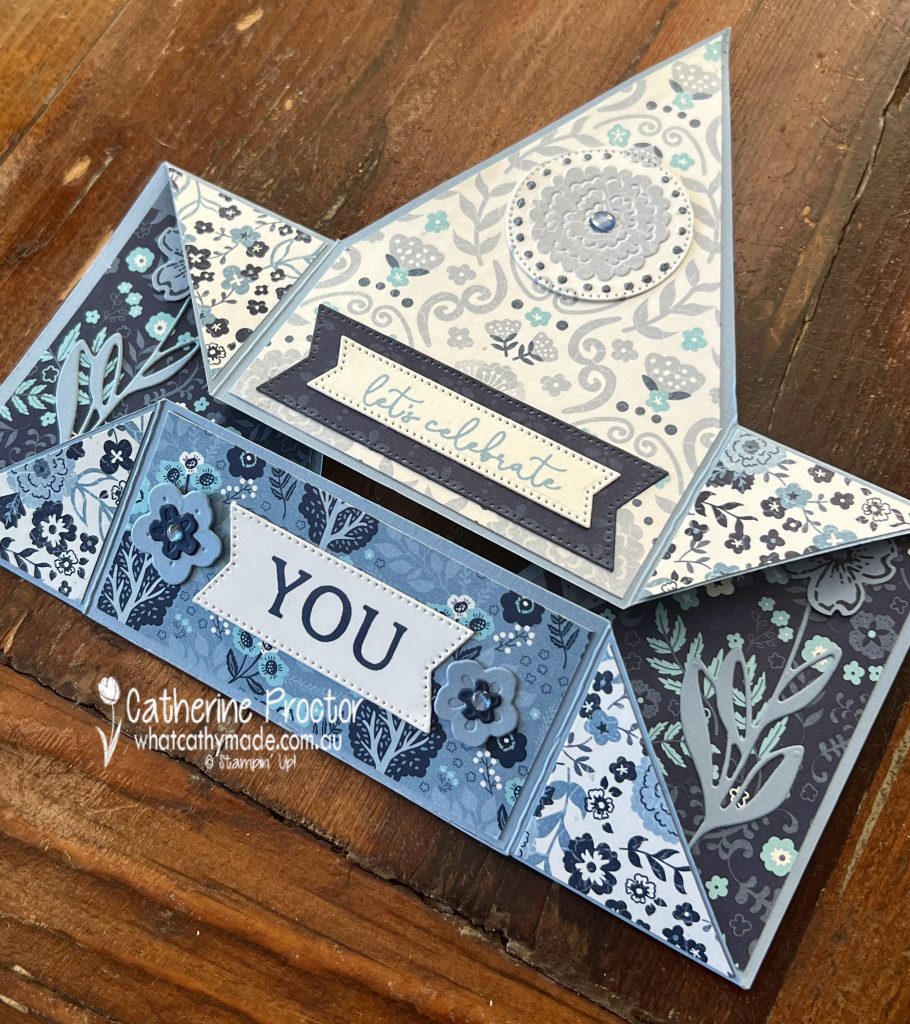
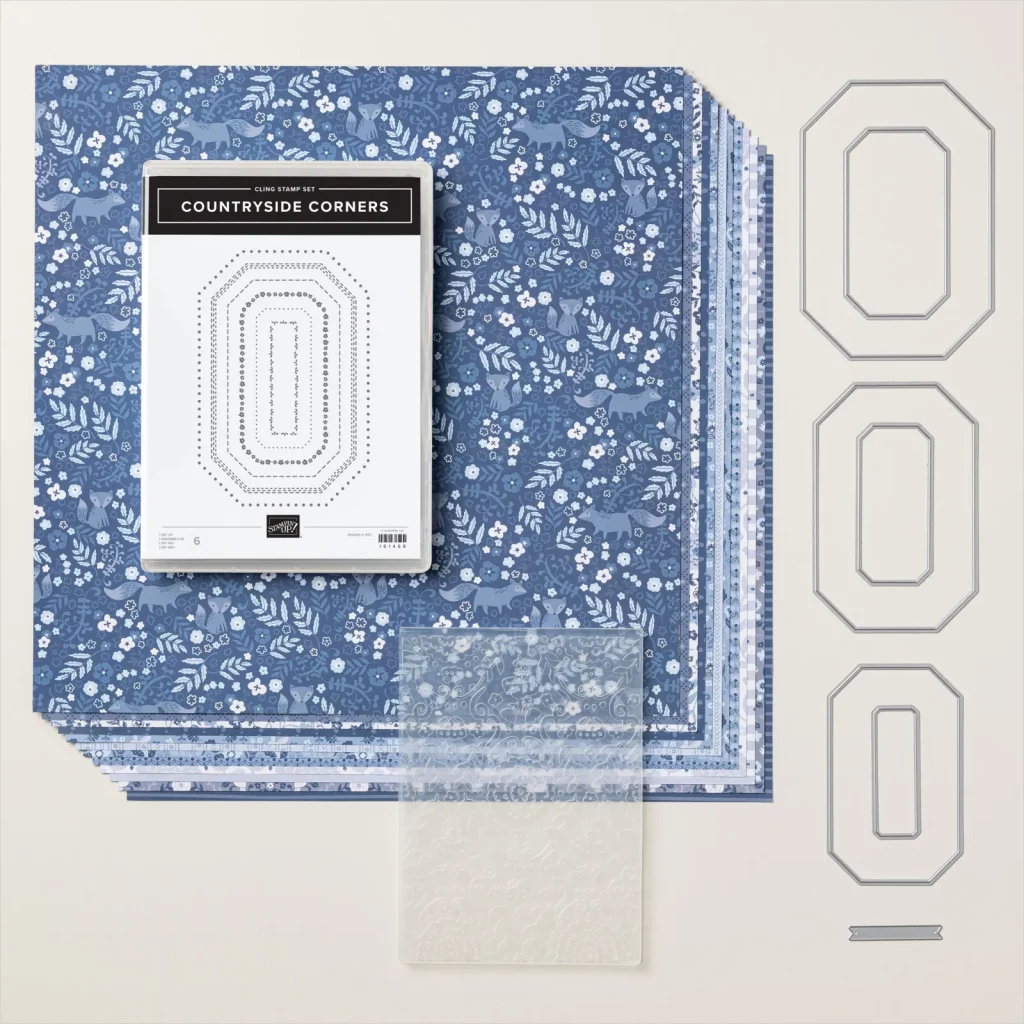
One of the products Stampin’ Up! demonstrators were able to order early from the 2023-24 catalogue was this stunning Countryside Inn DSP. It pairs Boho Blue with Balmy Blue, Misty Moonlight and Night of Navy.
When you place Boho Blue beside Balmy Blue, it really makes Balmy Blue look a lot like Pool Party!
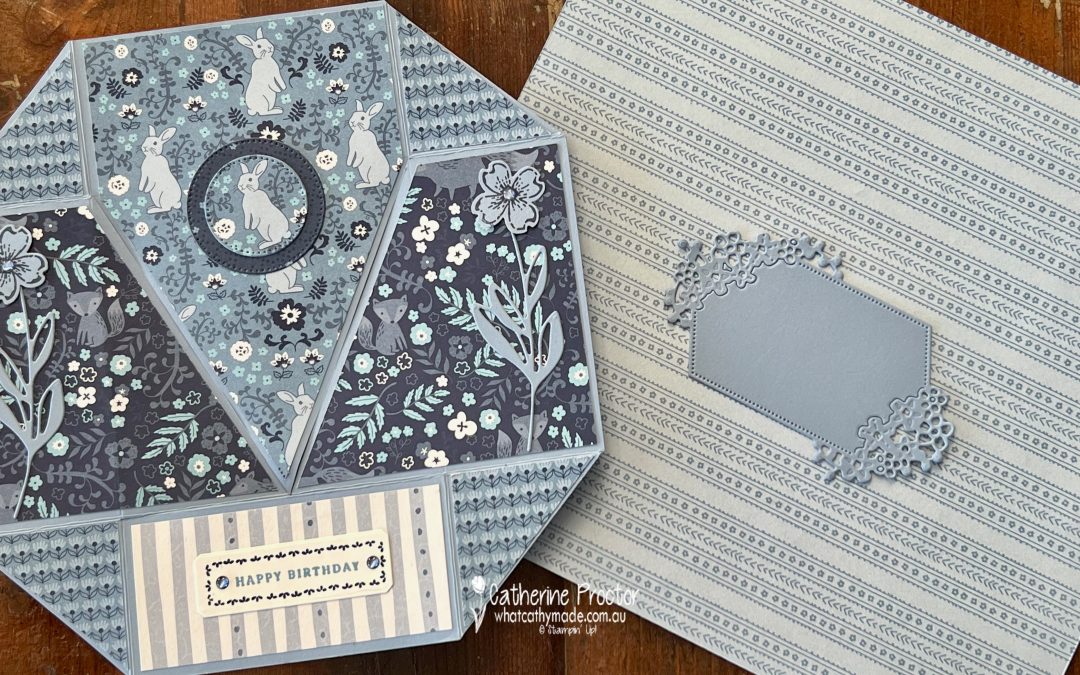
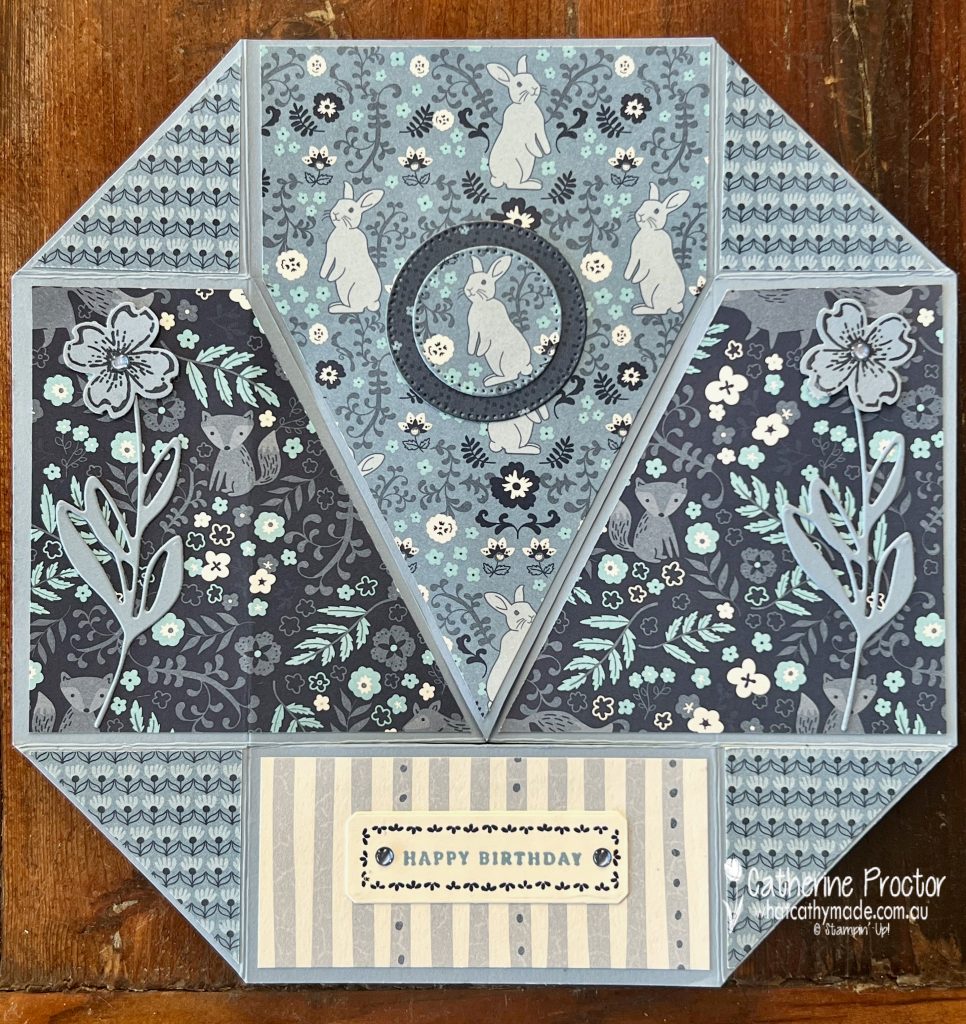
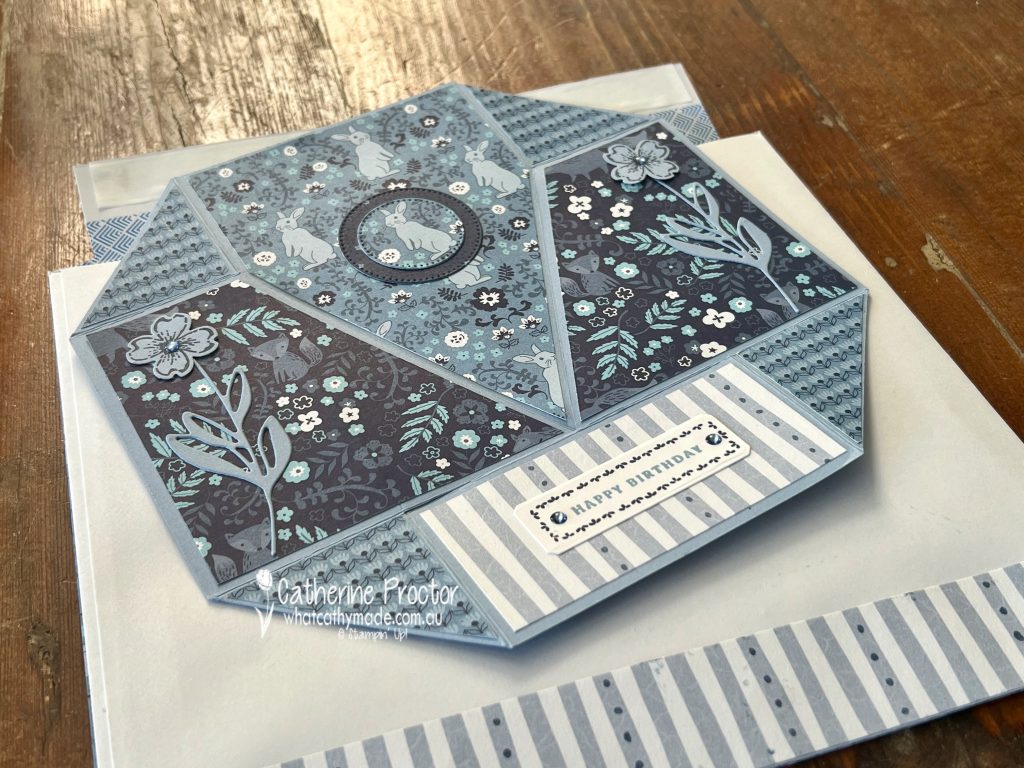
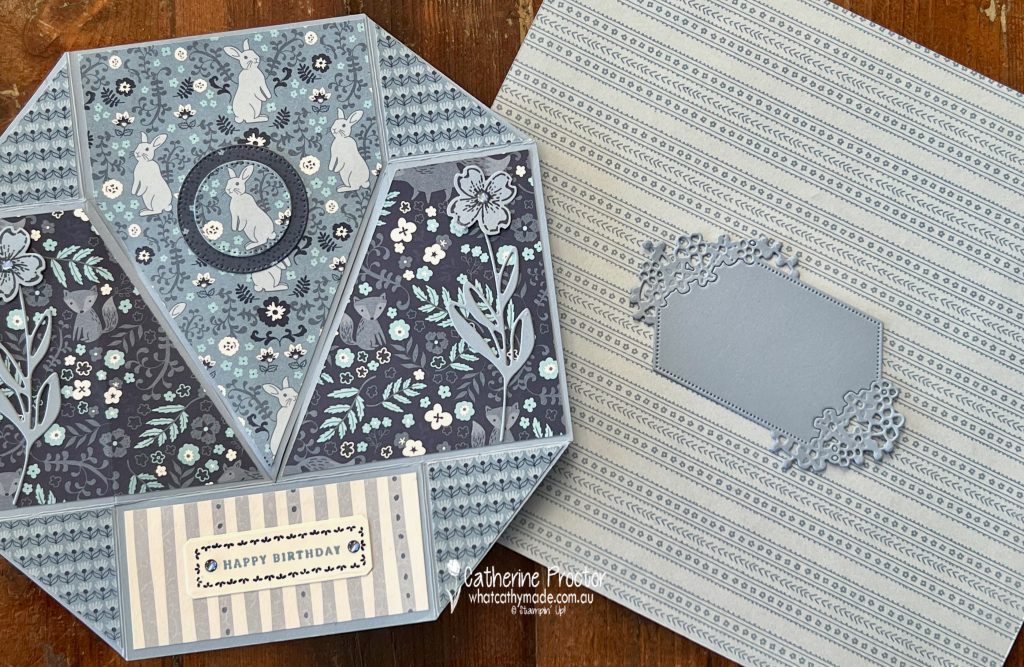
I decided an octagonal never ending card would be a wonderful way to showcase Boho Blue and as much of this DSP as possible.
This short video shows how this magical card works – never ending cards really have the ultimate wow factor!
A video I found on Pinterest from a cardmaker called Els Ham showed me the mechanics of making this style of never ending card, however I’ve changed the size of my card to make it a lot bigger than Els’ original card.
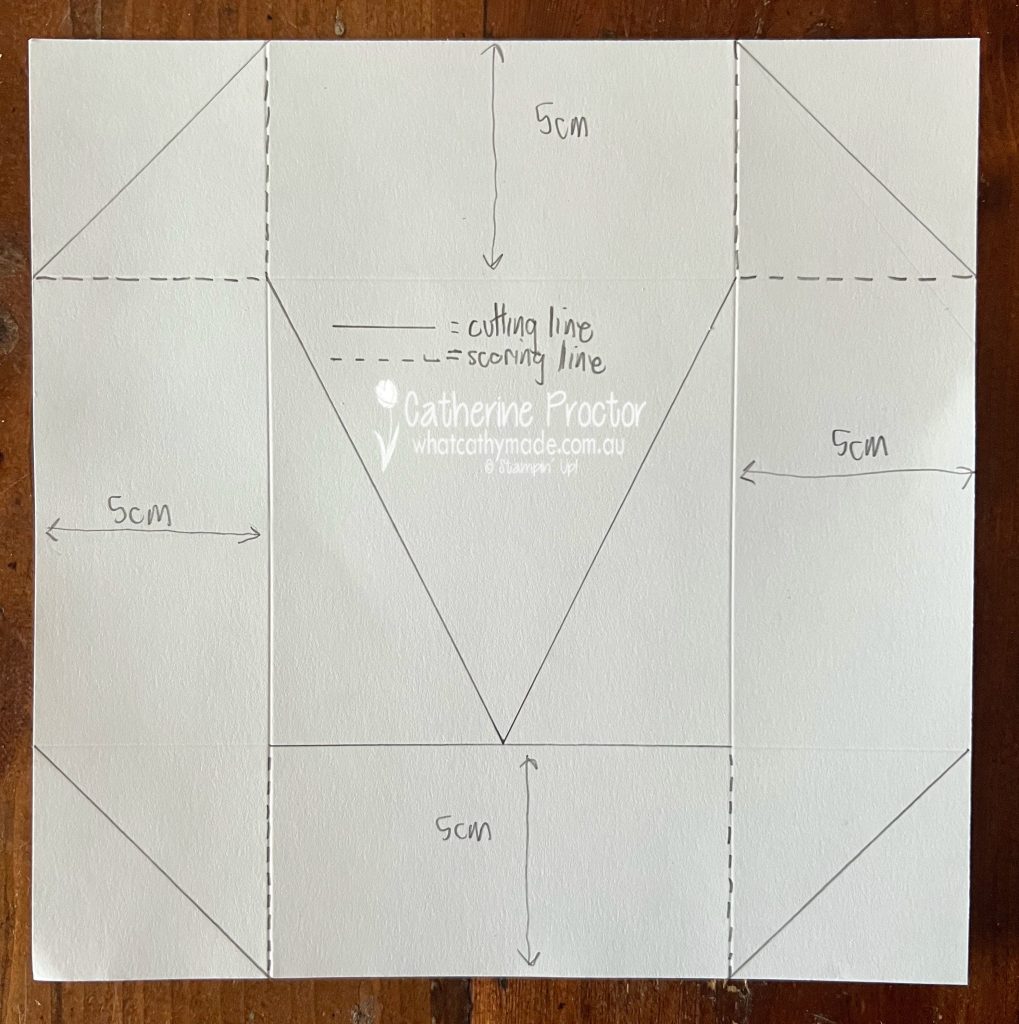
This template shows you how to cut and fold your 20 x 20 cm cardstock base. Start by scoring 5 cm in from all four sides. Once you’ve followed the template below to cut, score and fold your card, you can then decorate all the panels.
Always decorate the front of the card first before you decorate the reverse sides. Fold the card as you decorate the reverse sides to make sure you get any sentiments the right way up.
Here’s the card photographed from all the different angles. Front view…
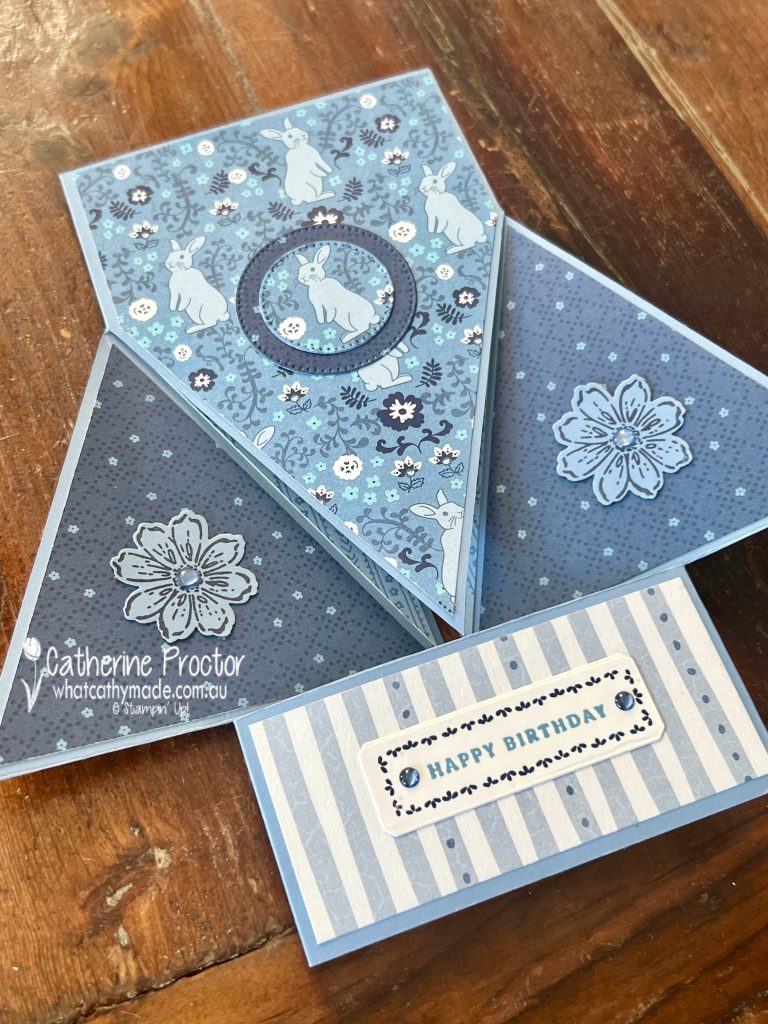
Left and right middle flaps reversed…
Bottom and top flaps reversed…
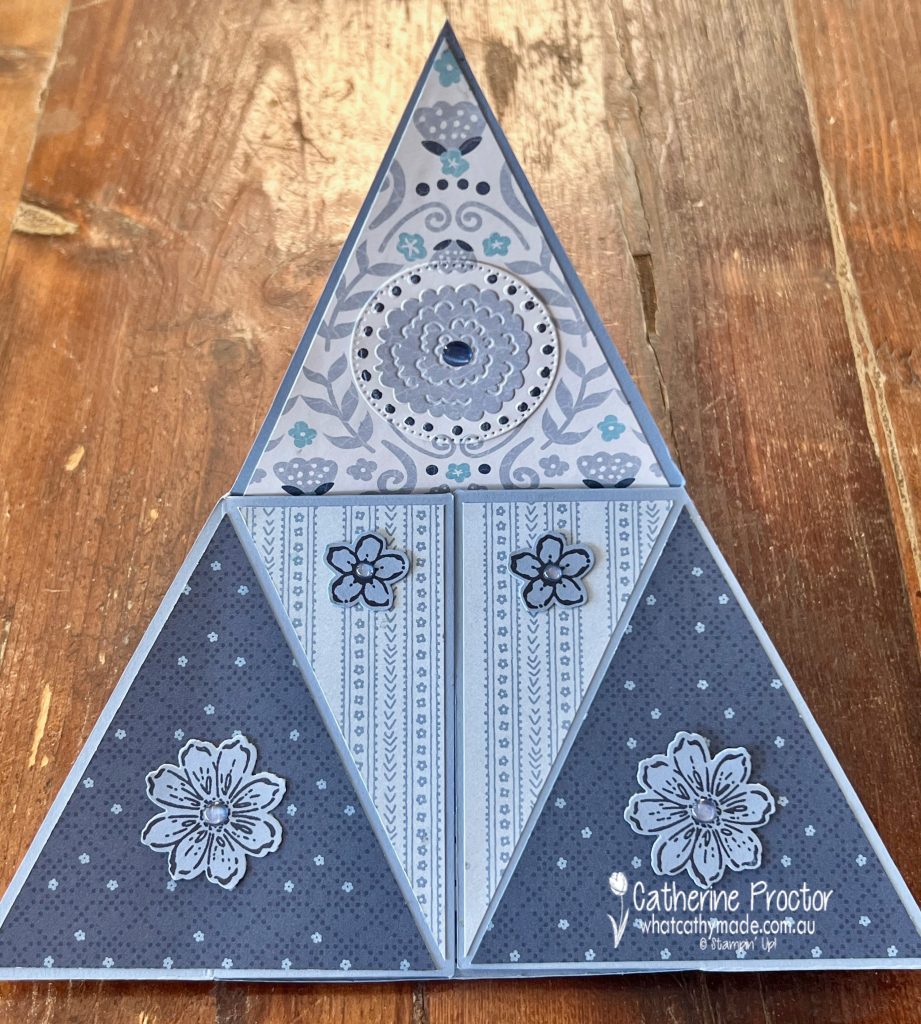
Middle flaps reversed again…
Top and bottom flaps reversed to return to the front view of the card…
I’ve used various stamps and dies from the Petal Park stamp set, Sentimental Park stamp set, Sentimental Park dies, Petal Park Builder punch and the Stylish Shapes dies to embellish this Boho Blue never ending card.
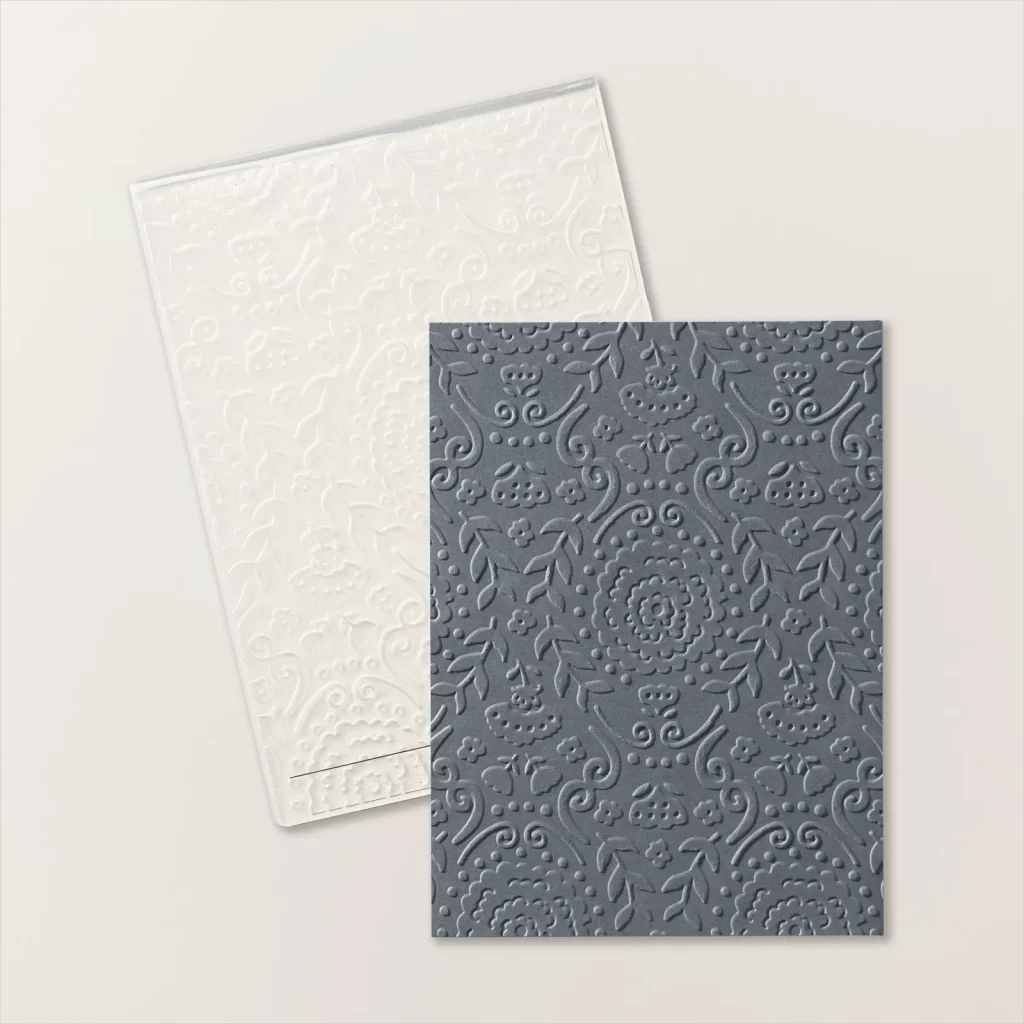
Every product from the Countryside Inn Suite collection was also used: the Countryside Corners bundle (Countryside Corners stamp set and Countryside Corners dies), the Countryside Blossoms Embossing folder and the Countryside Inn DSP
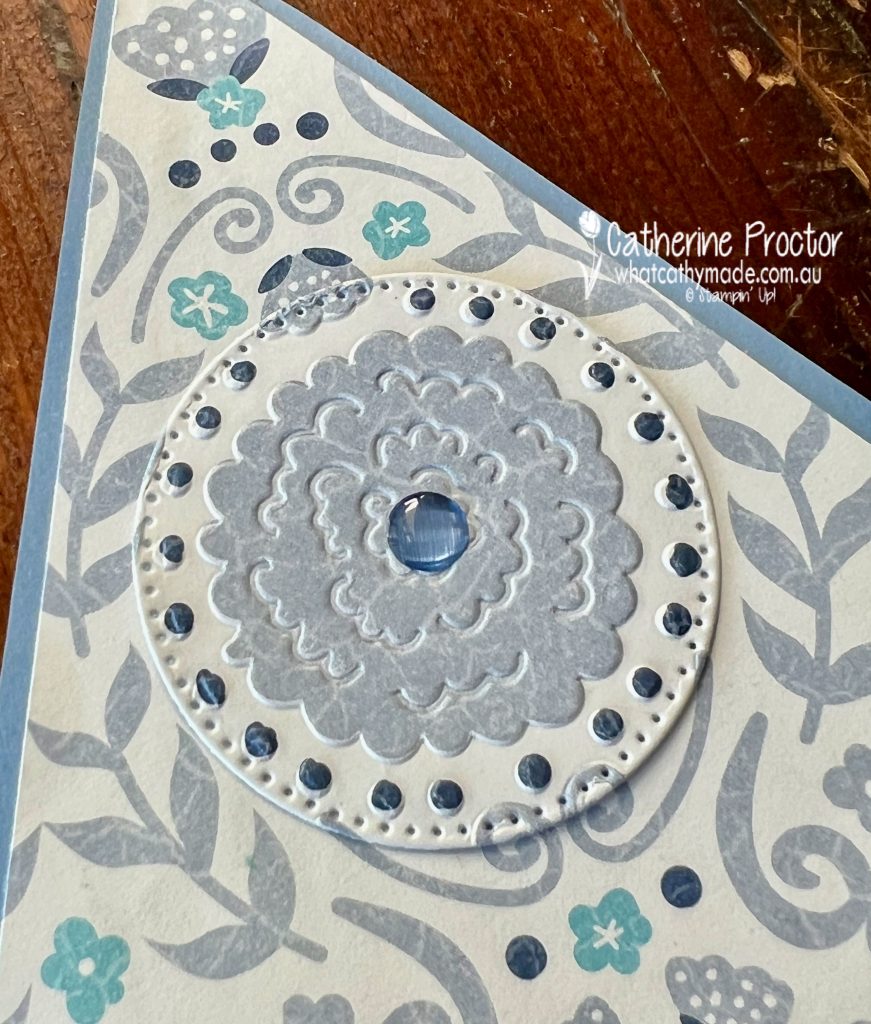
One really cool feature of this suite is the Countryside Blossoms Embossing folder – it actually embosses the Countryside Inn DSP!
Here’s a close up of the embossing of the DSP. The gorgeous Boho Blue embellishments you can also see in this image are from the 2023-2025 In Colour Dots.
This is a very large card, measuring 20x20cm, so to make an envelope for it I used a C4 business envelope, trimming 10 cm off the base of the envelope before folding and gluing the base up to reseal the bottom of the envelope.
I then decorated the front and back of the envelope with the Countryside Inn DSP and a Boho Blue address label, die cut using the Sentimental Park dies.
I love Boho Blue so much I’ve already ordered another pack of the cardstock!
Now it’s time to hop on over to our next participant, the lovely Kate Morgan – I can’t wait to see what Kate has made this week!
If at any time you find a broken link, you can find the complete list of all participants below.
This year we’re starting the Stampin’ Up! Colour creations with our five new In colours, so we’ll be back next Wednesday, May 10, with another new 2023-24 In Colour, Copper Clay!
Tonight is week fifty, the very last week of our Art With Heart 2022-23 Colour Creations blog hop! I
Next week we start afresh on Wednesday, 3rd May, featuring the five new In colours every Wednesday in May, followed by the four new core colours in June and then the the rest of the core colours throughout the year.
This week we are featuring Soft Suede, one of the retiring Neutral Colours. I will really miss this colour for animals, trees, wood and nature scenes in particular.
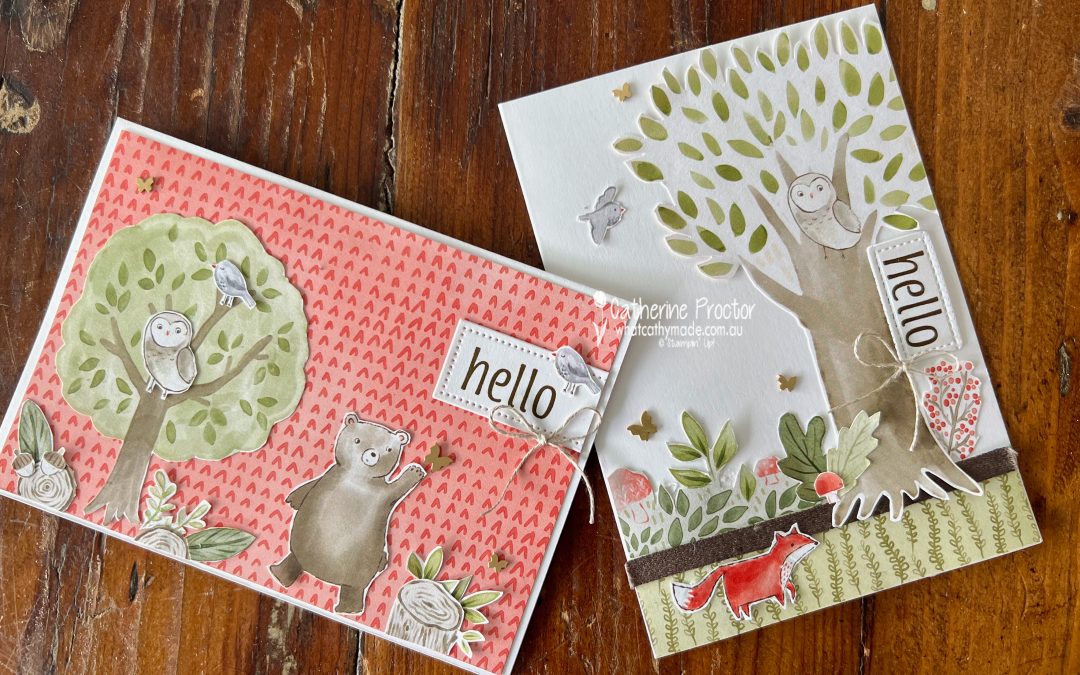
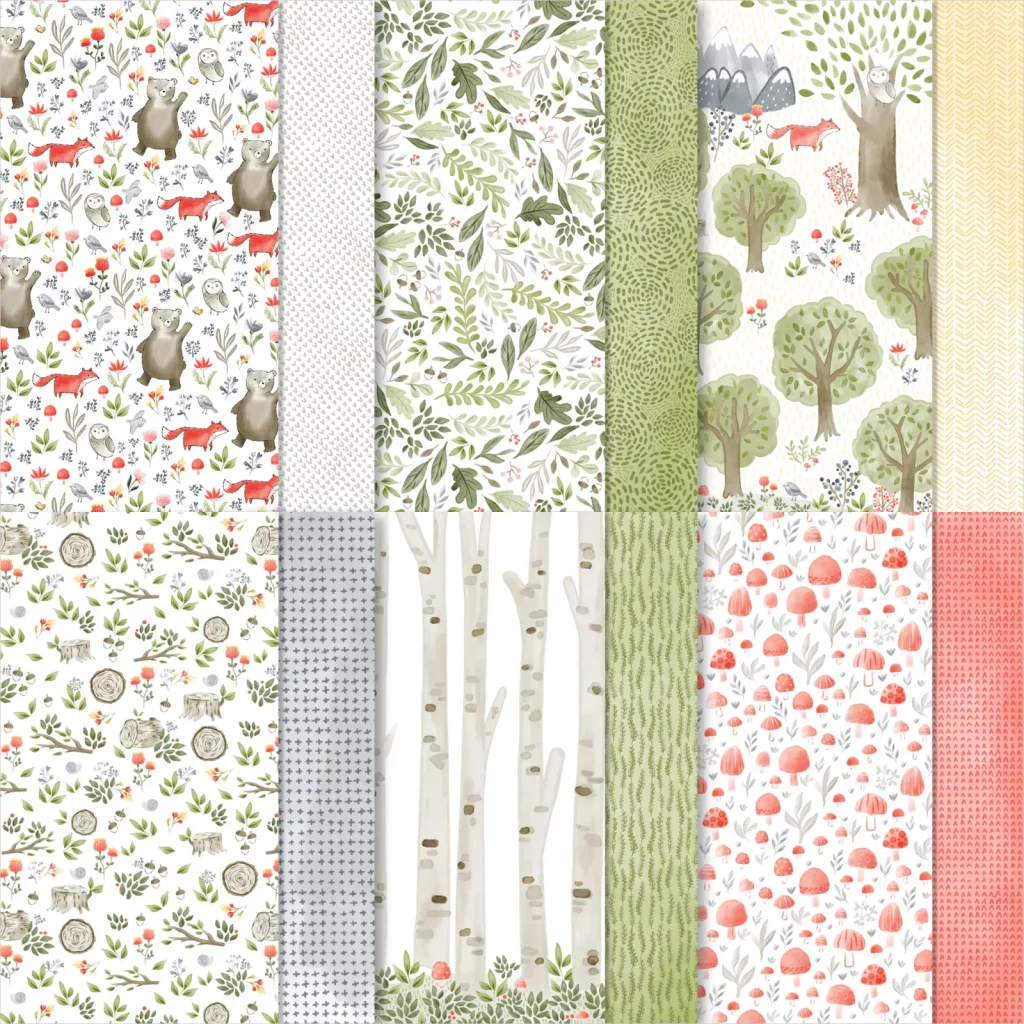
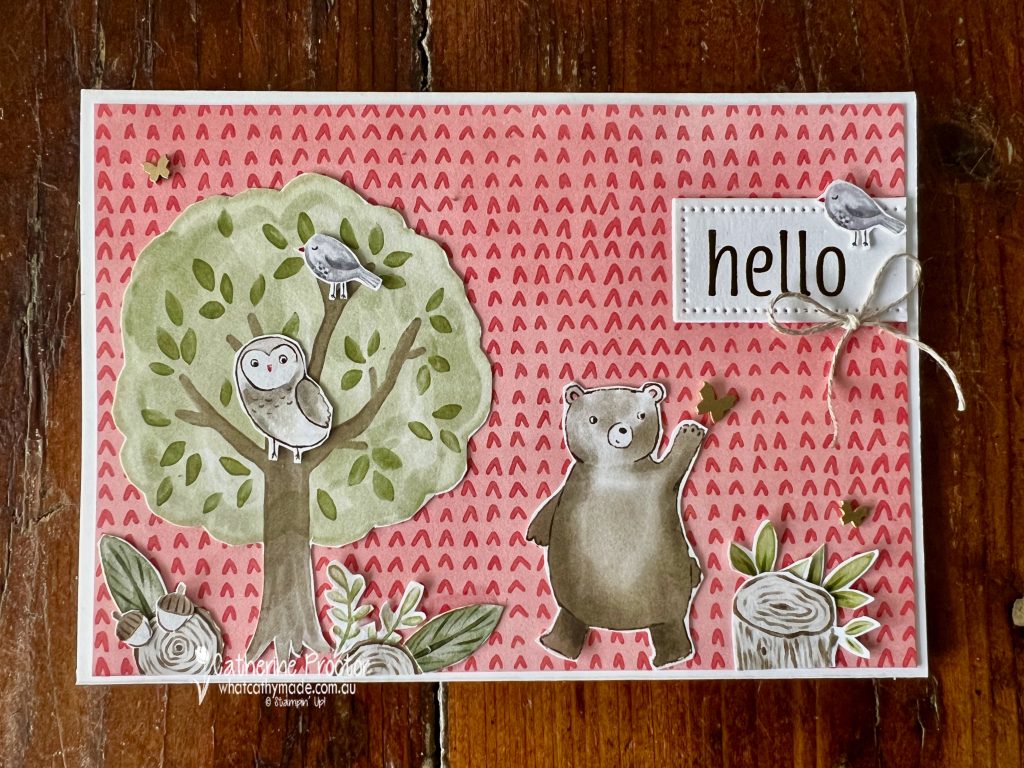
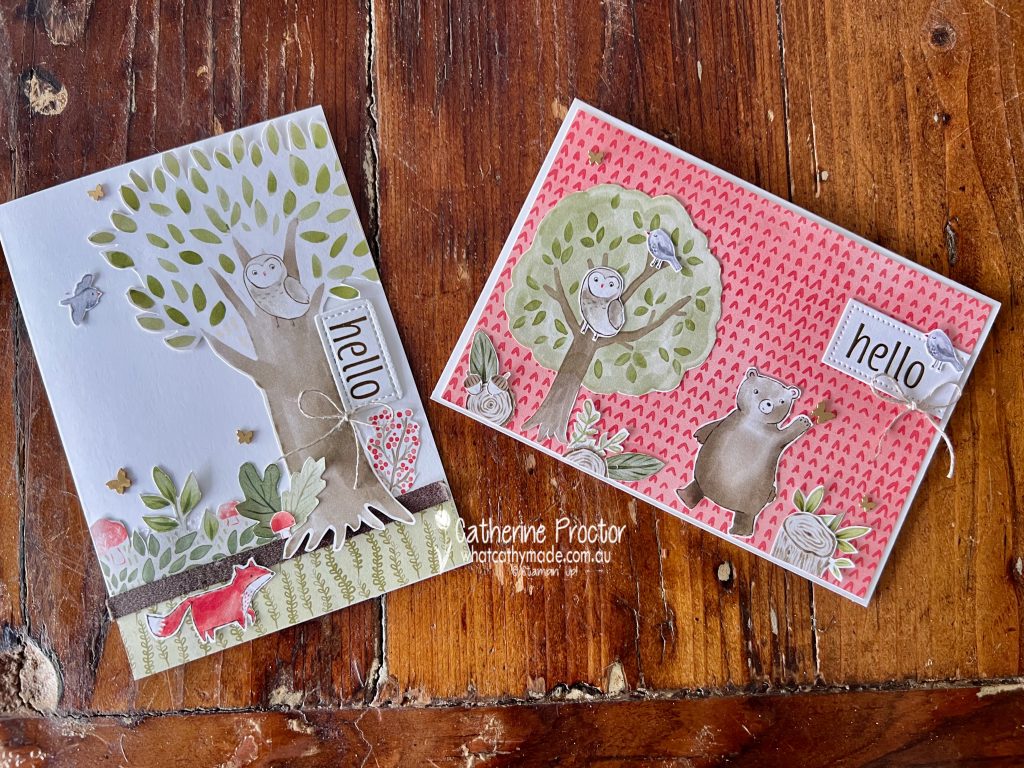
My card this week is basically just DSP and fussy cutting, apart from the sentiments on both my cards. I’ve used the retiring (and currently on sale) Happy Forest Friends DSP, one of my favourite DSPs ever!
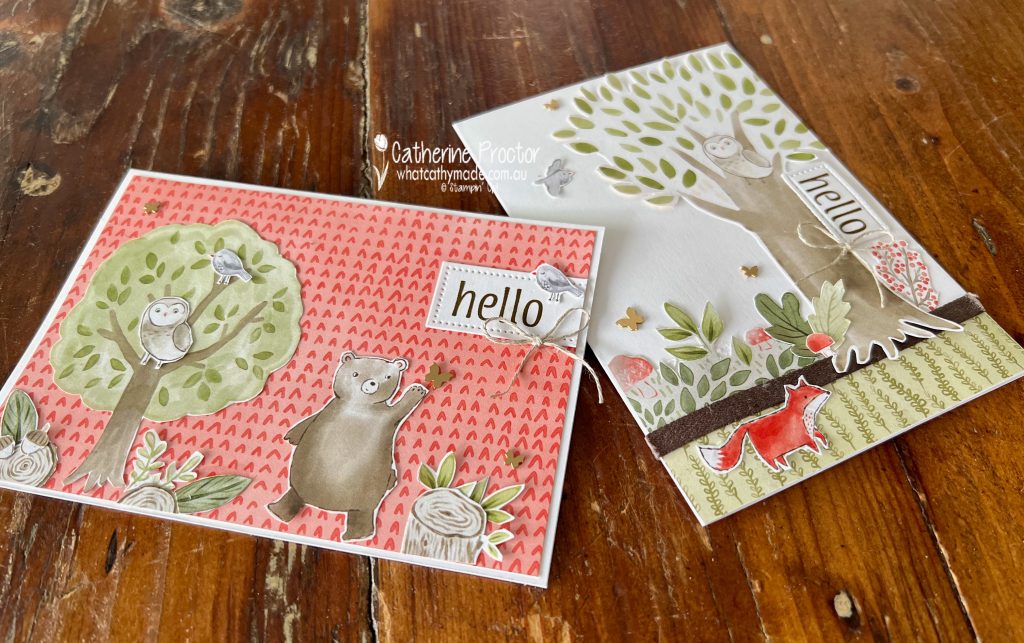
For both my cards I simply fussy cut images from the Happy Forest Friends DSP and then started layering.
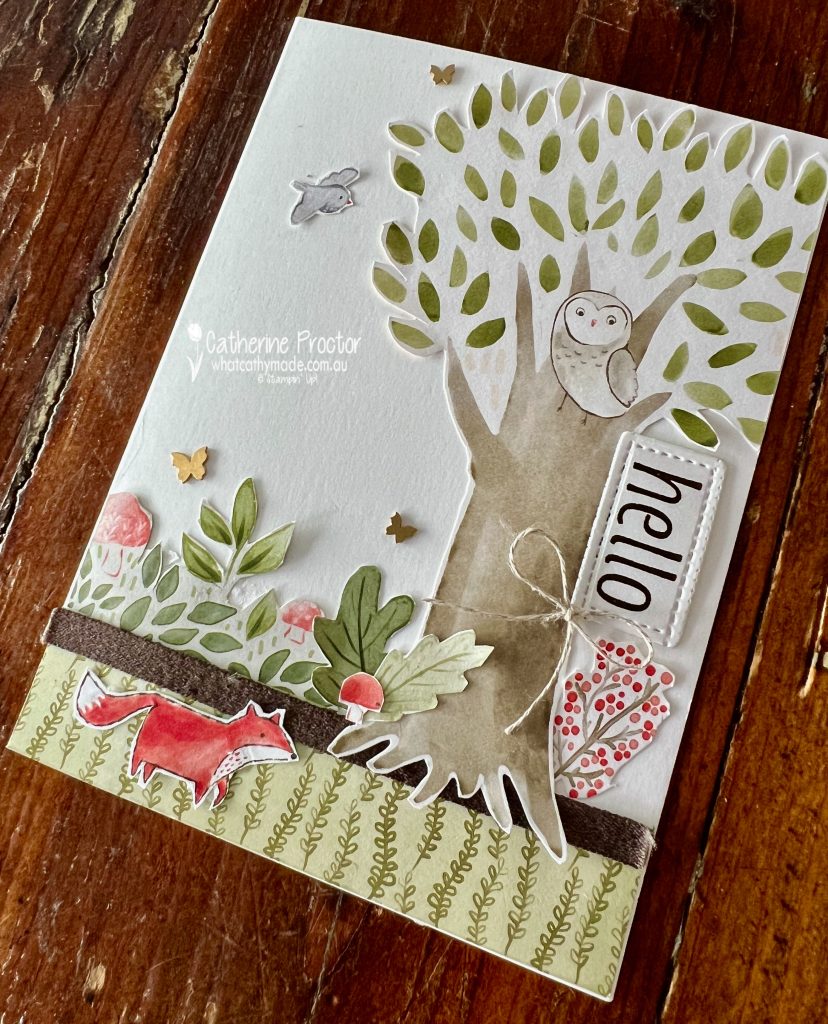
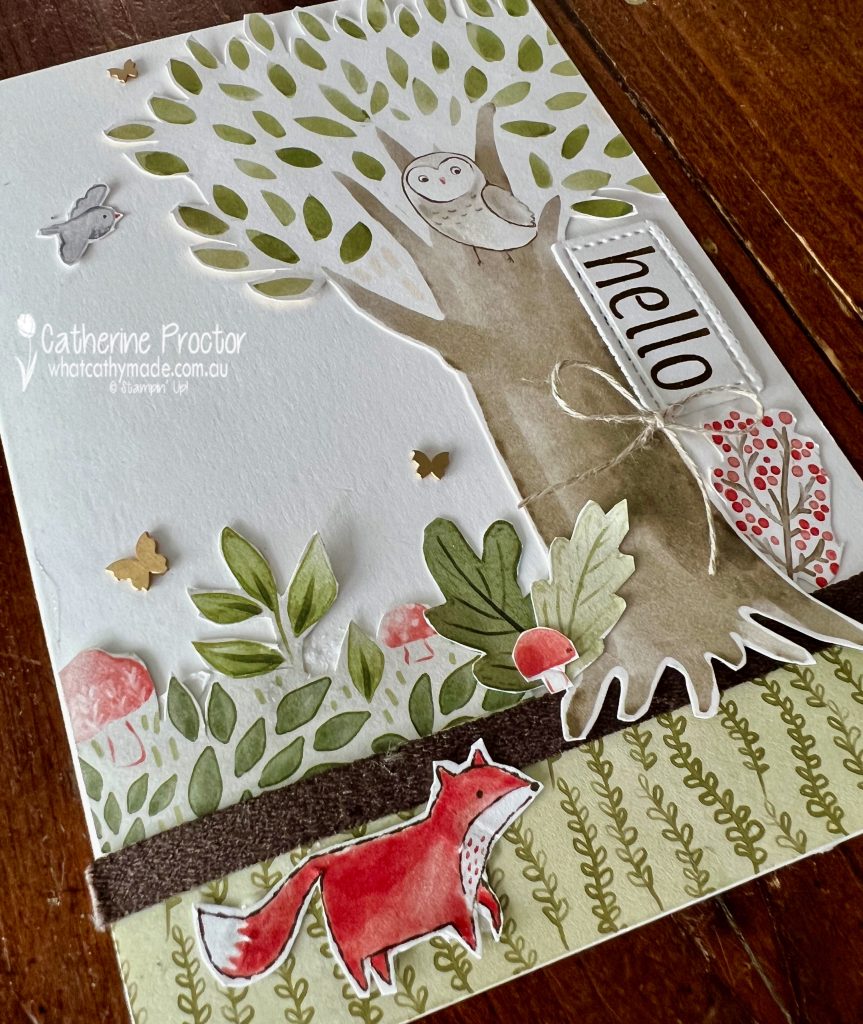
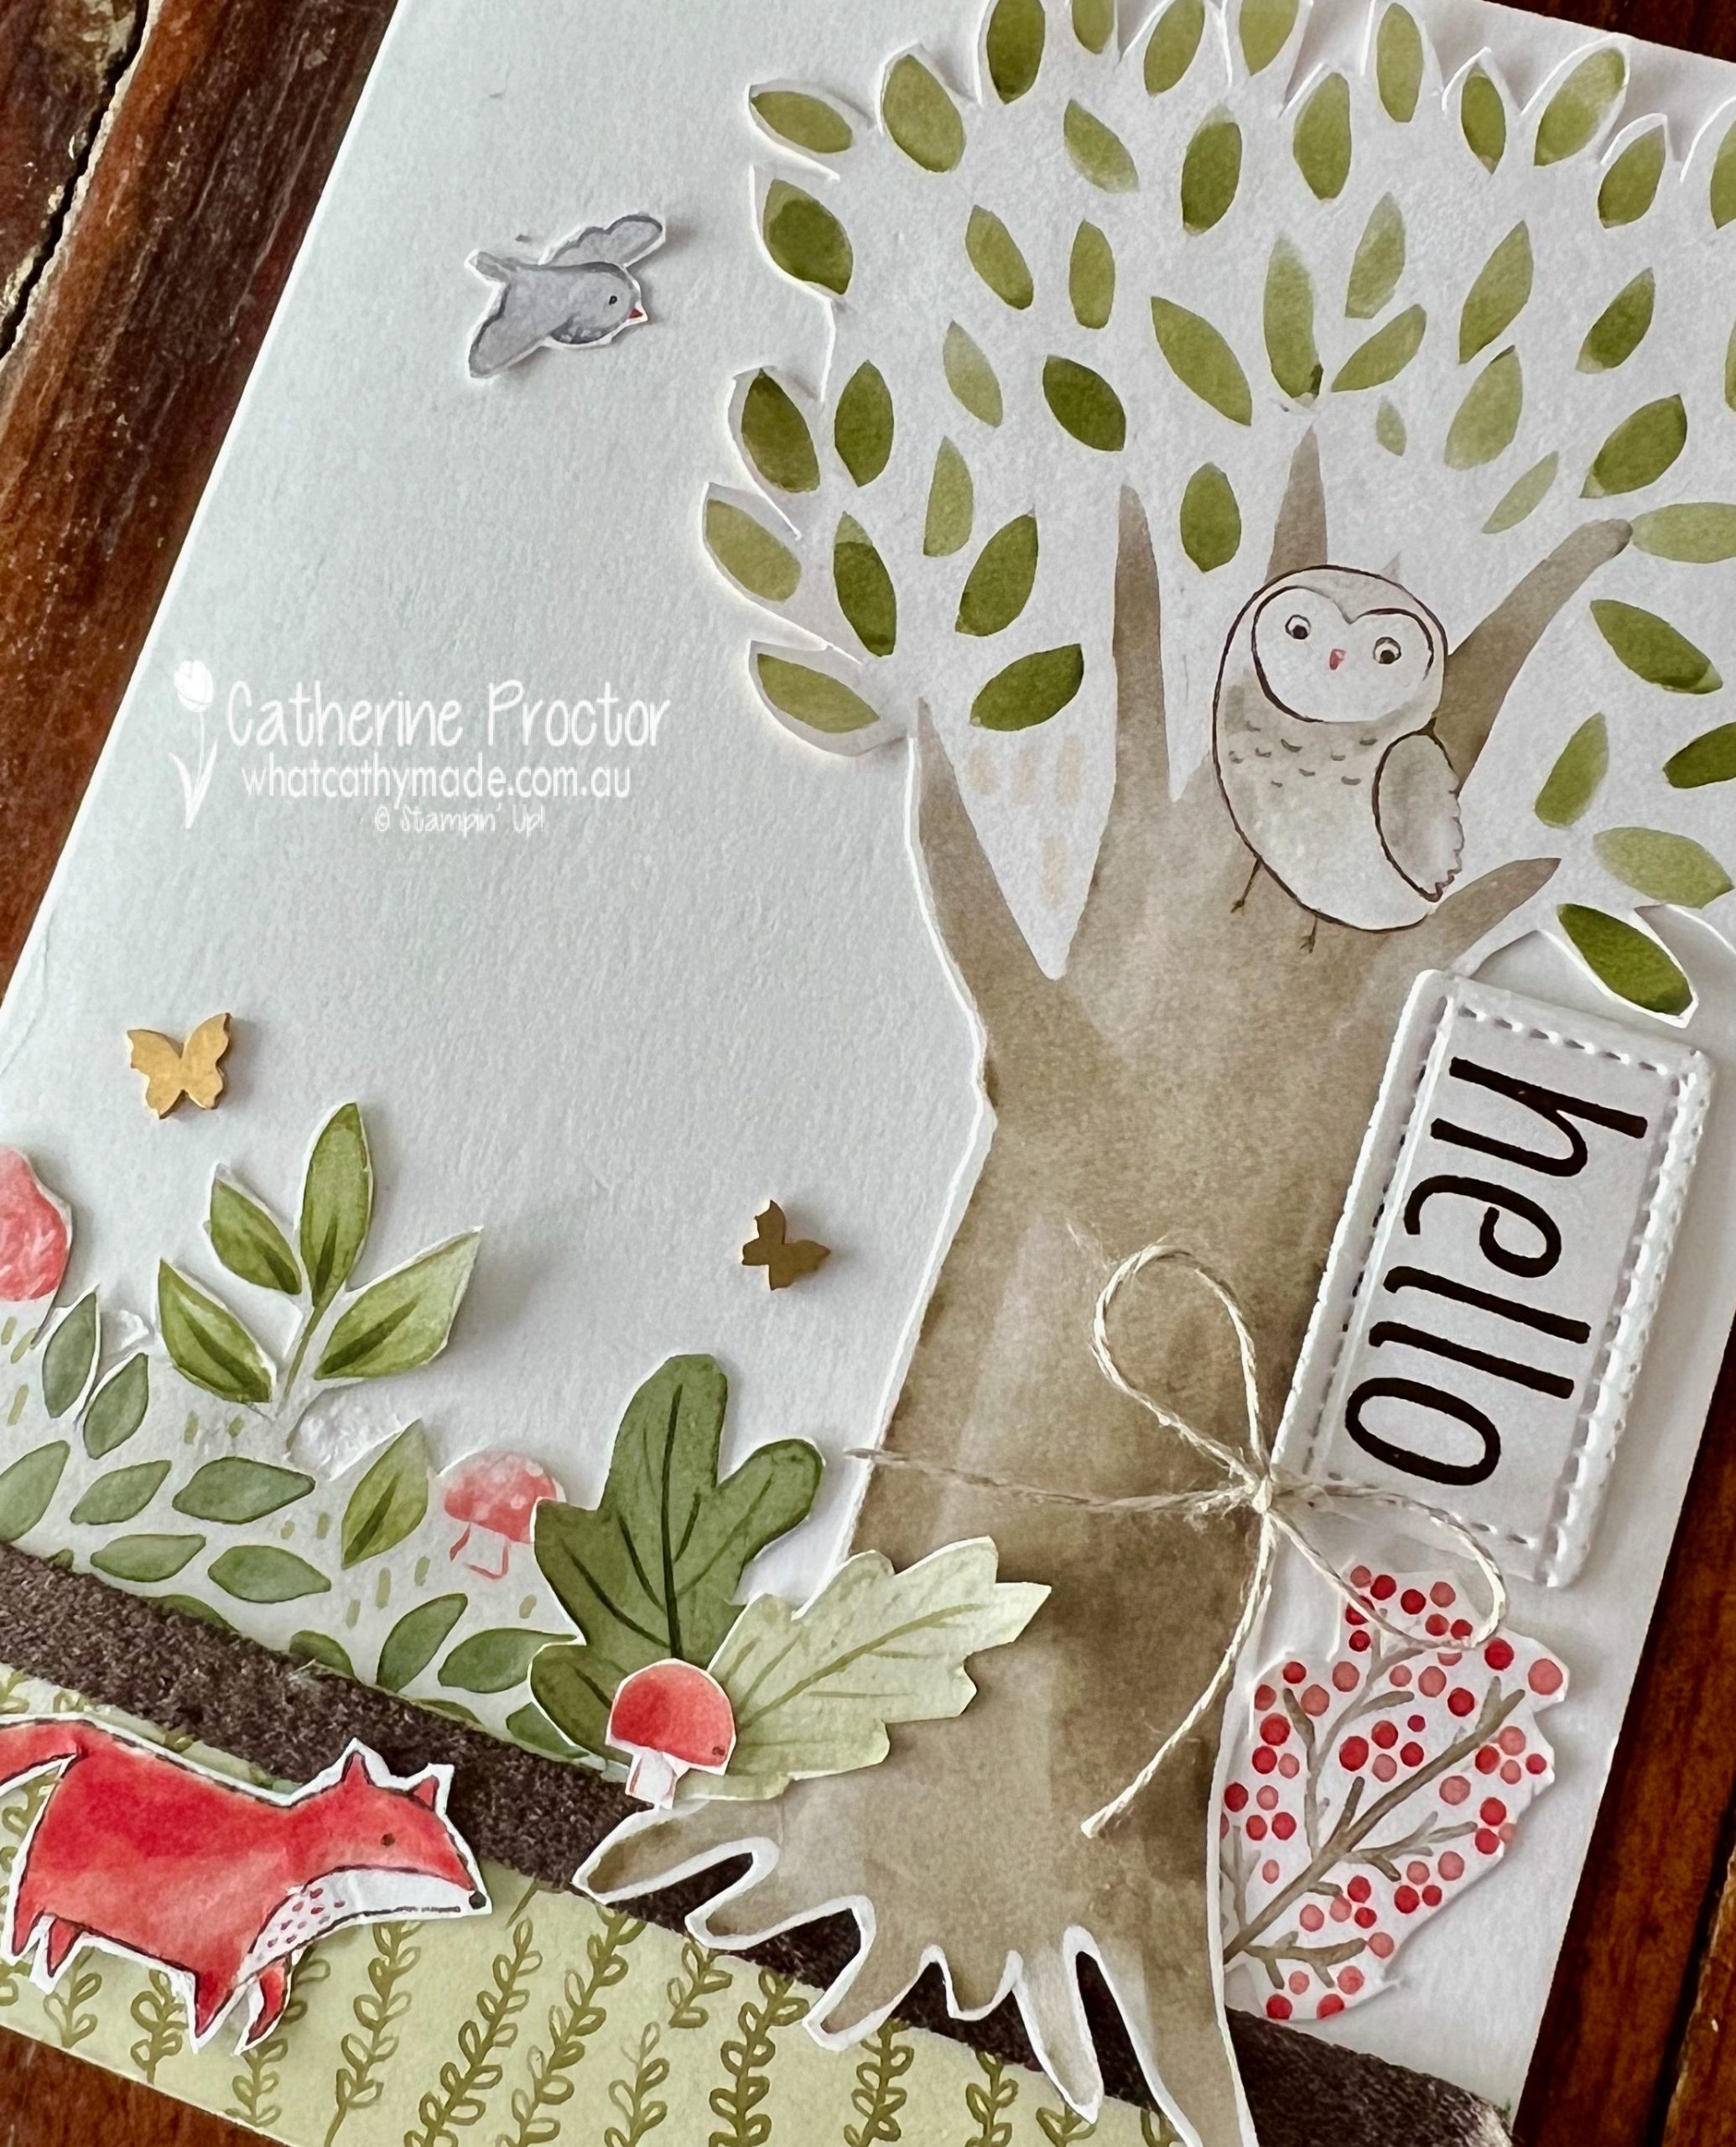
Card one has a lot of white space and features the largest tree from the Happy Forest Friends DSP.
I also added a strip of the Early Espresso Faux Suede Trim, some Brushed Brass Butterflies and a bow of Linen Thread.
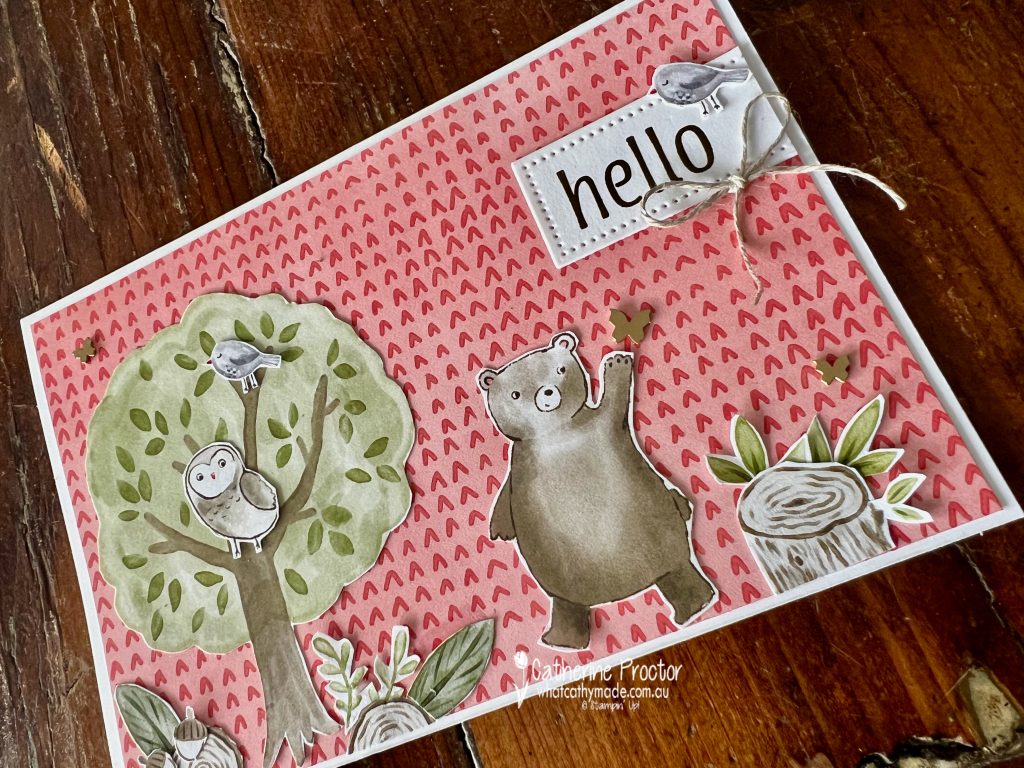
Card Two has a DSP layer behind the forest scene that features the gorgeous Soft Suede bear.
This card also features Brushed Brass Butterflies and a bow of Linen Thread.
The “Hello” sentiment on both cards is from the Artistically Inked Stamp Set, stamped in Soft Suede and die cut using a die from the Tailor Made Tags Dies.
I’ve altered these die shapes after die cutting by either cutting of the tag end (card two) or turning the square end of the tag die around and die cutting it again to square off the tag and make it into a rectangle instead (card one).
Now it’s time to hop on over to our next participant, the lovely Di Furniss – I can’t wait to see what Di has made this week!
If at any time you find a broken link, you can find the complete list of all participants below.
We’ll be back next Wednesday, May 3, with our brand new Colour Creations blog hop for the 2023-24 Stampin’ Up! Annual Catalogue, showcasing a gorgeous new 2023-24 In Colour, Boho Blue!
Welcome to week forty nine of our Art With Heart 2022-23 Colour Creations blog hop. Next week is our last week for the 2022-23 Annual Catalogue before we start again on Wednesday, 3rd May, with five new In colours, four new core colours and seven returning colours!
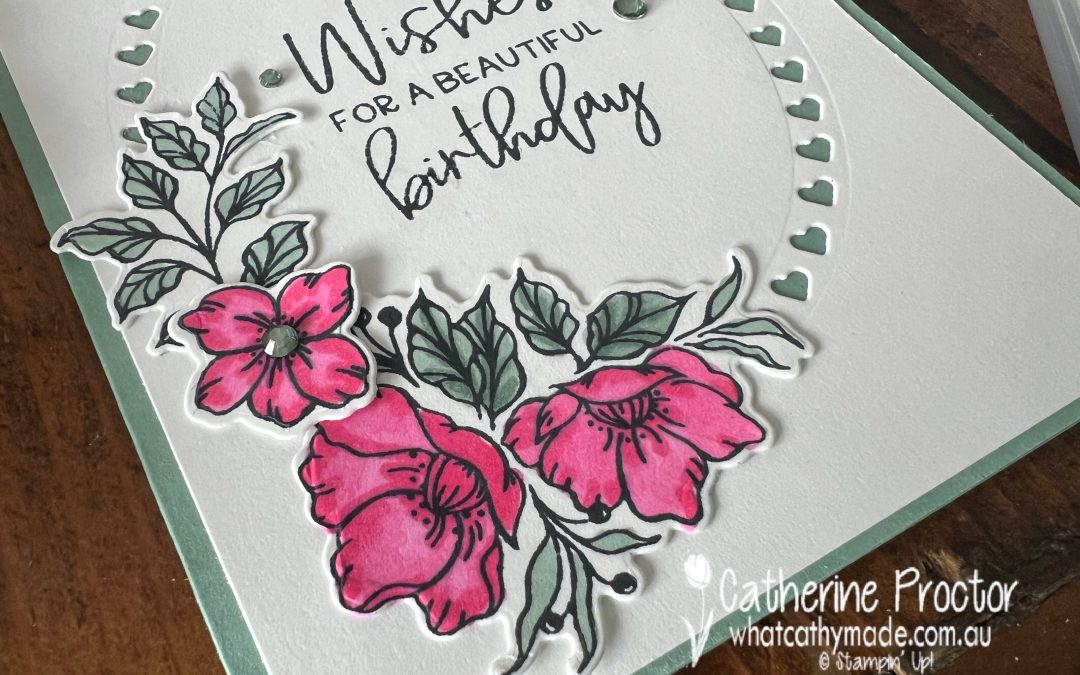
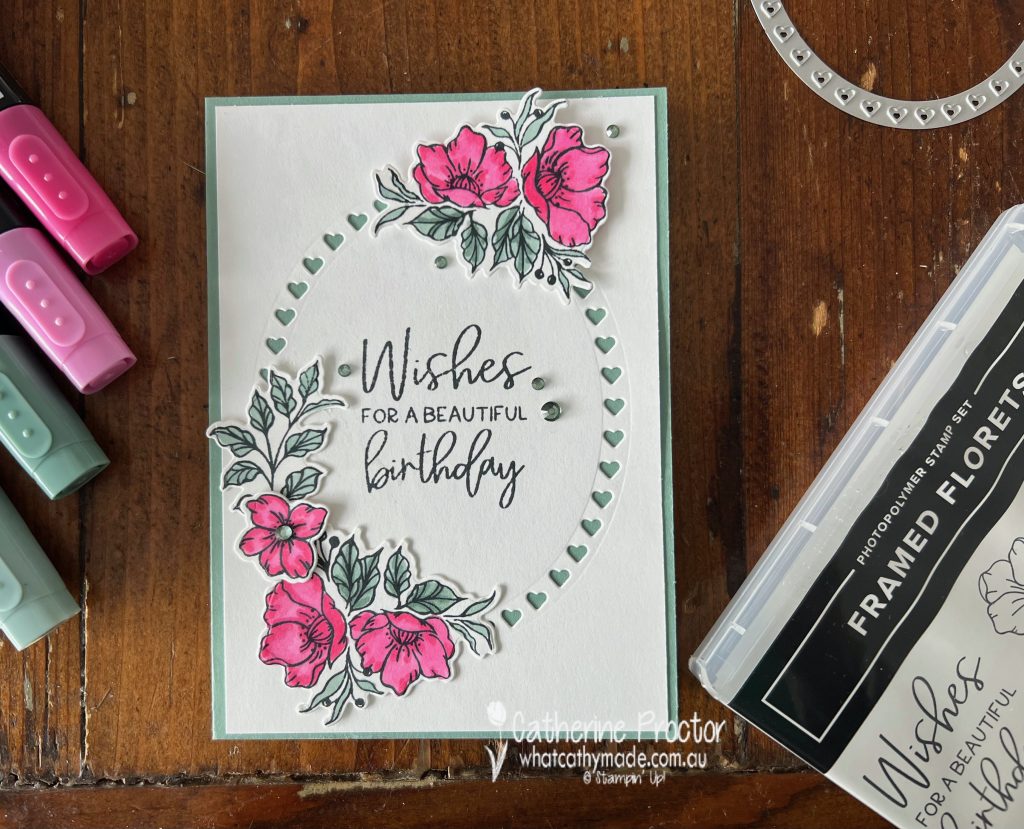
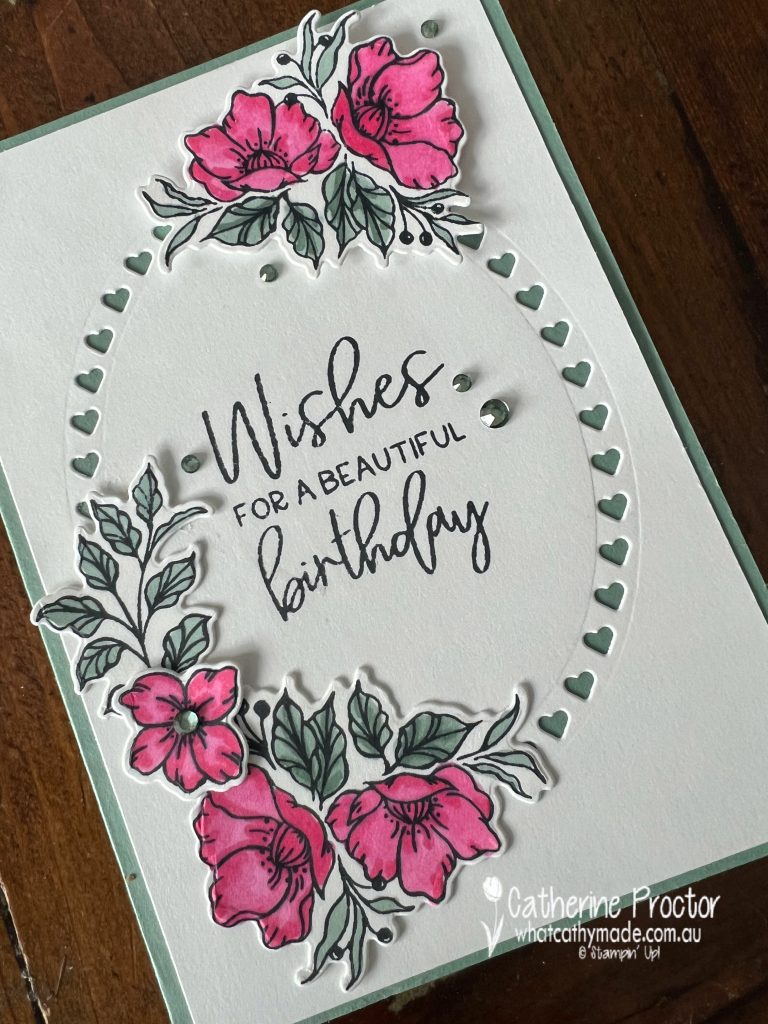
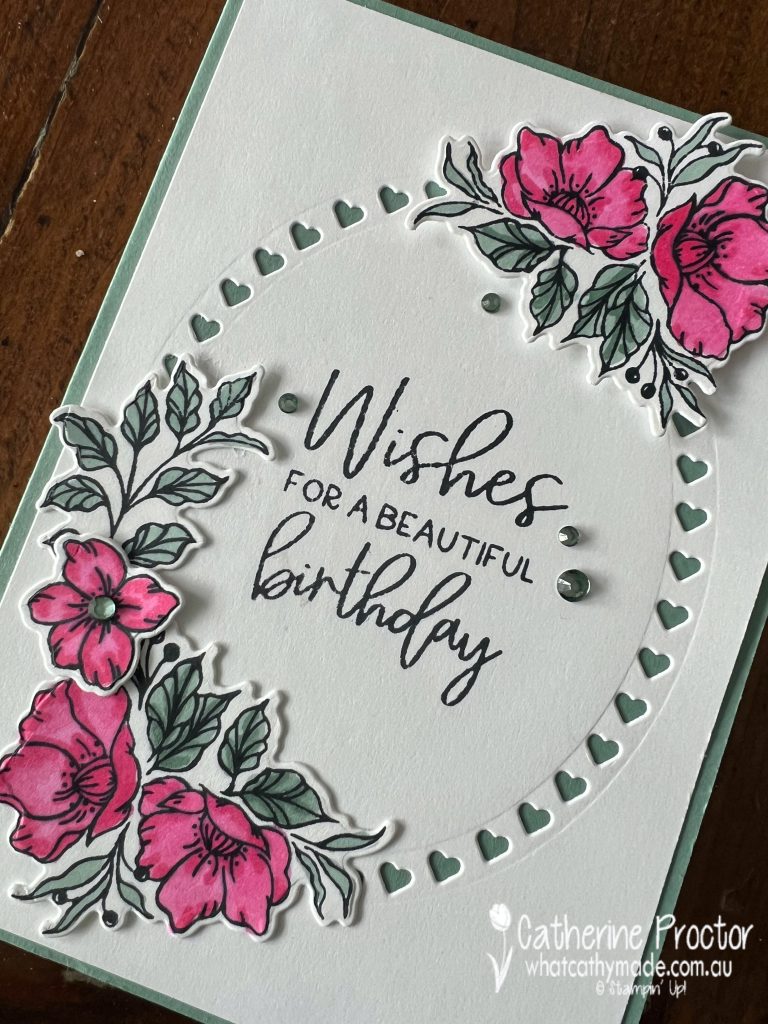
This week we are featuring Soft Succulent, one of the retiring 2021-23 In Colours. I’ve also featured Polished Pink, another retiring 2021-23 In Colour on my card, as well as the retiring Framed Florets stamp set and Framed Florets dies (reduced from $65 to $26).
Unfortunately the beautiful Soft Succulent and Polished Pink Stampin’ Blends! that I used to colour in my stamped images have already sold out!
The ‘Wishes for a beautiful birthday’ sentiment is from the Framed Florets stamp set, stamped in Tuxedo Memento Black Ink.
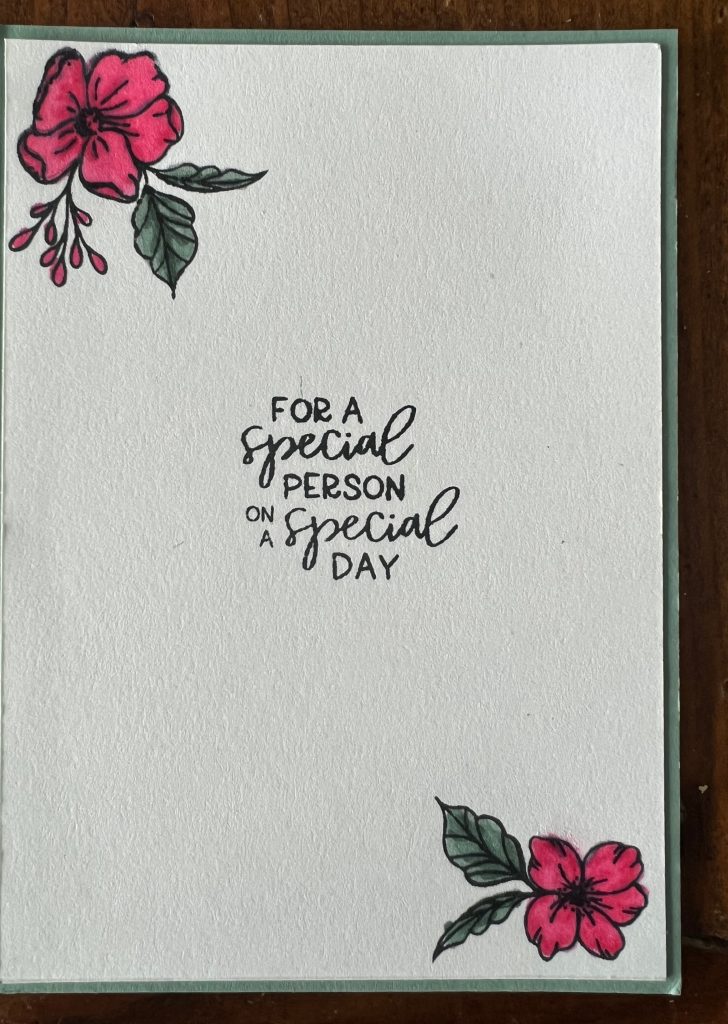
Inside the card I stamped and coloured more floral images and added another sentiment, all from the Framed Florets stamp set.
The sparkly embellishments on the front of the card are Rhinestone Jewels, coloured using my Soft Succulent Stampin;’ Blends.
Now it’s time to hop on over to our next participant, the lovely Rachel Palmieri – I can’t wait to see what Rachel has made this week!
If at any time you find a broken link, you can find the complete list of all participants below.
We’ll be back next Wednesday, April 26, with our last Colour Creations blog hop for the 202-23 Annual catalogue, showcasing a retiring core colour from the neutrals family, Soft Suede.
Welcome to week forty eight of our Art With Heart 2022-23 Colour Creations blog hop – only two more weeks to go!
This is a weekly blog hop where we showcase the stunning range of Stampin’ Up! colours in alphabetical order over 12 months and this week we are featuring Soft Sea Foam, one of the core colours in the Subtles family.
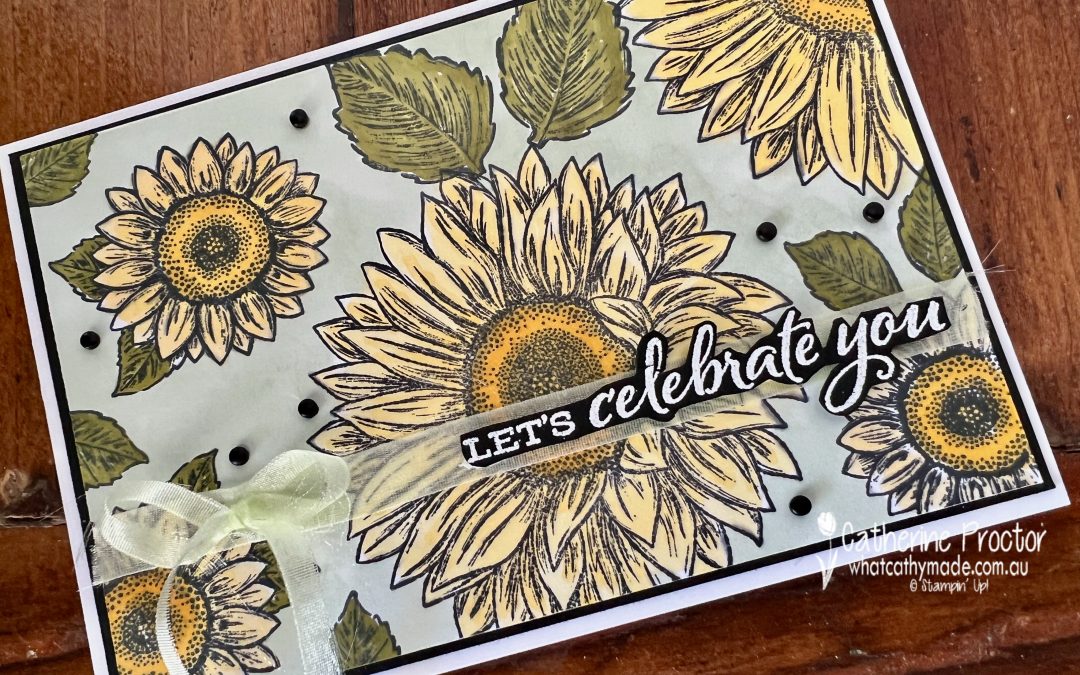
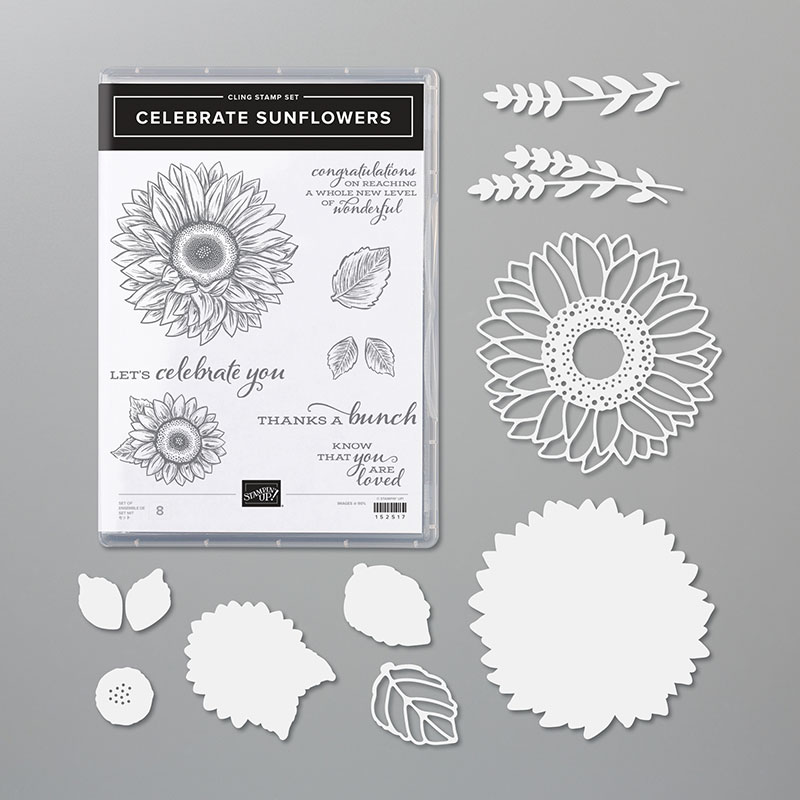
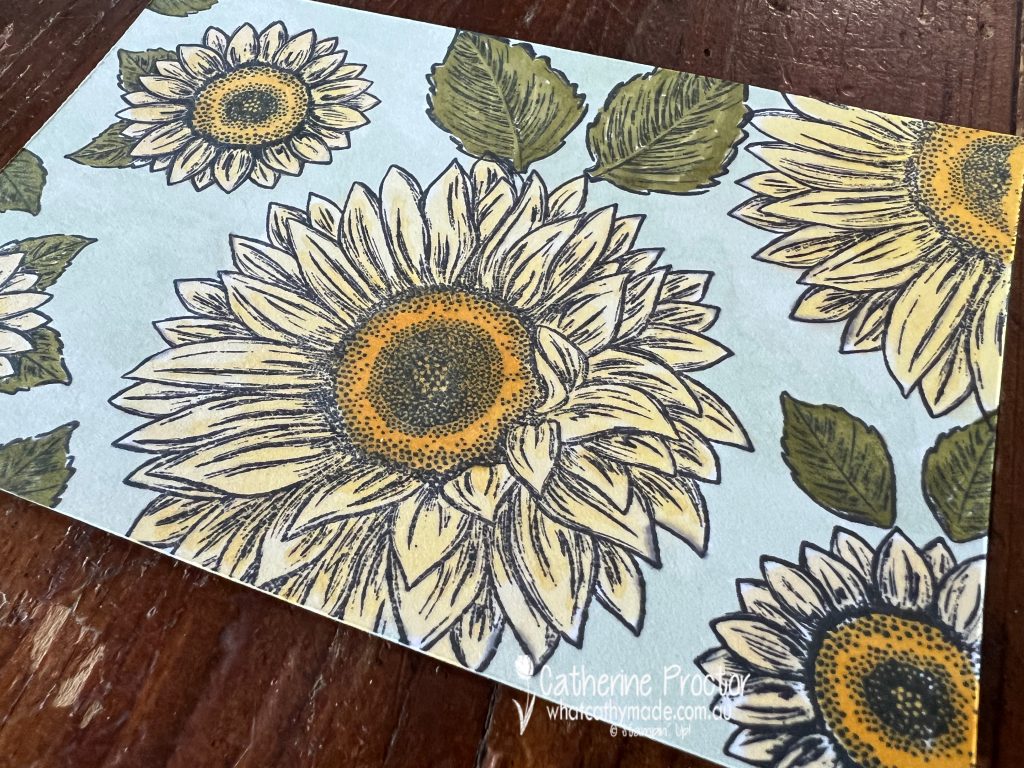
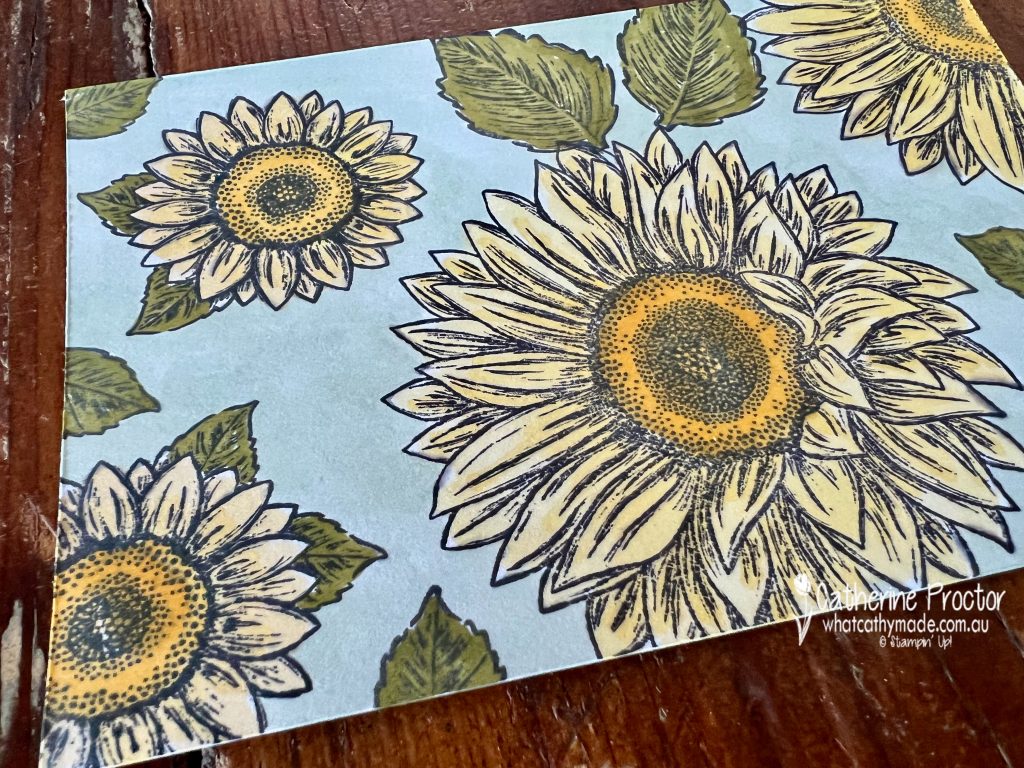
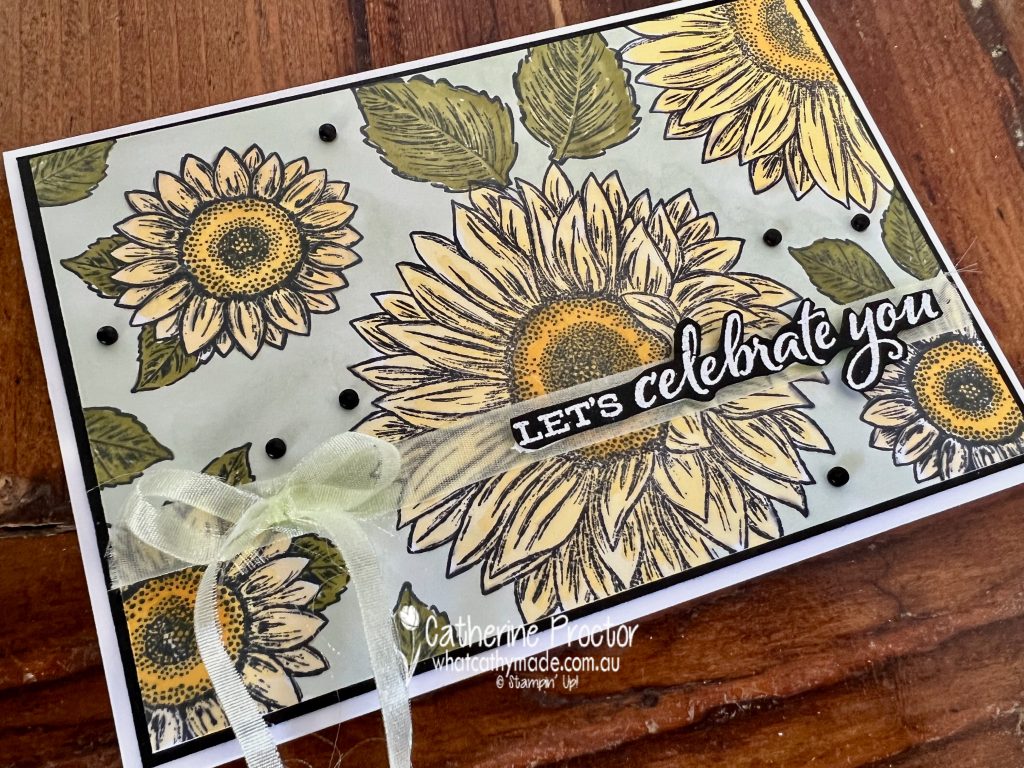
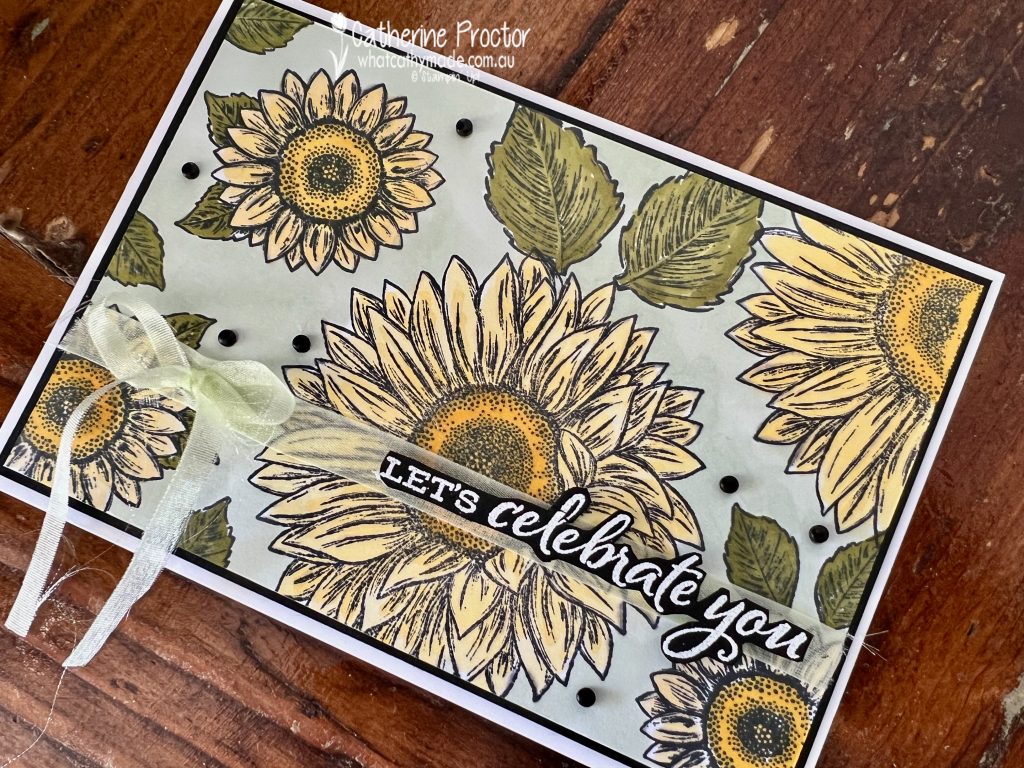
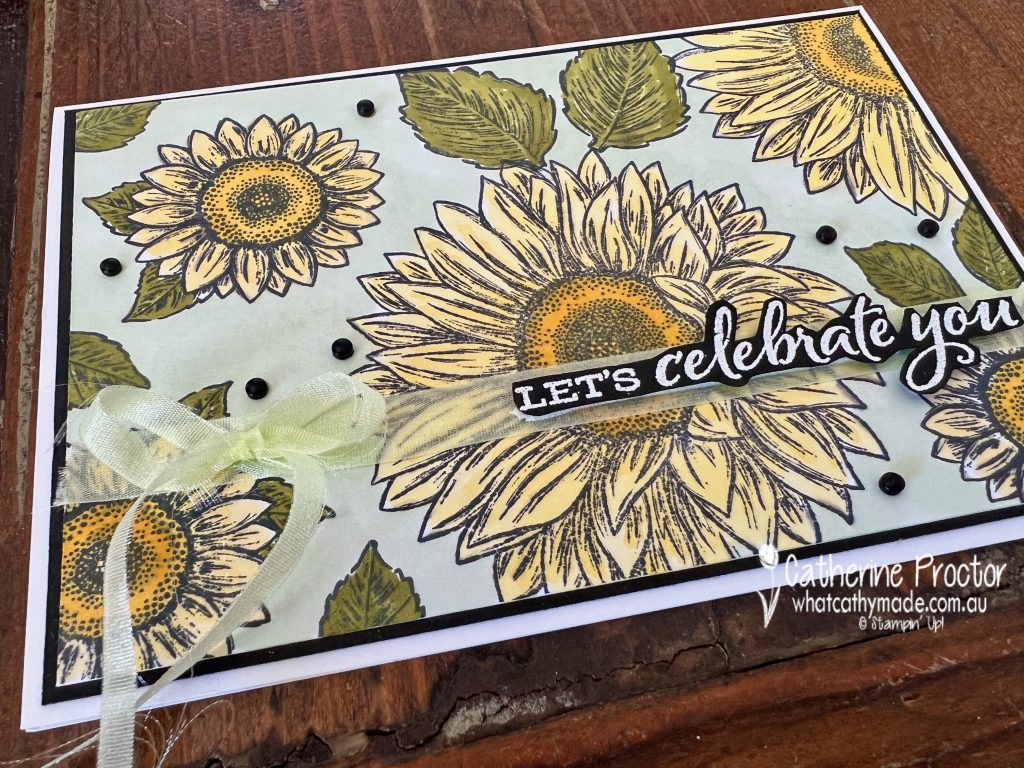
The Celebrate Sunflowers stamp set and it’s matching Sunflower dies are one of my all time favourite stamps and dies and as they are both retiring soon and on special I thought I’d give them a send off by using the Celebrate Sunflowers stamp set in my Soft Sea Foam card this week.
I’m not sure what the name of this technique is, but it’s super easy to do with just about any floral stamp set and your Stampin’ Blends. You simply stamp the images in Tuxedo Black Memento ink onto white cardstock and then colour in with your blends.
The space between the images is coloured using the light Soft Sea Foam Stampin’ Blend but it looks like Pool Party in these photos!
The sunflowers are coloured in Daffodil Delight and so Saffron, with Old Olive for the leaves.
I always make sure to stamp images off the sides of the cardstock – it looks a bit funny if you don’t do this.
Once it was all coloured in I attached a strip of Soft Sea Foam sheer ribbon using Tear’n’Tape and adhered a bow of the ribbon (cut in half) using a glue dot.
I stamped and heat embossed in white a sentiment onto Basic black cardstock, fussy cut it using paper snips, and adhered it with Stampin’ Dimensionals.
A few Matte Black Dots (also on special and retiring soon) were the final touch.
Now it’s time to hop on over to our next participant, the lovely Kate Morgan – I can’t wait to see what Kate has made this week!
If at any time you find a broken link, you can find the complete list of all participants below.
Welcome to week forty seven of our Art With Heart 2022-23 Colour Creations blog hop – only three more weeks to go!
This is a weekly blog hop where we showcase the stunning range of Stampin’ Up! colours in alphabetical order over 12 months and this week we are featuring So Saffron, which will soon be retiring from the Subtles family.
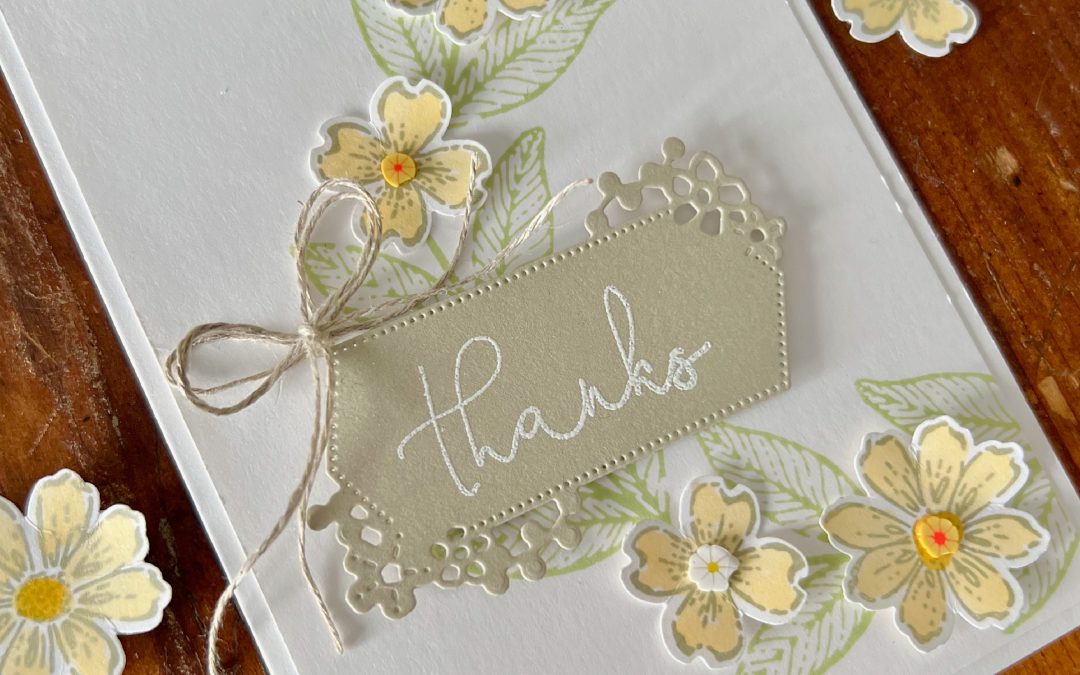
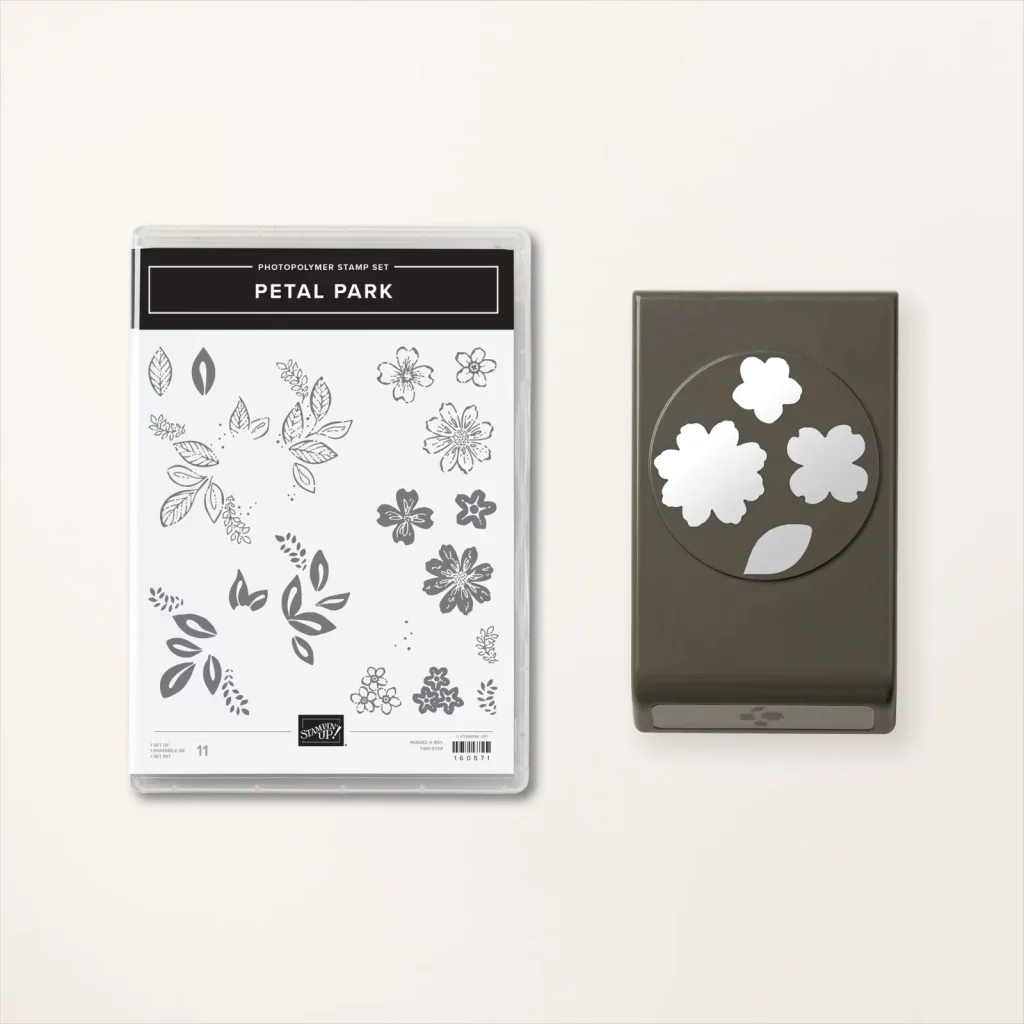
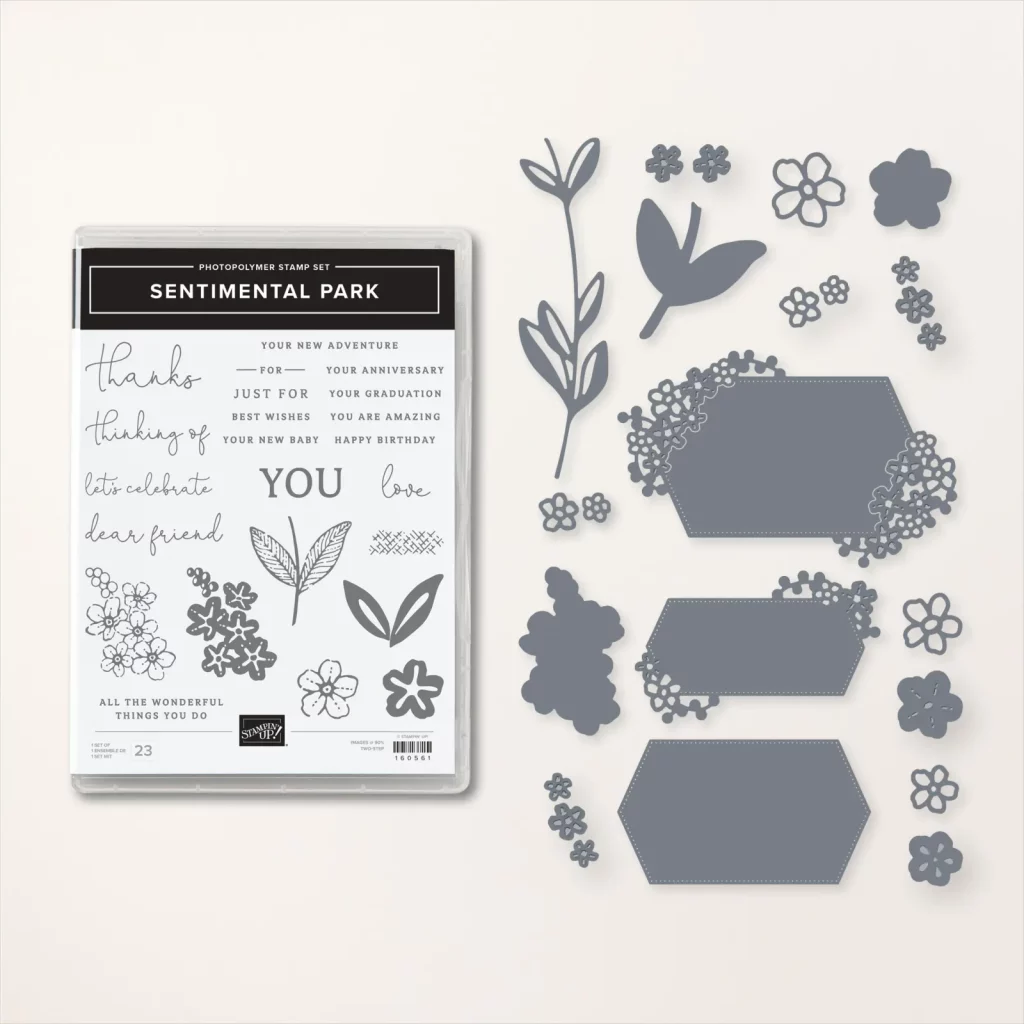
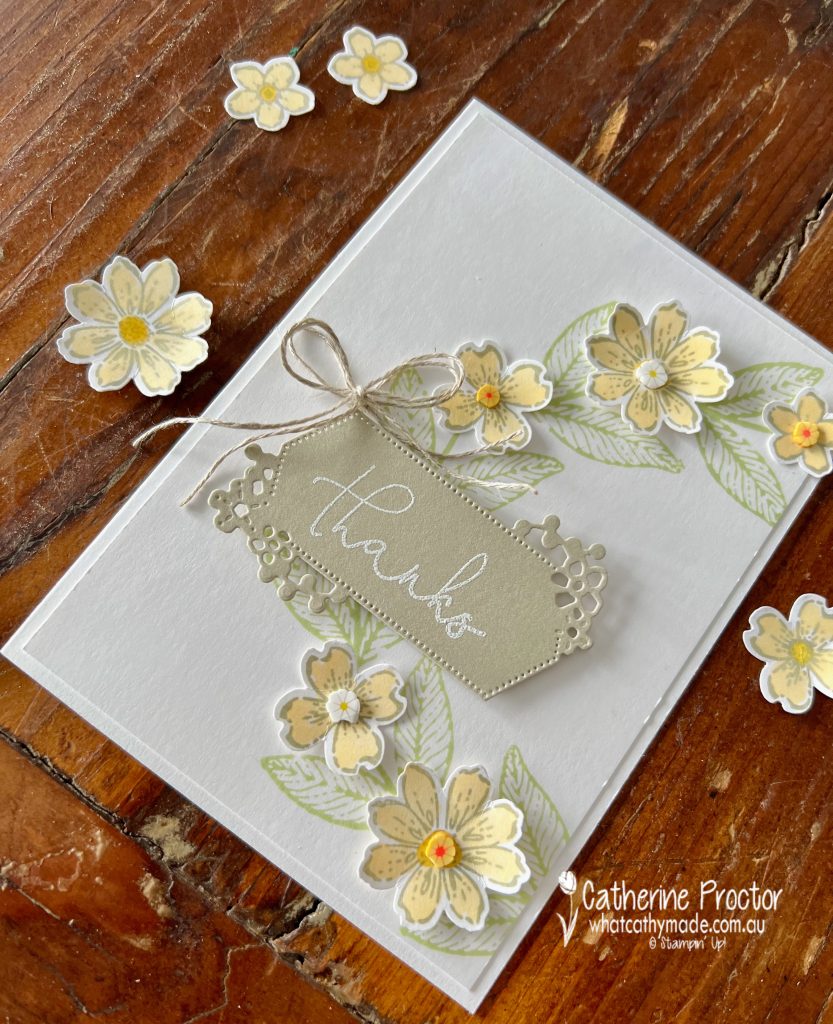
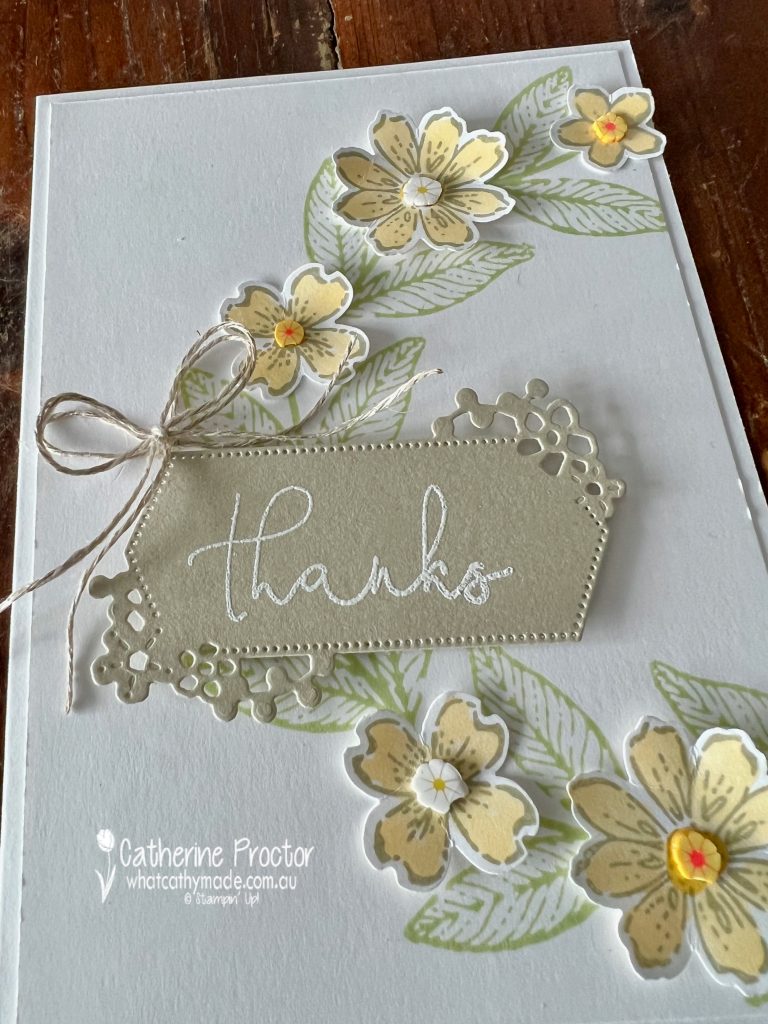
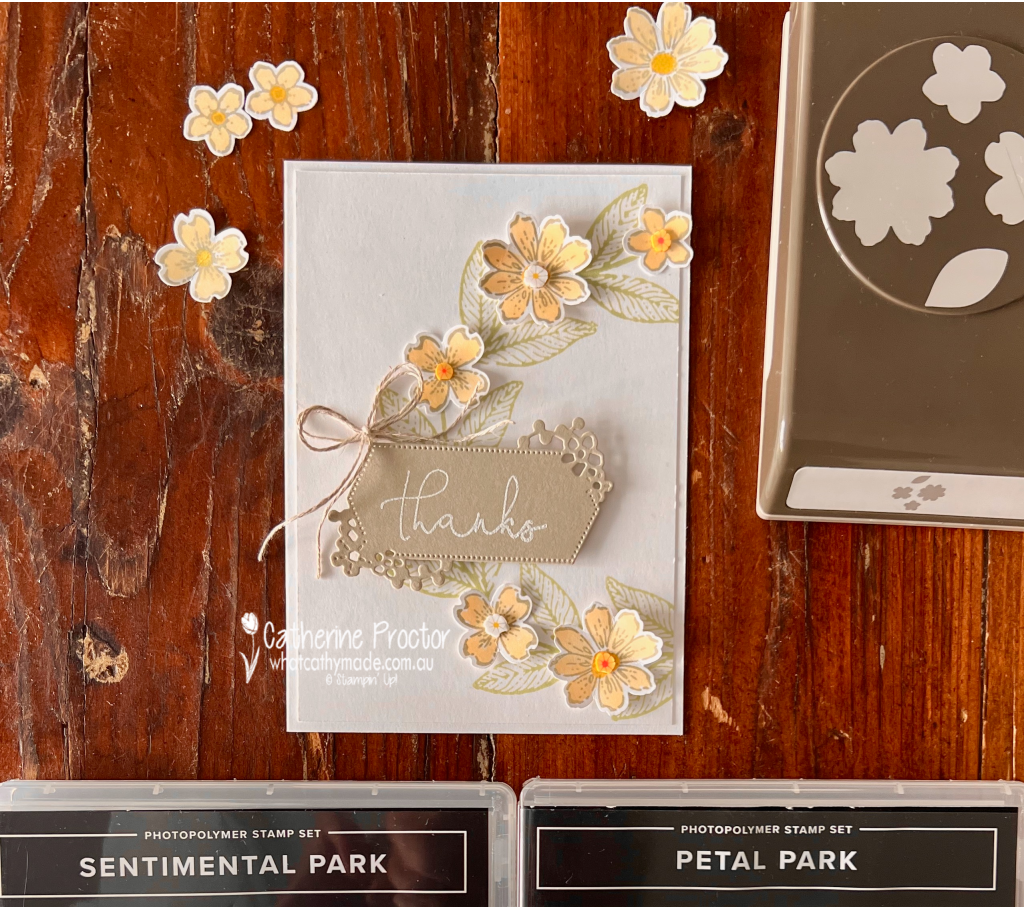
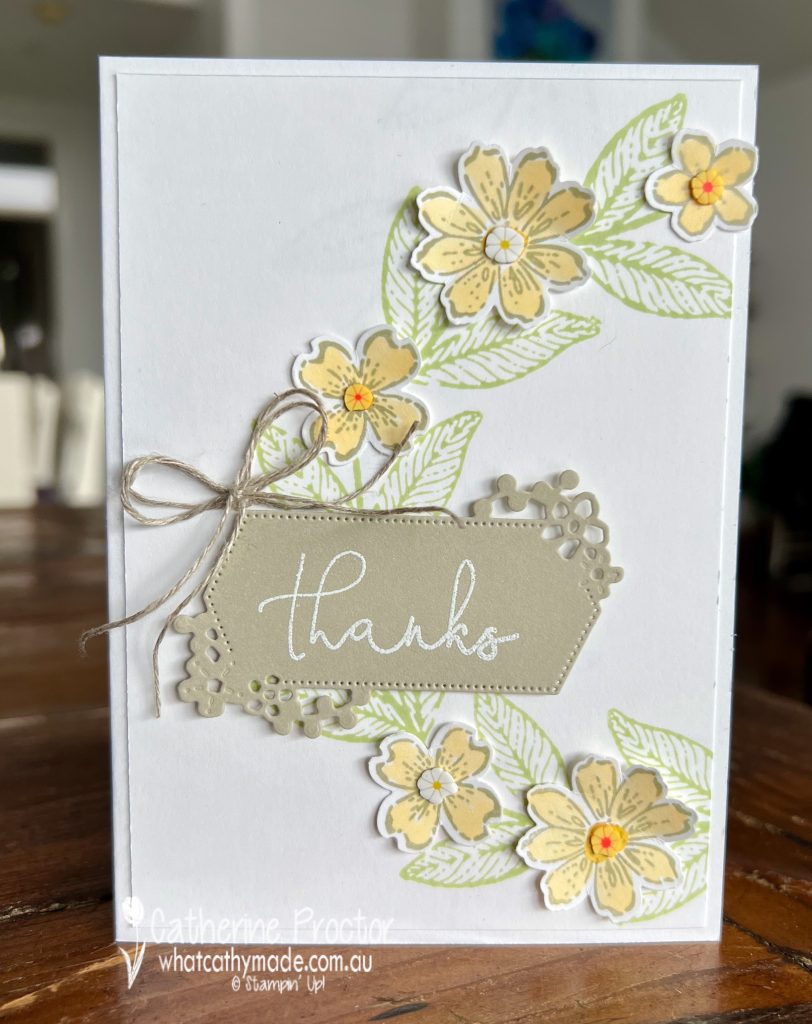
I’ve used the Petal Park bundle and the Sentimental Park bundle for my thanks card – all these products are all carrying over to the new 2023-24 Annual Catalogue, however if you want to save 10% on these bundles, you’ll need to order them before May 1st.
First, I stamped the leaf stamp from Sentimental Park in Soft Sea Foam to create a wreath shape off the right hand side of the card stock.
Next, I stamped the petals from Petal Park in Sahara Sand, coloured them in with light and dark So Saffron Stampin’ Blends and Daffodil Delight Stampin’ Blends for the centre of the flowers.
The “Thanks” sentiment was stamped in Versamark ink onto Sahara Sand cardstock, white heat embossed and die cut using a Sentimental Park die.
Once the sentiment and a double bow of linen thread was attached to the stamped wreath, I punched the flowers out with the Petal Park builder punch and adhered them to the wreath as well.
The centre of the flowers were embellished using the Loose Daisy Embellishments – the green leaves on these embellishments were too strong for the soft colours, so I gently twisted the leaves off with my finger before adhering the embellishments to the centre of the flowers.
It has been super hard to photograph this card with the weather we’ve had in Sydney this week, so I do apologise for the quality of the images in today’s blog.
Now it’s time to hop on over to our next participant, the lovely Rachel Palmieri – I can’t wait to see what Rachel has made this week!
If at any time you find a broken link, you can find the complete list of all participants below.